William Gallagher
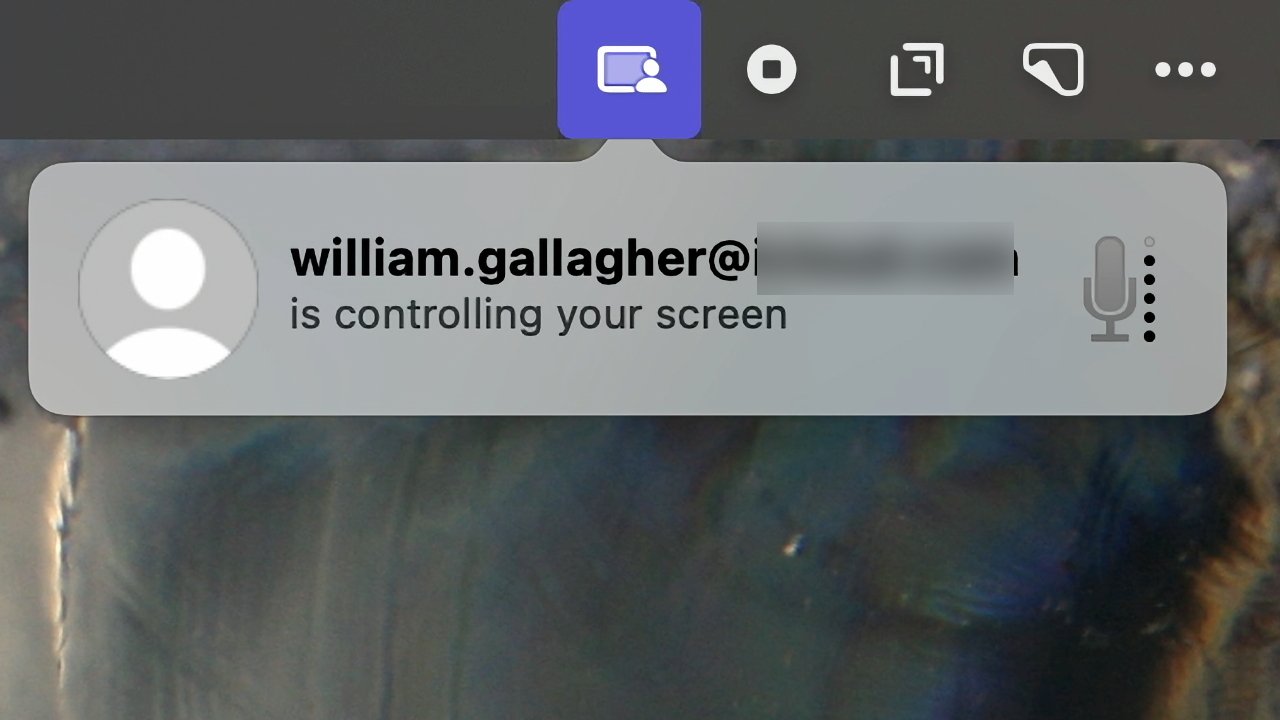
With macOS Sonoma, Apple is continuing to build in screen sharing to a point where it's easy to use for newcomers — and a little disappointing for everyone else. Here's how to use it.
It's not as if it's hard to fathom, but the way Apple describes screen sharing, it is sometimes tricky to be sure which part of it the company means. There's screen sharing over Messages, for instance, and Apple has now introduced a screen sharing feature for video conferencing calls.
But it also has a separate, standalone app called Screen Sharing, and this is the one Apple means when it says the feature has been improved for macOS Sonoma.
It has been improved, most notably with the ability to stream higher-quality images. But it hasn't been improved as much as other macOS Sonoma features, to the extent that there are still only very specific use cases for it.
And there is still plenty of room in the market for third-party apps such as Screens.
 You can now arrange screen sharing contacts into groups for quick access later
How to use the screen sharing app
- Launch the Screen Sharing app
- Choose from the list of previous shared connections, or
- Click the plus sign at top right to add a new one
- Enter the Apple ID of the owner of the screen you want to connect to
- Wait for them to accept
- When they do, you are controlling their Mac's screen on yours
That process is almost identical to what it was with macOS Ventura, but there is one small yet significant difference. Previously, when you launched the Screen Sharing app, you got just a dialog box asking you for the other person's Apple ID.
Now it presents a list of who you've previously connected to. It also lets you edit that list to delete people, and to create groups.
What the other user sees when you try to connect, though, has not changed. They see:
- A notification saying you want to connect
- Options in the notification to accept or refuse the connection
- Then a window with more detailed options
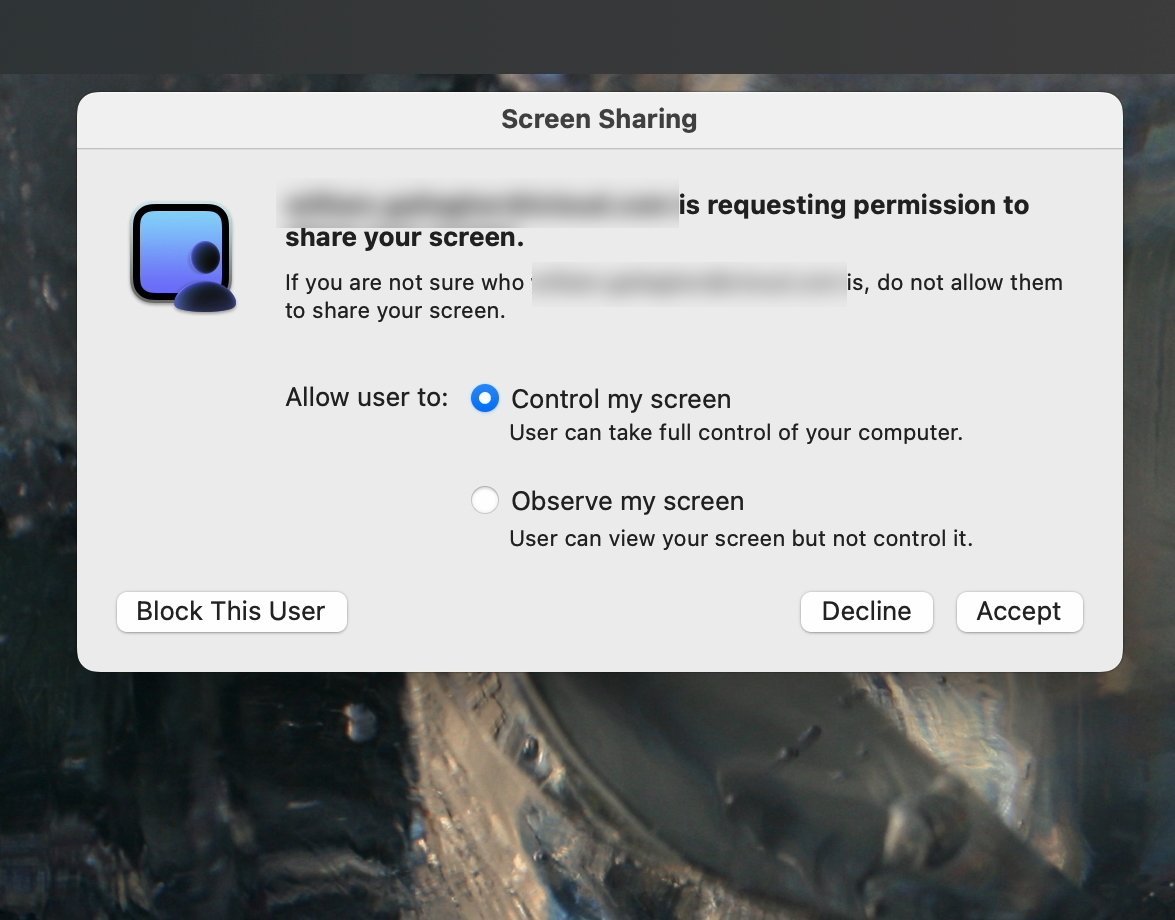 The user whose Mac is to be shared always has control
Those detailed options include a repeat of the Accept or Decline buttons, but also lets you limit access, or block the connecting user entirely.
If you want someone to be able to share your screen, you can choose between allowing them Control my screen or Observe my screen. The latter limits them to being able to see what you're doing as, for instance, you're demonstrating how to do something.
The former gives them full access and it will be as if they were sitting at your Mac.
How to end screen sharing
Once screen sharing as started, the user whose screen is being remote controlled gets a new menubar icon. From within that, he or she can choose End Screen Sharing.
They also get other options including pausing the sharing.
What it's good for
This Screen Sharing app is for helping out a friend or a family member, who needs to be shown how to do something on their Mac. That's it.
That's actually what screen sharing via Messages is really for, but in this case there is no more — even if you might long for their to be.
If you are going to be away from your own Mac and want to connect to it for any reason, Apple's Screen Sharing app is not practical. That's because while it works well, it requires a user at the target Mac to expressly give permission for the screen sharing.
So if you wanted to do full remote access from afar, you would have to start Screen Sharing while you were still near enough to the Mac to accept the control.
You could do that and then leave on a trip with your MacBook Pro, say. But if anything happens to end that screen sharing connection, it's over and cannot be reestablished until you are next near the Mac.
This is unlikely to ever change because Apple will naturally always favor privacy over convenience. So for true remote contol over your Macs from afar, there is still a need for apps like Screens by Edovia.

 Marko Zivkovic
 Mike Wuerthele
 Christine McKee
 Amber Neely
 Wesley Hilliard