How to connect to FTP servers in macOS using modern apps
 Chip Loder
Connecting to FTP in macOS's Finder.

File Transfer Protocol is an older networking protocol for transferring files to network servers. Here's how to use it on your Mac.
We previously covered the Terminal-based SCP protocol, which allows you to securely copy files over a network.
How to use SSH for secure connections in macOS talked about the SSH File Transfer Protocol (SFTP), which is considered more secure because it uses Public Key Infrastructure (PKI) to exchange key info for authentication.
How to Use SFTP and rsync for File Transfers in macOS covered how to use SFTP and rsync - a UNIX backup and restore tool.
There's another older protocol called File Transfer Protocol (FTP), which allows you to transfer files to and from web servers.
FTP is largely considered obsolete (and insecure) because it exchanges both login and file information in plain text — which is a security risk. Anyone outside your network (or a threat actor on the inside) can eavesdrop on an FTP communication session to steal passwords and data.
FTP can be secured using SSL/TLS web encryption (FTPS), but even this isn't considered a best practice anymore.
If you still need to connect to an old-school FTP server, there are several apps for macOS that you can use. Both third-party FTP GUI apps and a built-in command-line (CLI) ftp tool in the macOS Terminal are available.
You can also connect to some FTP servers in the macOS Finder.
Until recently FTP was included in most web browsers using the ftp:// URL prefix, but many modern browsers including Firefox have dropped support for the FTP protocol.
FTP History
FTP servers are integrated into most common web servers, such as Apache from the Apache Foundation, and others. The FTP server daemon runs in the background on the server, listening for incoming connections and file transfer requests.
The original FTP specification was published in RFC 11 in April 1971. Before TCP/IP and the internet became popularized, FTP ran on the ARPANET's Network Control Protocol (NCP).
ARPANET was the precursor to the modern internet developed by the Dept. of Defense Advanced Research Projects Agency (DARPA). In fact, the internet came about because the Dept. of Defense wanted a military-grade communications network that could survive a nuclear attack.
The official start of the modern TCP/IP internet standard began on Jan. 1, 1983, when the entire ARPANET changed from NCP to TCP/IP.
This was before graphical user interfaces, and most FTP was done on UNIX text-based terminals using the CLI ftp command, which is still around in macOS today.
Connecting with FTP
When an FTP client makes a request, the server checks the authentication details, and if valid allows the user to connect. Once connected, users can view directory contents, upload, download, and delete files.
Usually, a text username and password are sent to the server, but in many FTP clients it's possible to set up PKI keys to control login.
Keys are much more secure because unless someone has stolen the user's private key from their computer, it's nearly impossible to crack PKI keys because they are strongly encrypted.
In GUI FTP clients, you connect either by indicating your public key file on your Mac or by entering a username and password into the app's authorization pane.
We'll get to various GUI clients in a moment.
CLI command
You can see how to use the CLI version of FTP in the Terminal app by running Terminal from the /Utilities folder, then typing man ftp and pressing return.
FTP downloads using the CLI get sent to the present working directory on your Mac in Terminal, unless you specify another destination.
You can view the present working directory or pwd in Terminal using the pwd command.
The CLI also lets you specify the source server, a destination location, and which files or folders to download. If you download a folder, its entire contents get downloaded unless you specify otherwise.
Third-party FTP clients for Mac
GUI FTP clients have been around on the Mac since the early 1990's. Back then, Apple shipped its own FTP client app called Cyberdog, which came out around the time the internet became mainstream.
Today, there are still a few of these same FTP clients around. Most vendors of Mac FTP apps have left the field, due to its increasing obsolescence, but a few are left.
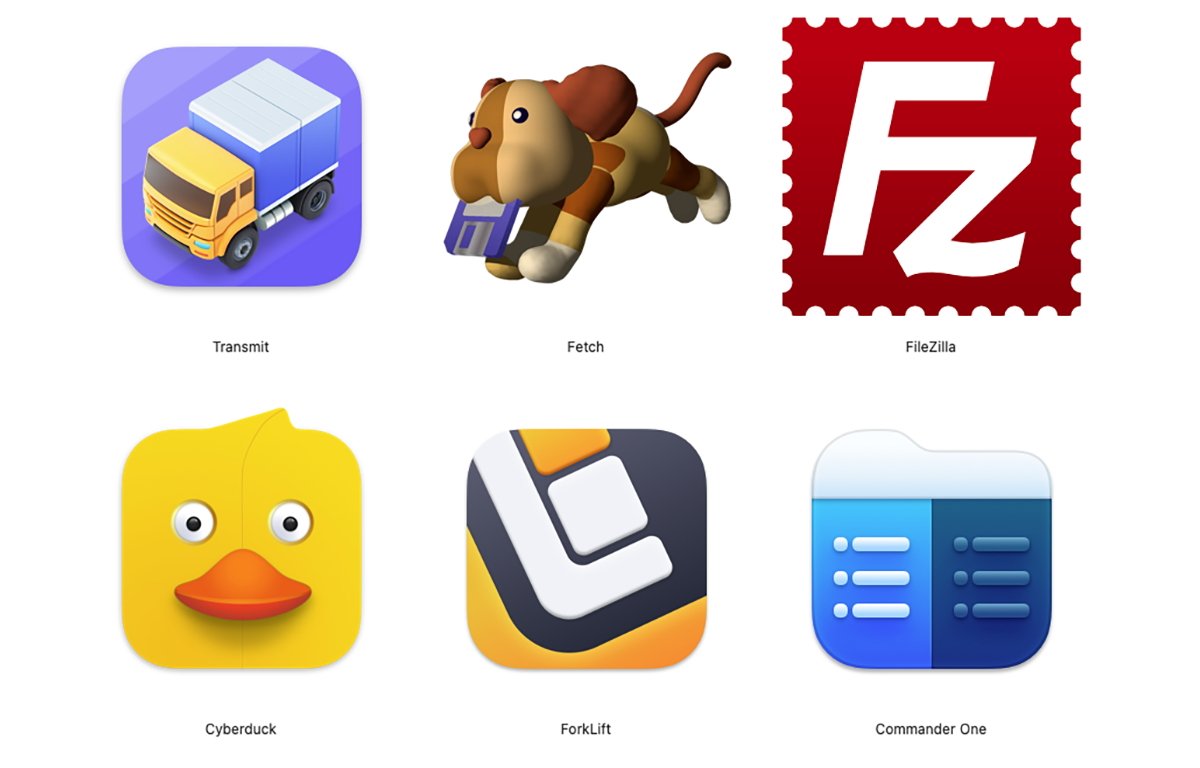
In order of popularity, the top Mac FTP clients today are:
- Transmit by Panic ($45, free demo) https://panic.com/transmit/
- FileZilla (free, plus a paid Pro version)
- Fetch ($29, free demo)
- Cyberduck ($10 with a free demo)
- Forklift from Binary Nights
- CloudMounter ($29 single, $99 team)
- Terminus (SFTP)
- Commander One
There are a host of other client apps available today, both for download on the web, and from the Mac App Store.
Transmit, FileZilla, Forklift, and CloudMounter are all available on the Mac App Store as well as from the publisher's sites.
Transmit, Cyberduck, and CloudMounter can also connect to a variety of cloud file storage services. They support Amazon S3, Microsoft Azure, Google Drive, Dropbox, Backblaze, and others.
Cyberduck and CloudMounter support various other cloud services such as OpenStack Swift, Box, and Files.com.
Cyberduck also features an optional component that allows you to mount any FTP server or directory as a networked disk on macOS's Desktop. Once connected, you can browse, upload, and download files to a remote server just as if it was a local disk.
You can also do this in the macOS Finder in some cases (as we will see below).
Mountain Duck provides some additional features over plain Finder connections.
Transmit and Fetch are considered the two original Mac GUI FTP clients because they came out way back in the 1990s on Apple's Mac OS 9, when the internet became popular. Fetch actually came out in 1989, when macOS was called System 7.
Both Transmit and Fetch are great apps, but in our opinion, Transmit is the gold standard. It also has the most polished and seamless user experience.
FileZilla is considered the free standard for FTP on both Mac and Windows. It has a lot of features, but the UI is considered a little less refined than other Mac FTP apps. FileZilla is also open-source.
One nice feature of FileZilla is the verbose connection log pane as you connect (which you can hide or show). As your Mac connects to the remote server, this pane displays a detailed connection log.
If something goes wrong during connection, you can see exactly what the problem is in the log pane.
ForkLift can also act as a local dual-pane local file browser so you can view both local files on your Mac and remote FTP servers in the same window.
Terminus is an SFTP app, but also features a Terminal-like command line interface using SSH as well.
Commander One is an FTP client which also features a dual-pane file browser.
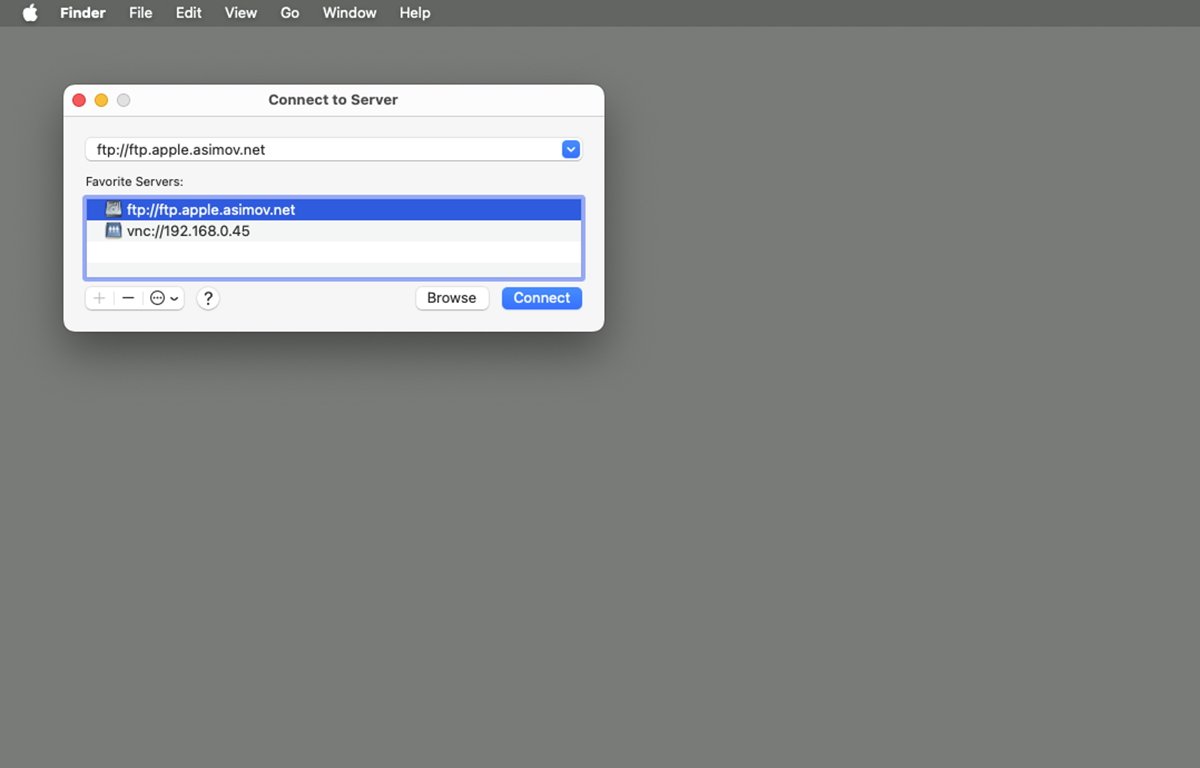
Connecting to FTP in the Finder
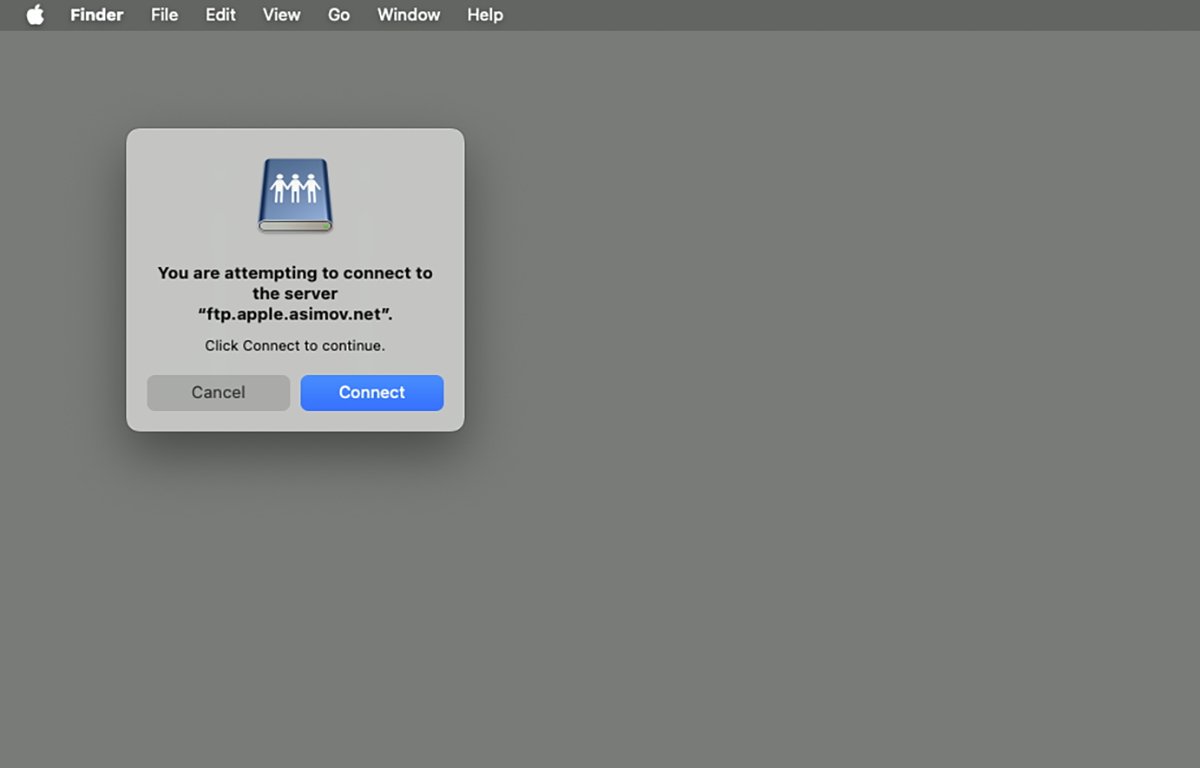
In macOS's Finder you connect to an FTP server by using the Go->Connect to Server menu item in the Finder's menu bar at the top of the display. Enter an FTP server name or address using the ftp:// protocol.
For example:
If the server is reachable, you'll be given a confirmation alert. Click Connect.
If something went wrong, you'll see an alert saying the server is unreachable. In that case, check your connection details and try again.
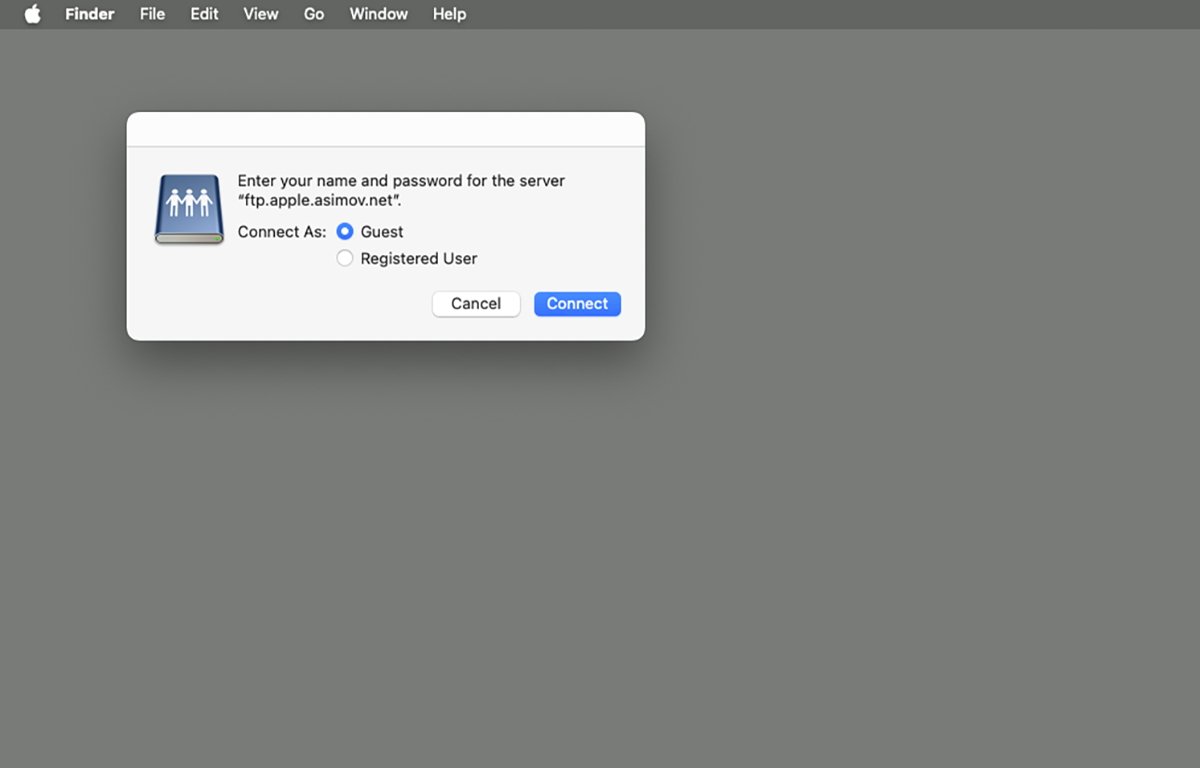
The server will prompt you with an alert asking for a name and password, or if you want to connect as a guest. Most FTP servers don't allow guests, but some do.
If you want to connect as a guest, click the Guest radio button. Otherwise, click Registered User and enter your name and password.
Guest access usually doesn't require a name or password to connect.
Click Connect:
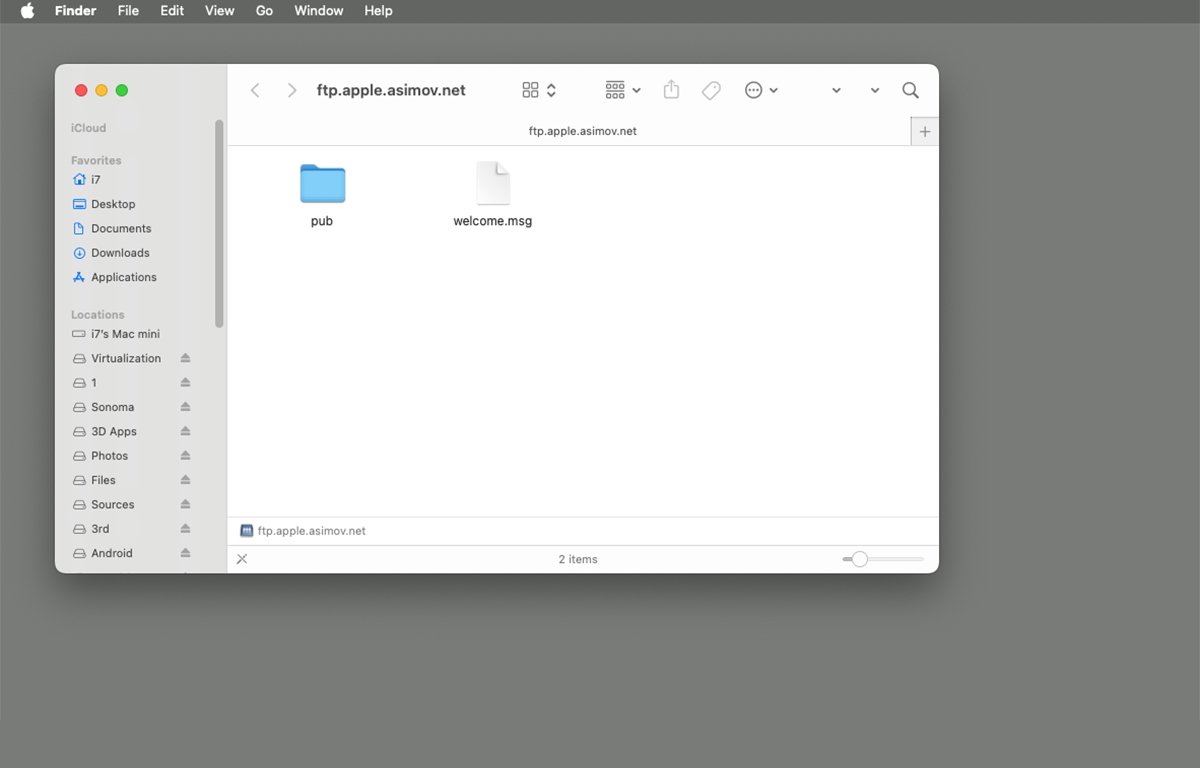
If all goes well, you'll be connected. The FTP server will mount as a disk icon on the Finder's Desktop, and a new Finder window will open for the volume.
Mounted FTP volumes look just like local disk icons on the Desktop, except they have a metallic silver icon showing several users on it.
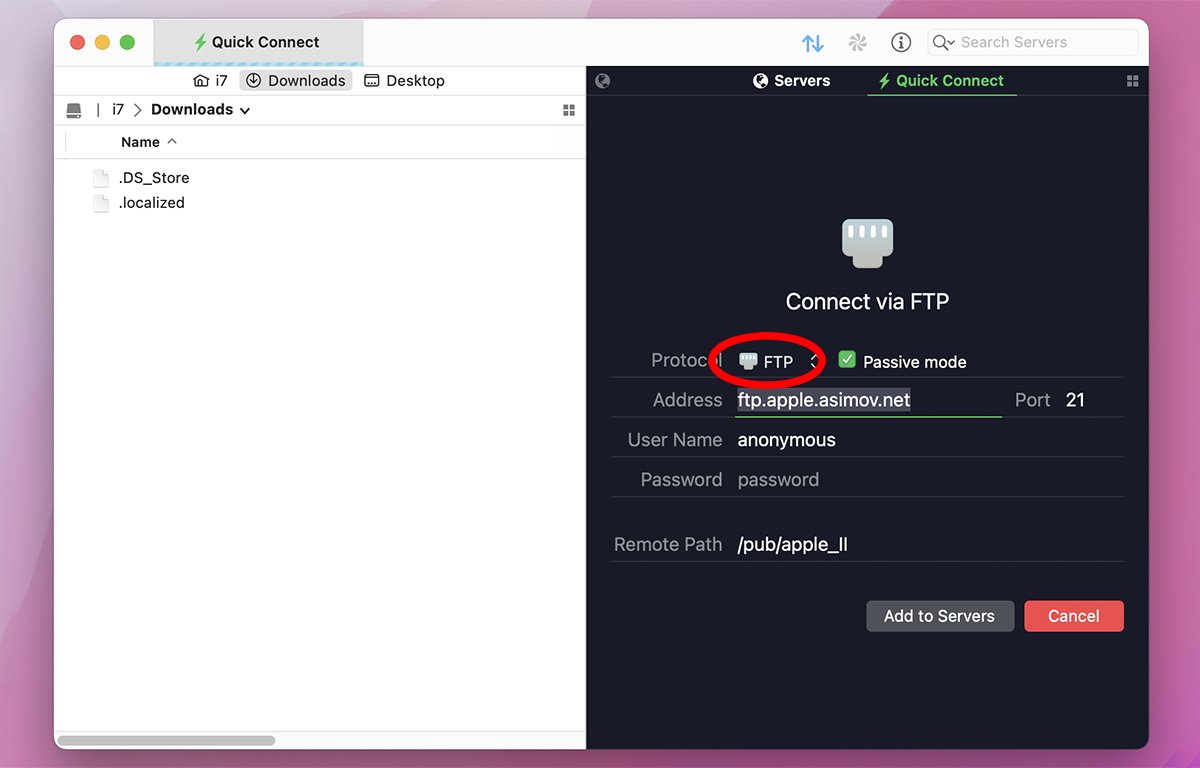
Some FTP servers allow anonymous connections - ones in which generic credentials are used, instead of a real name and password. On these servers, it's typical to enter "anonymous" as the user, and your email address as the password.
Anonymous FTP servers will usually accept any email address, so you can make one up if you like. The formality isn't required to connect.
Some anonymous FTP servers only allow downloading files, with special "incoming" or "uploaded" folders set with write permissions for users to upload new files for the server admin to take a look at.
If a folder on the server can be uploaded to, the small lock icon in the window's lower left corner will be missing. In the image shown above, the directory is read-only as indicated by the small pencil with the line through it in the lower left corner.
Once you are connected, you can download and upload files and folders to a server's directory simply by dragging files and folders in and out of the window to your Mac's Desktop. A standard file copy progress window will appear as the files are transferred.
FTP is an older protocol, but many web servers still use it. It's good to know different ways to connect in the event you need to transfer files.


 Amber Neely
 Thomas Sibilly
 AppleInsider Staff
 William Gallagher
 Malcolm Owen
 Christine McKee


4 Comments
Glad to see Panic's Transmit, formerly Transit, sitting at No.1. It truly is the top FTP client on my Macs and has been for decades.
Note that you can find very old versions for 68K and PPC Macs on Macintosh Garden here:
https://macintoshgarden.org/apps/transmit-17
I had to use SFTP yesterday for the first time in probably 15–20 years. Transmit demo worked well. I had forgotten I can do it with Finder.
Yes I remember using Cyberdog back in the late 90's. I found It quite nice browser for it's time but development stalled quickly as it was tied in with OpenDoc, a direct competitor to Microsoft's OLE