Once you've tried Apple Pay, there is no chance you're going back, but there are so many options when setting it up the first time that it can be confusing. Here's how to set up Apple Pay, use it, and relish it.
One reason that Apple Pay is so useful and so successful, is that it's meant to be everywhere and on every device you own. Apple wants you to be able to buy your groceries at the store, book tickets online, and wave your Watch at a train ticket turnstile. When you haven't used it yet, though, this all means that you can be left wondering how you start.
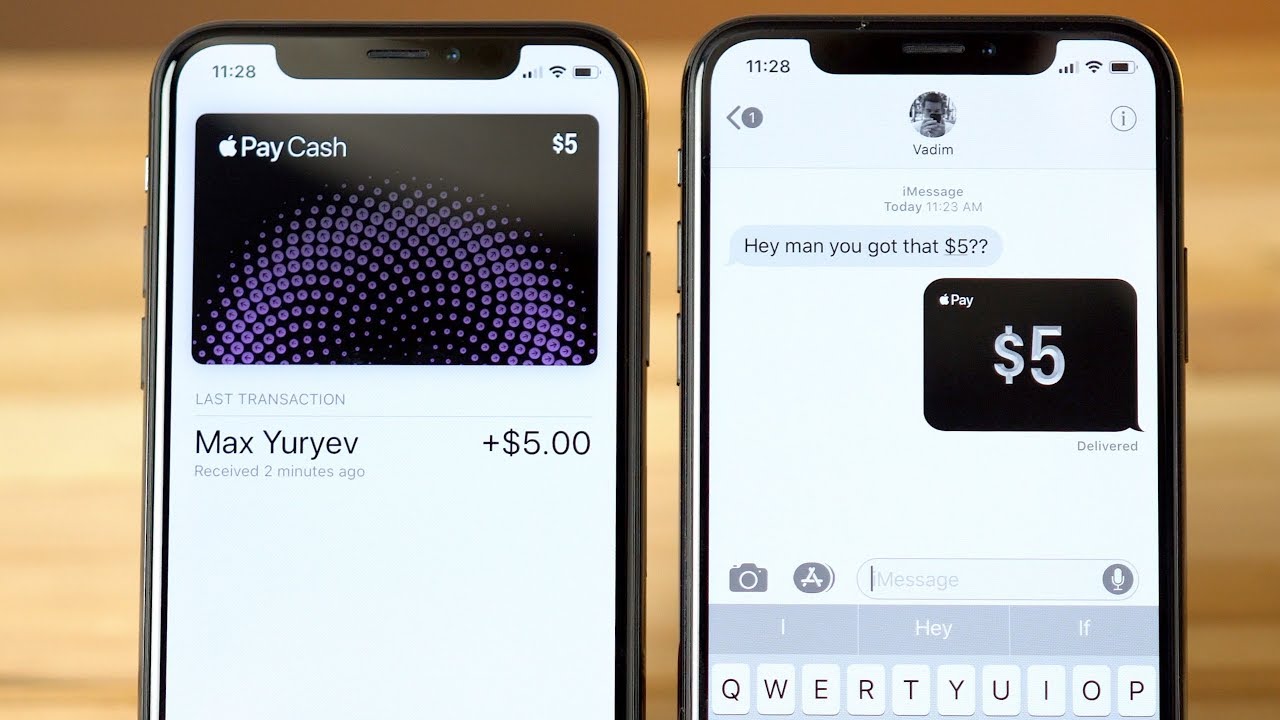
It's not as if any one part of it is confusing, but the range of options for how you use it, can be. Then there's the fact that you have to set it up separately on each device — and now there is also Apple Card. Apple Pay requires you to have a bank card that works with it, and Apple Card does, so you will sometimes see those terms being used interchangeably. And then there's Apple Pay Cash, which is specifically for paying individuals instead of companies.
If you have set all of this up and you're now using Apple Pay, the whole thing now seems so simple that you don't think about it. When you're setting up a new iPhone, though, and you're presented with the option to start using Apple Pay, it's tempting to skip it for now. And when you skip it for now, you can easily be skipping it forever.
Trust us on how it is so very much worth taking the time to start using it. And then follow this guide to get going.
How to use Apple Pay
To set up Apple Pay in the first place, you need four things.
- An Apple ID
- The latest watchOS, iOS, or macOS
- A compatible device
- A supported bank card
The Apple ID is the same one that you use to sign in with your Apple device, and it must be signed into iCloud. And that device you need can be an iPhone, iPad, Apple Watch, or Mac. It can't be an iPod touch at all, and there are also specific limitations for each type of device.
Supported bank card
What are the iPhones, iPads, Macs, and Apple Watches compatible Apple Pay?
- Any iPhone with Face ID
- Any iPhone with Touch ID - except for the iPhone 5s
- iPad Pro, iPad Air, iPad, and iPad Mini with Touch ID or Face ID
- Any Apple Watch
- Macs with Touch ID
There is one limitation on the Apple Watch, which is that the very first generation of it can't be used in Japan for the various rewards programs available there.
If you don't have Touch ID on your Mac, you aren't completely left out. As long as you have a Mac from 2012 or later, you use them in conjunction with an Apple Watch or iPhone.
Plus, you need a bank card that works with Apple Pay, and you need a bank that supports it. Those aren't necessarily the same thing. In parts of Europe, contactless cards have been commonplace for so long that Apple Pay just slipped in alongside them and can work with practically all banks. Yet even there, you can have a card that doesn't work with it.
Check with your bank itself to see what your account supports. Or you can look up Apple's constantly updated list of which banks support Apple Pay. To save you looking, yes, Apple Card supports Apple Pay. Tell us you're shocked.
Note that there is also a limit on how many cards you can have, though it varies. If you have an iPhone 8, iPhone 8 Plus, or Apple Watch Series 3, or later, then you can have 12 cards. Otherwise, you're limited to just eight.
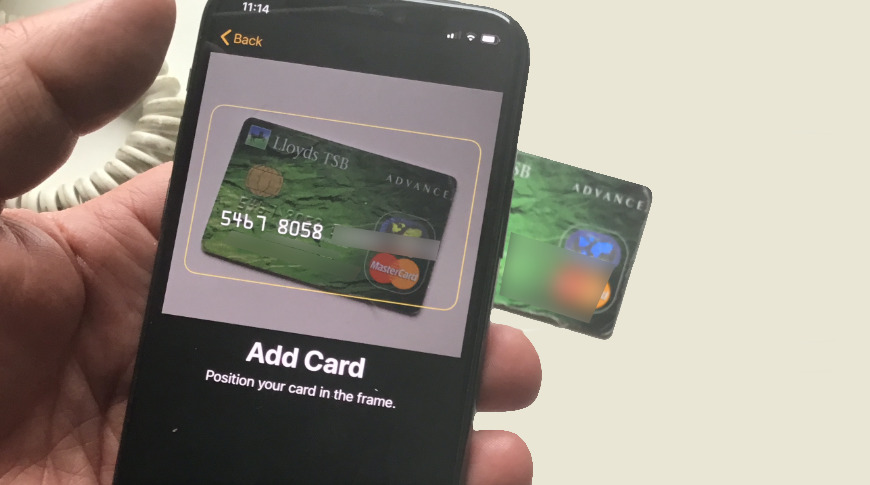
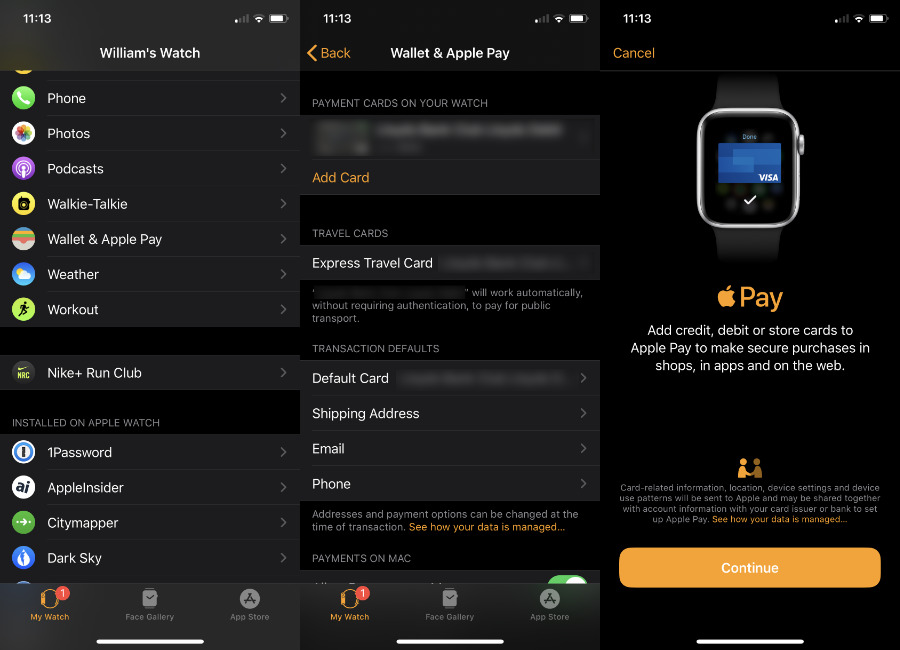
You set up Apple Pay through the Wallet app. Notice the third screen: for security reasons, Apple won't let you take a screen grab of a credit card in shot. It's a nice touch.
This is a limit per device, so you could juggle putting different cards on different devices. You can do it, it will work, but two minutes ago you weren't sure how to use Apple Pay and now you're getting addicted. Start with one card — and put it on one device.
How to set up Apple Pay
Even though you can set it up on so many devices, start with one — and make it your iPhone. We're honestly torn about this because we use Apple Pay most with our Apple Watches.
However, whether you want to add a card to your iPhone or your Watch, you have to do it through your iPhone. So you might as well start with that.
How to set up Apple Pay on your iPhone
- Get your bank card out
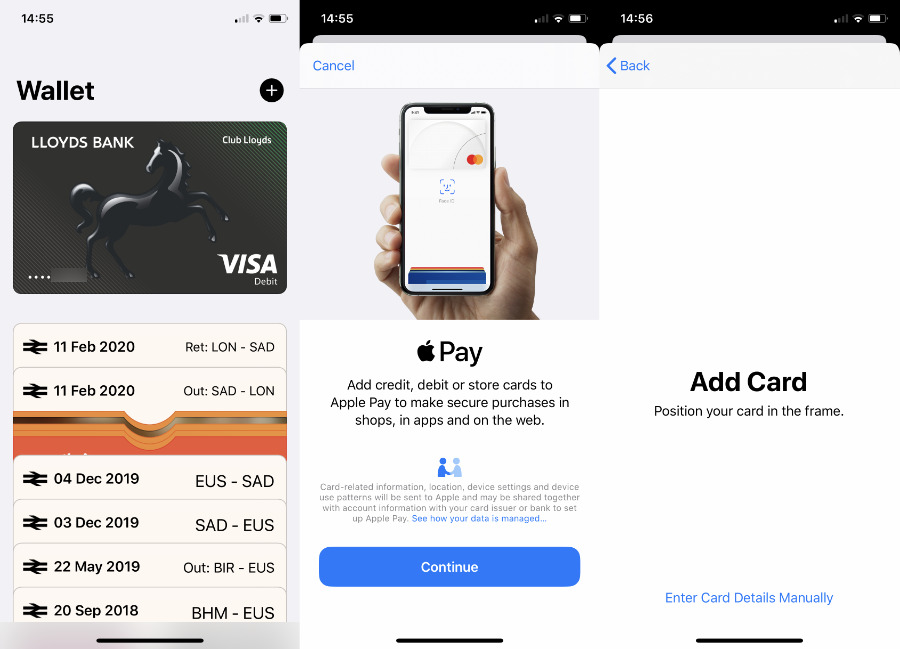
- Open the Wallet app
- Tap the + button at top right
- Follow the prompt to scan your bank card
You can enter all your card numbers manually, and you might prefer to do that if you've got all the details in a secure system like 1Password. However, unless your card is particularly worn, the Wallet app and your iPhone are the quickest way to get the details into Apple Pay.
There is one more step, but it varies between banks. Your bank will want to ensure that it really is you, so you'll typically get a text message asking you to confirm. There may be other processes, but they will be similarly quick and automatic.
Apple Pay is now set up on your iPhone using that bank card. You can go back through the same steps to add more cards, but now seems a better time to add it to your Apple Watch.
If you have many cards installed, you can swipe left and right to choose between them
How to set up Apple Pay on your Apple Watch
- On your iPhone, open the Apple Watch app
- On the My Watch tab, tap Wallet & Apple Pay
- Tap Add Card
- Follow the prompts to scan the card
As with the iPhone's Wallet app, you can enter the details manually. And again, as with adding to the iPhone, you will have an extra step where your bank confirms it's you adding your card.
If it seems peculiar to have to enter the same details and scan the same card on the same iPhone, just because you want to use it on that phone and your Apple Watch, it is. When you have added a card on your iPhone and come to add the same one to your Watch, Apple Pay recognizes it.
During the process of adding a card, Apple Pay will instead prompt you to enter just the security code.
How to set up Apple Pay on your iPad or Mac
It's the same process. And if your iPad or Mac are on the same Apple ID, and if that Apple ID is signed in to iCloud, then you'll again be prompted for just a security code when you try to add a card you've already got on another device.
How to use Apple Pay
Now that you've got at least one bank card set up on at least one device, this is when you'll really be glad that you have. The sheer speed and convenience of being able to use Apple Pay is so good that you will definitely not want to go back.
And it's so good that you will get annoyed whenever you're in a store that for some reason doesn't support Apple Pay yet. There are still some, but the number decreases all the time.
Similarly, it's becoming steadily more common to find that you can use Apple Pay on websites. Unsurprisingly, you can use it all the time in Apple's online stores or the App Store.
How to use Apple Pay with an iPhone
- At the checkout in a store, double-click the iPhone's side button
- Look at the screen for Face ID
- Or hold your finger on the Touch ID sensor if you have that
- Alternatively, enter your passcode when prompted
- Hold the iPhone over the checkout's contactless reader
You need to hold the top of the iPhone by the reader. When it's all done, when you've paid, you'll hear a distinctive ping, and you'll see both a tick and the word Done on your iPhone screen.
Depending on where you are, there can be limits to how much money you can spend using Apple Pay, or any contactless system. This varies a lot and it's also changing as retailers come to trust Apple Pay more.
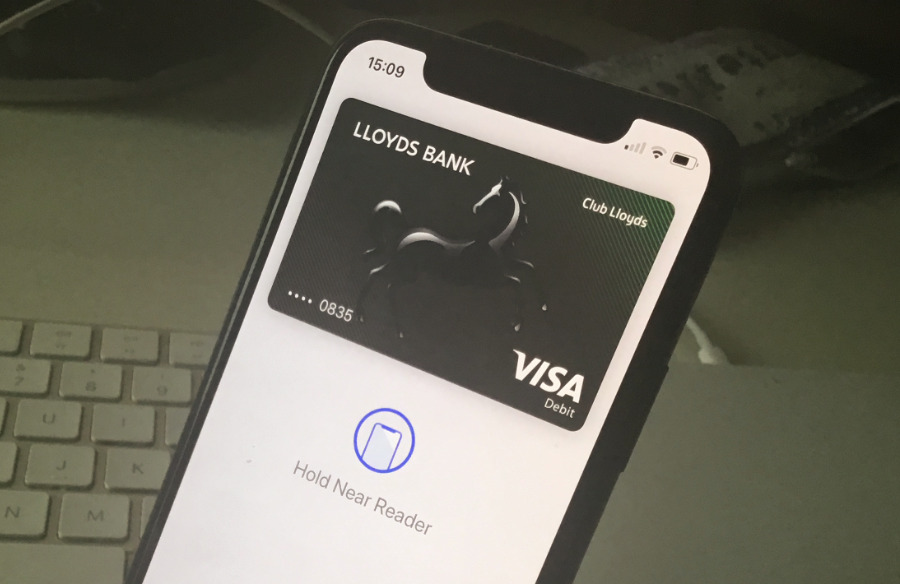
Hold your iPhone near the vendor's card reader and double-press the side button
Broadly speaking, if your purchase is under $50, Apple Pay should just work. If it's over that amount, it is likely to work anyway but the retailer may ask for ID or a separate signature.
This same business of holding your iPhone near the reader works in transit situations too, where there's a turnstile that takes contactless payments. Just have your iPhone out, double-tap the side button, look at the screen for Face ID, then hold the device over the turnstile's reader.
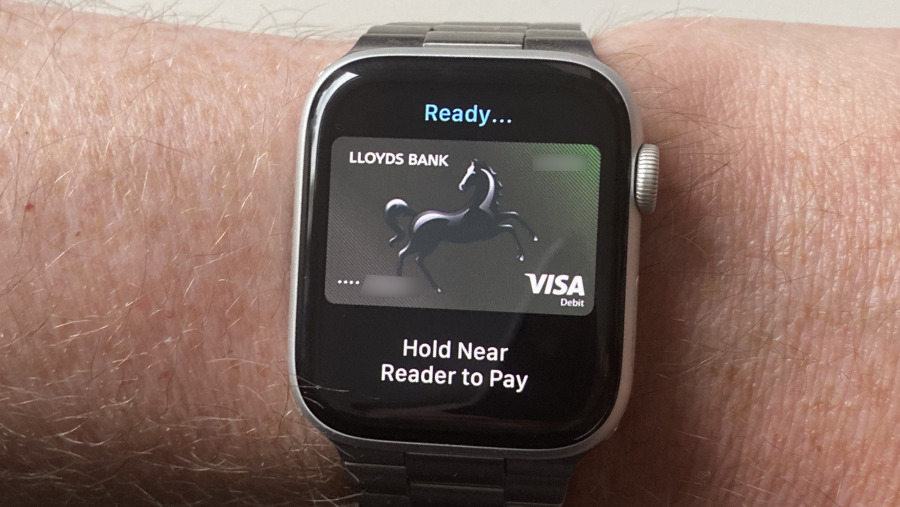
How to use Apple Pay with an Apple Watch
- Double tap the side button
- Hold the Watch over the reader
To set up Apple Pay on your Apple Watch, you have to use the Apple Watch app on your iPhone
Tell us that isn't more convenient. Paying by Apple Watch lets you skip the whole Face ID or Touch ID business because you are already wearing a device with a biometric sensor.
There's also just the fact that the Apple Watch is smaller and handier than an iPhone. It's easier to turn your wrist when you're carrying bags than it is to stop, get out a phone from your pocket or purse, turn it around to the reader and grin into the Face ID.
Except it isn't all that easier when you still have to double-press the side button. That still requires two hands, it still requires you stopping.
Unless, that is, you're using a train, bus, or ferry that supports Apple Pay Express Transit. If you are, and there's a growing list of stations that accept it, then you can waft your Apple Watch over the turnstile. It will work without you pressing any buttons or even pausing in the slightest.
It is ridiculous to say that saving two button presses and maybe half a second is good, but in practice, it's great.
This is exactly how Apple Pay wins. Maybe it makes spending money a little too easy, but when you need to spend, you can now just do it and move on with your day.
Keep up with AppleInsider by downloading the AppleInsider app for iOS, and follow us on YouTube, Twitter @appleinsider and Facebook for live, late-breaking coverage. You can also check out our official Instagram account for exclusive photos.