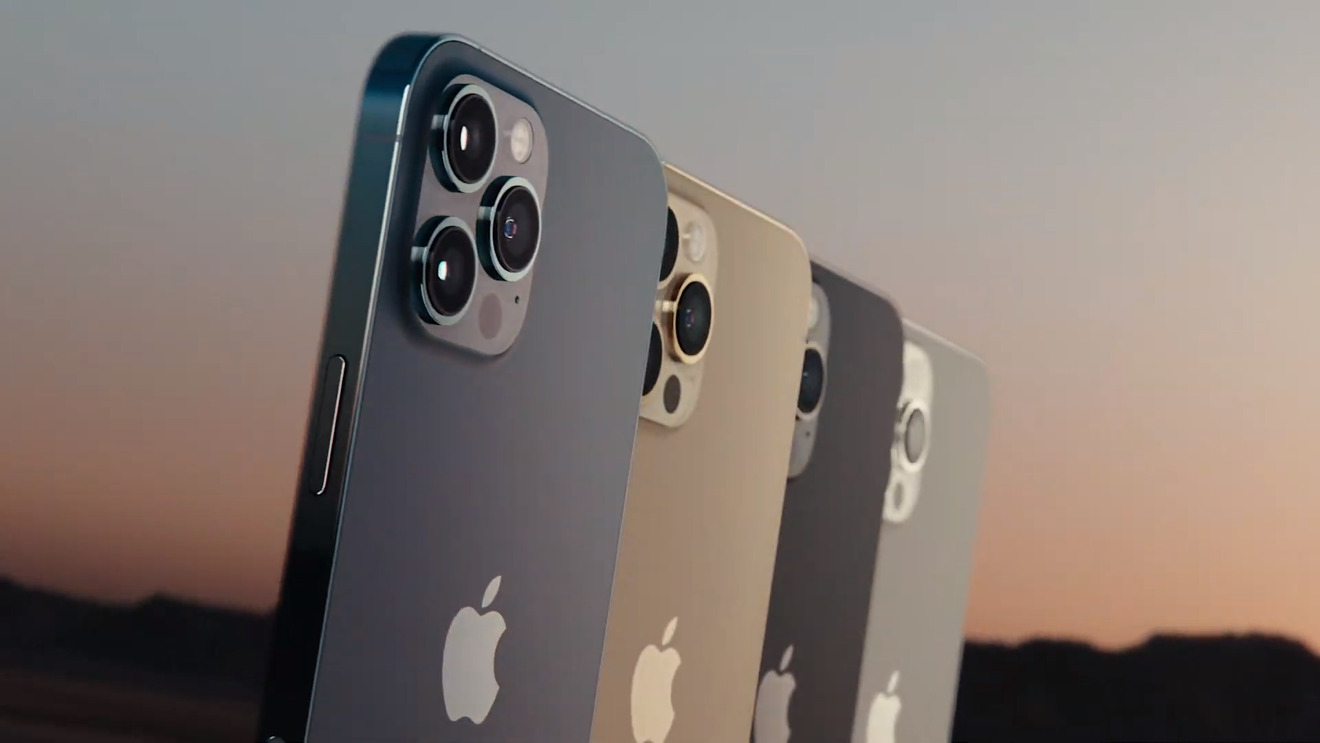
Apple has added the new, higher-quality ProRAW image format for the iPhone 12 Pro, and iPhone 12 Pro Max, but handling it is more than tapping on a button.
To use the new ProRAW photograph format of the iPhone 12 Pro, and iPhone 12 Pro Max, you in fact need to tap on two buttons. The first enables ProRAW, then the second takes it — because few people are going to always need this format.
Regular JPEG, PNG, and HEIC images from an iPhone are lossy, in that they throw away a lot of data between you clicking the camera button, and you seeing the image. They automatically have the benefit of being smaller file sizes, but they have also always gained the advantage of whatever processing the phone could bring to bear.
RAW images, on the other hand, don't throw anything away, and they don't get this computational photography processing. RAW images are big but they let the photographer decide later what they want to keep.
ProRAW is Apple's attempt to combine the benefits of both approaches. An image taken in ProRAW is a RAW one, but it is also processed. In theory, this gives you a quite incredible combination of image quality.
How to use ProRAW on iPhone 12 Pro
- Make sure you're using iOS 14.3 or later
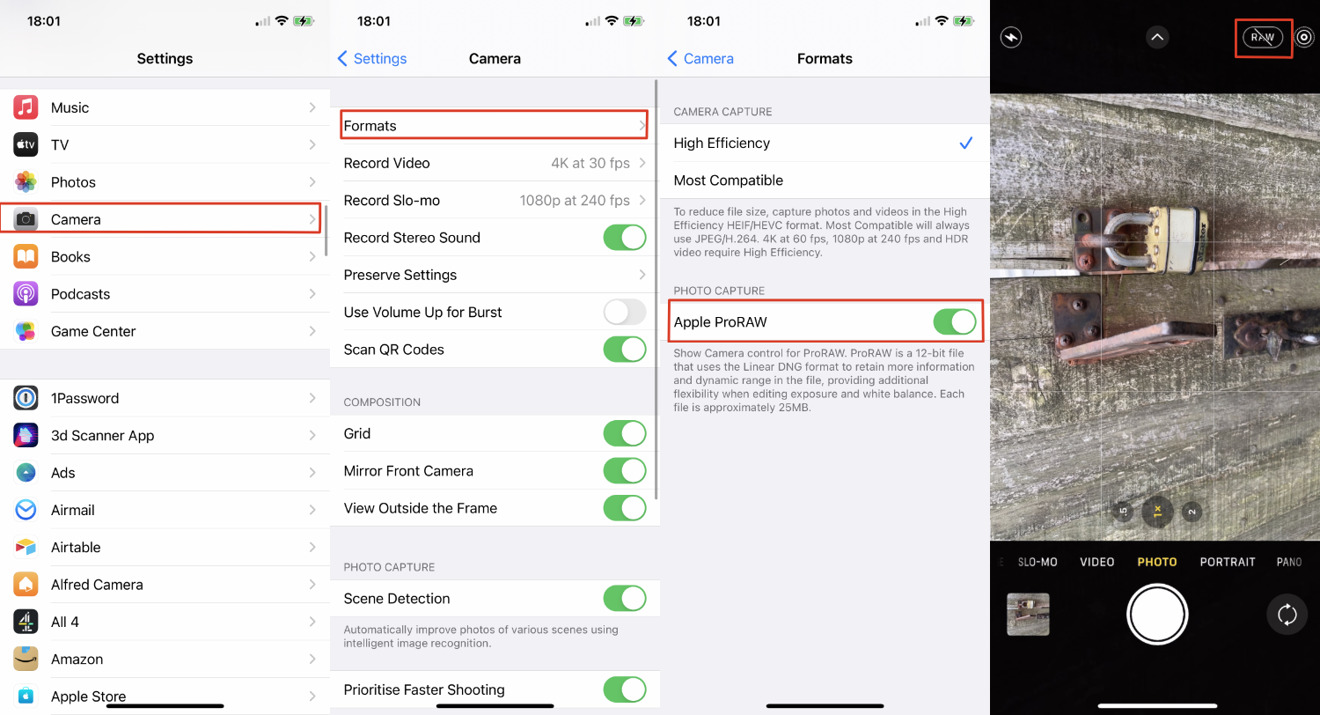
- Go to Settings, Camera.
- Choose Formats
- Tap to turn on Apple ProRAW
- In the camera app, tap to turn on RAW before you take a photo
It's easy to miss the final step, because as far as you're concerned, you've switched on ProRAW already. Tapping either High Efficiency or Most Compatible in that Formats section, makes that the camera's setting for all shots. So you could assume it's the same with ProRAW.
What that really does is enable ProRAW for at least the shots in your current session. It will also probably stay enabled forever, but Apple doesn't think so.
Apple says that if you close the Camera app, you may lose this setting and so ProRAW will switch off. Early photographer reviews of the iPhone 12 Pro said that you'd lose the setting if you restarted the phone.
In AppleInsider testing, ProRAW has stayed enabled through restarts and relaunches. Nonetheless, to be certain of keeping it on, Apple provides a third way to say you want this.
How to make ProRAW permanently enabled
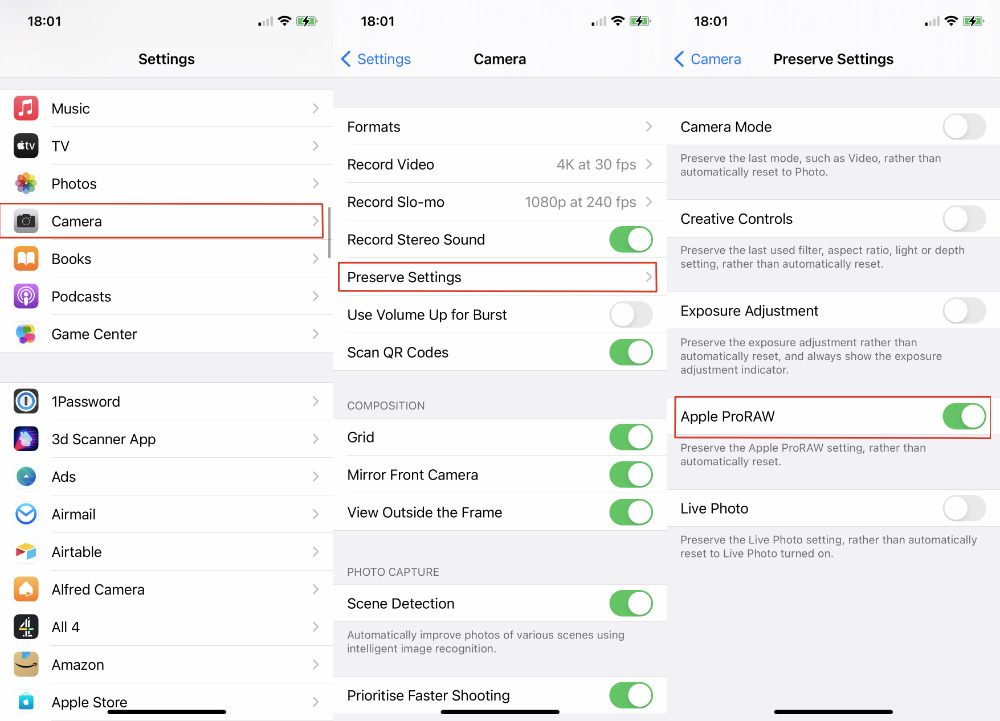
- Go back to Settings, Camera
- Tap on Preserve Settings
- Tap to turn Apple ProRAW on
There are many options in this Preserve Settings, ranging from ProRAW to Live Photos. It's really not clear why Apple needs this, why so many Camera settings won't stick by themselves.
How to actually take a shot in ProRAW
This is all about turning the feature on. You haven't got to taking the shot yet.
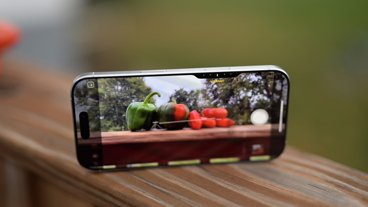
When ProRAW is enabled like this, the Camera app will now include a button for RAW photographs. By default, it will be set to off.
You'll see the word RAW with a line through it. When you know you want to take a shot in ProRAW, tap on the RAW button.
This will now apply to all future shots — until you tap to turn off RAW again. Or until you change the setting in Formats.
When to use ProRAW
It's completely up to you. Especially since Instagram, not exactly known for the highest quality photography, now supports the format.
Photographers and developers of photography apps have enthused about the control it gives them over their images. Looking at them on your phone right after you've taken the shots, you won't see a difference.
You may not even see a difference immediately if you open the images in Preview on a Mac. What you will see is that instead of an image of around 4MB, perhaps with the extension .HEIC, you'll see a .DNG file of at least 25MB.
Depending on what apps you have installed, your Mac may show that image's kind as, for instance, Affinity Openable. Double-click to launch and, if you have Affinity Photo, that's the app that will open.
Affinity Photo is able to handle ProRAW images, as is Pixelmator Pro or later. Strictly speaking, any image editor that can open regular RAW files can open ProRAW.
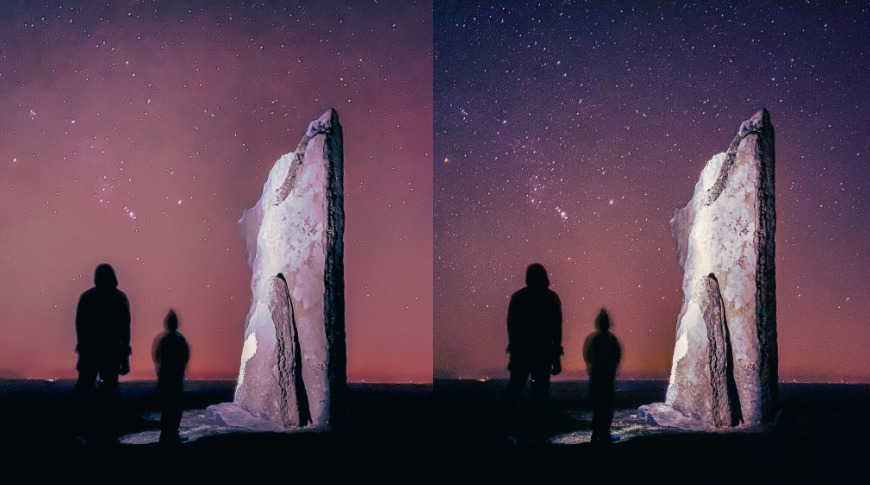
What you can then do with the images in those editors varies, but broadly you get greater control over fine-tuning particular aspects. Possibly the most apparent one is to do with the brightness and saturation of an image.
Where brightening a JPEG will typically increase the noise in the image, ProRAW or regular RAW will generally perform better.
It's a difference that can be significant to you in your photography. However, while most image editing apps will support ProRAW, it's not common on social media so you will typically still need to prepare JPEG versions for that.
Keep up with AppleInsider by downloading the AppleInsider app for iOS, and follow us on YouTube, Twitter @appleinsider and Facebook for live, late-breaking coverage. You can also check out our official Instagram account for exclusive photos.
 William Gallagher




 Chip Loder
 Marko Zivkovic
 Malcolm Owen


 Christine McKee
 Andrew O'Hara
 Andrew Orr
-m.jpg)
