Reduce your reliance on your mouse by using your head, by enabling Head Pointer in macOS to move your cursor and click icons by shifting your skull from side to side.
Apple includes many different accessibility tools in its operating systems, allowing many people to access its software and tools without using conventional methods. While they are intended for users who cannot use a keyboard or mouse, the same features could also be used by anyone, simply by turning them on and changing a few settings.
Sometimes, the accessibility features could help a user's productivity in unexpected ways, such as with the Head Pointer feature of macOS.
What is Head Pointer?
Included since macOS Catalina, Head Pointer is a tool that, simply put, turns your head into a mouse. Using a webcam pointed at the user, the tool can monitor the user's head rotation, from side to side or vertically, and move the on-screen cursor in that direction.
This has an obvious utility for people who cannot use a mouse at all, but it can also benefit all users. With a sufficiently large screen and a perfectly placed webcam, the tool could feasibly move the cursor near to an area of the display the user is actively viewing.
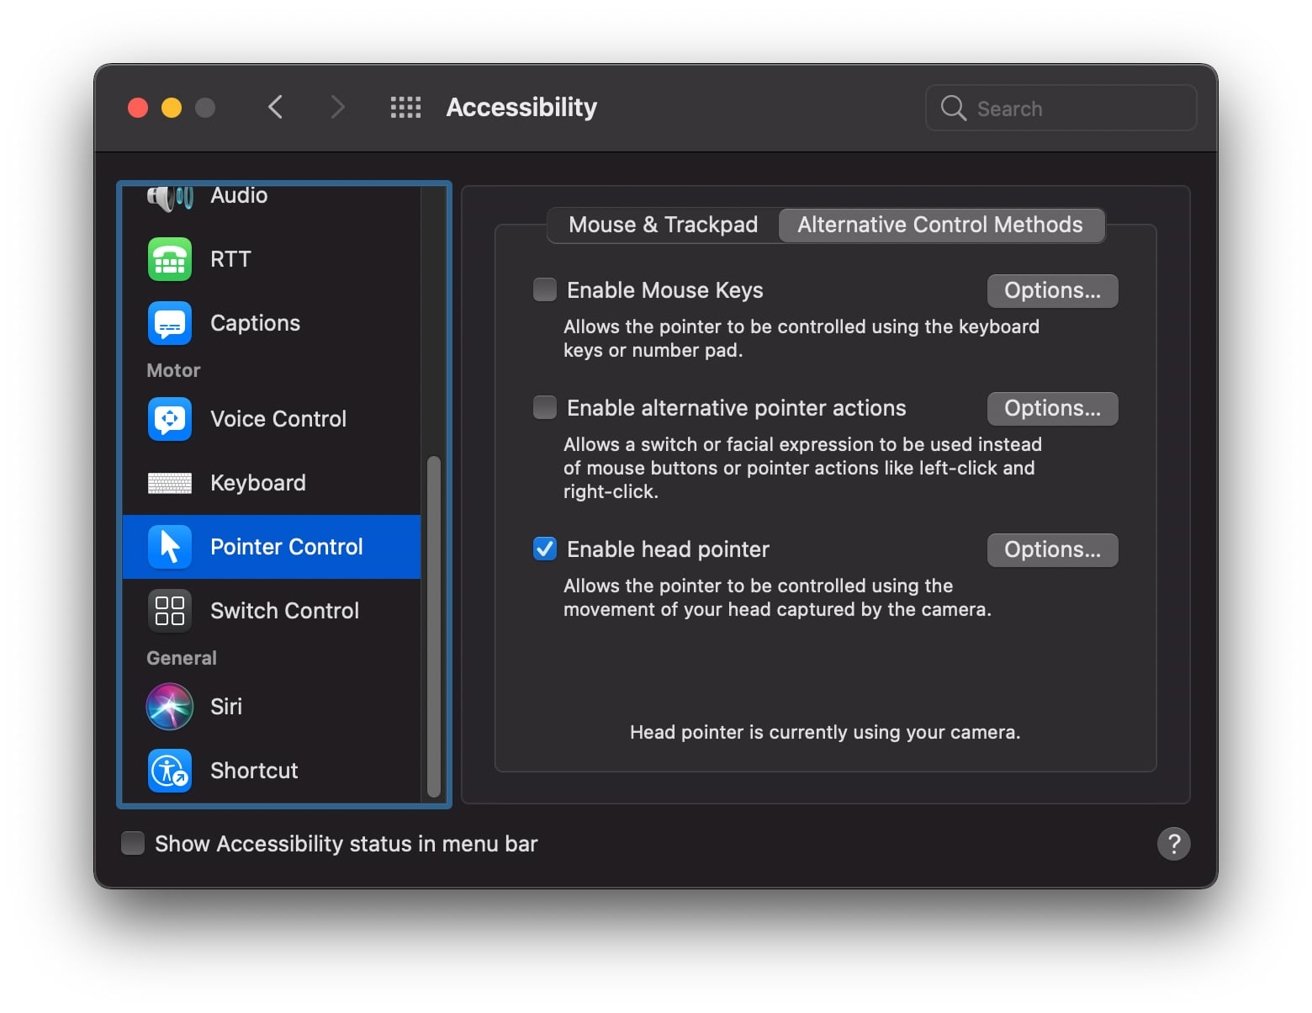
Head Pointer is held in System Preferences' Accessibility menu.
Since the mouse can still be used and overrides any head movements, this system could move the cursor close to where a user intends to use it, simply by moving their head and attention. The mouse could then be used for the last and potentially shorter movement to the icon or element that will be clicked or dragged.
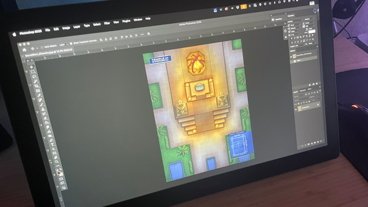
The system isn't entirely perfect, as it does rely on correctly interpreting a video feed from the webcam, one that has been confused in testing by bushy beards and glasses. It's also not entirely precise enough for applications such as finely detailed artwork.
But for getting the mouse in the general area or for simple tasks, it's still a handy tool to have enabled.
Enabling and using Head Pointer
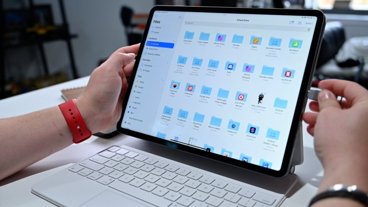
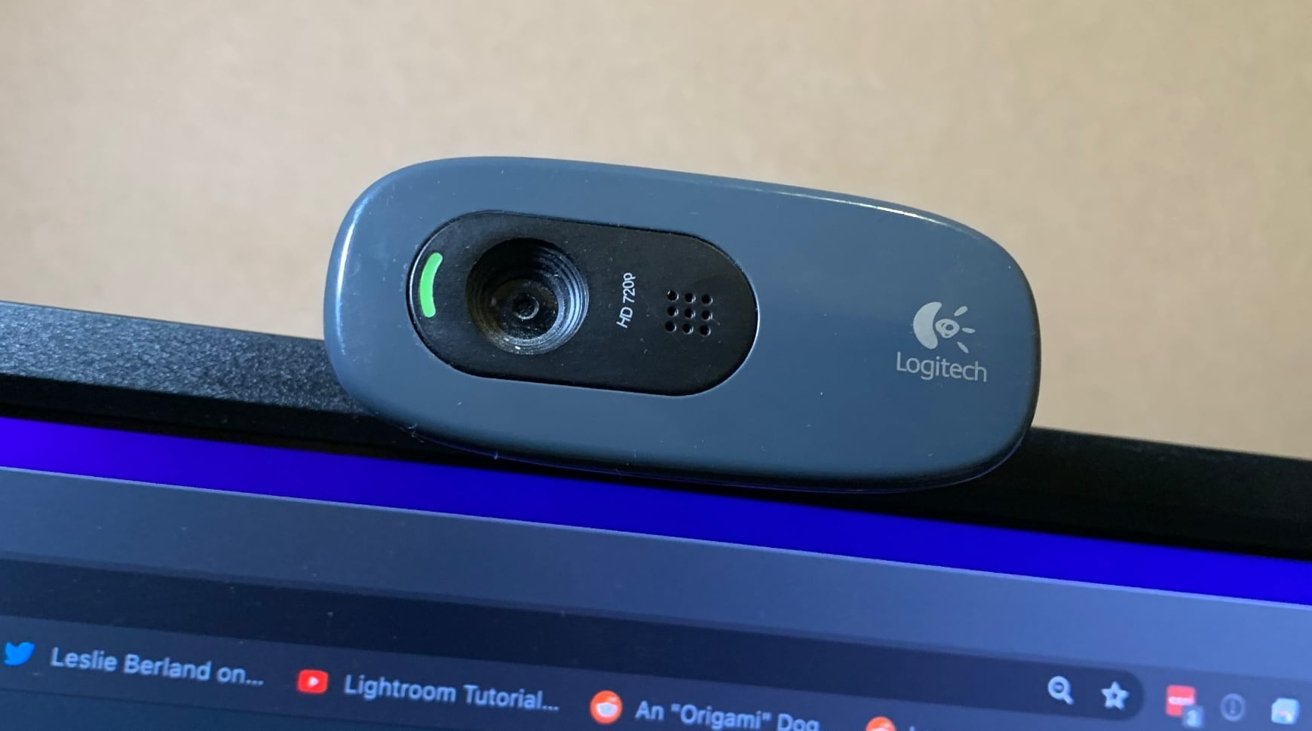
The first thing you need to do is to set up a webcam for your Mac. MacBooks have the FaceTime camera, which can be used, but practically any imaging device you can connect and is considered a webcam by the Mac will do.
How to turn on Head Pointer in macOS
- Click the Apple icon in the menu bar and select System Preferences.
- Select Accessibility.
- Scroll down the left-hand side to reach and select Pointer Control.
- Click the Alternative Control Methods tab.
- Check the checkmark next to Enable head pointer.
Once enabled, macOS will start to interpret your head movements from the webcam's point of view into mouse movements. If you want to refine the controls, click the Options button.
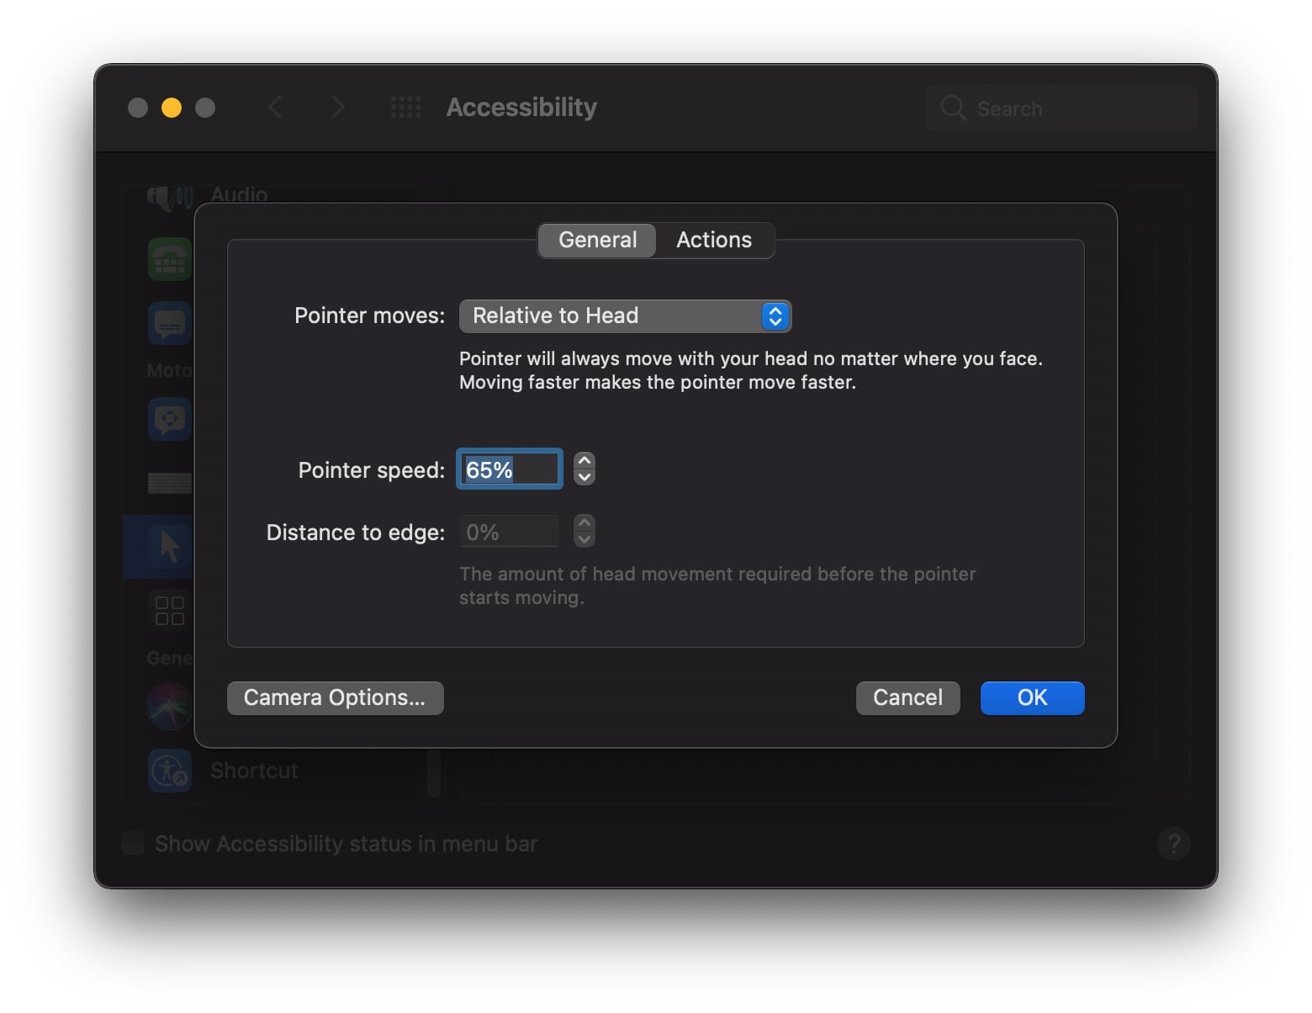
You can change how fast the cursor moves relative to your head.
Under the General section, you can set the system to move the pointer "Relative to Head" or "When Facing Screen Edges." The latter is the more extreme version, while the "Relative" option will be the best for most people.
While it isn't necessarily going to be perfect in its positioning, most of the time, "Relative to Head" will help you get the mouse close to where you intend it to be without trying too hard.
Pointer Speed will dictate how fast the pointer will move around the screen based on your head's movement. Distance to Edge is enabled only when using the "Screen Edges" option and will dictate how much you will need to turn the head before the pointer starts to move.
The Camera Options button will allow you to select the right webcam if you have multiple installed, as well as an Expressions tab that we will get to momentarily.
Actions and Facial Expressions
The Actions tab adds extra controls that you can do with your face, relating to Head Pointer's basic operation.
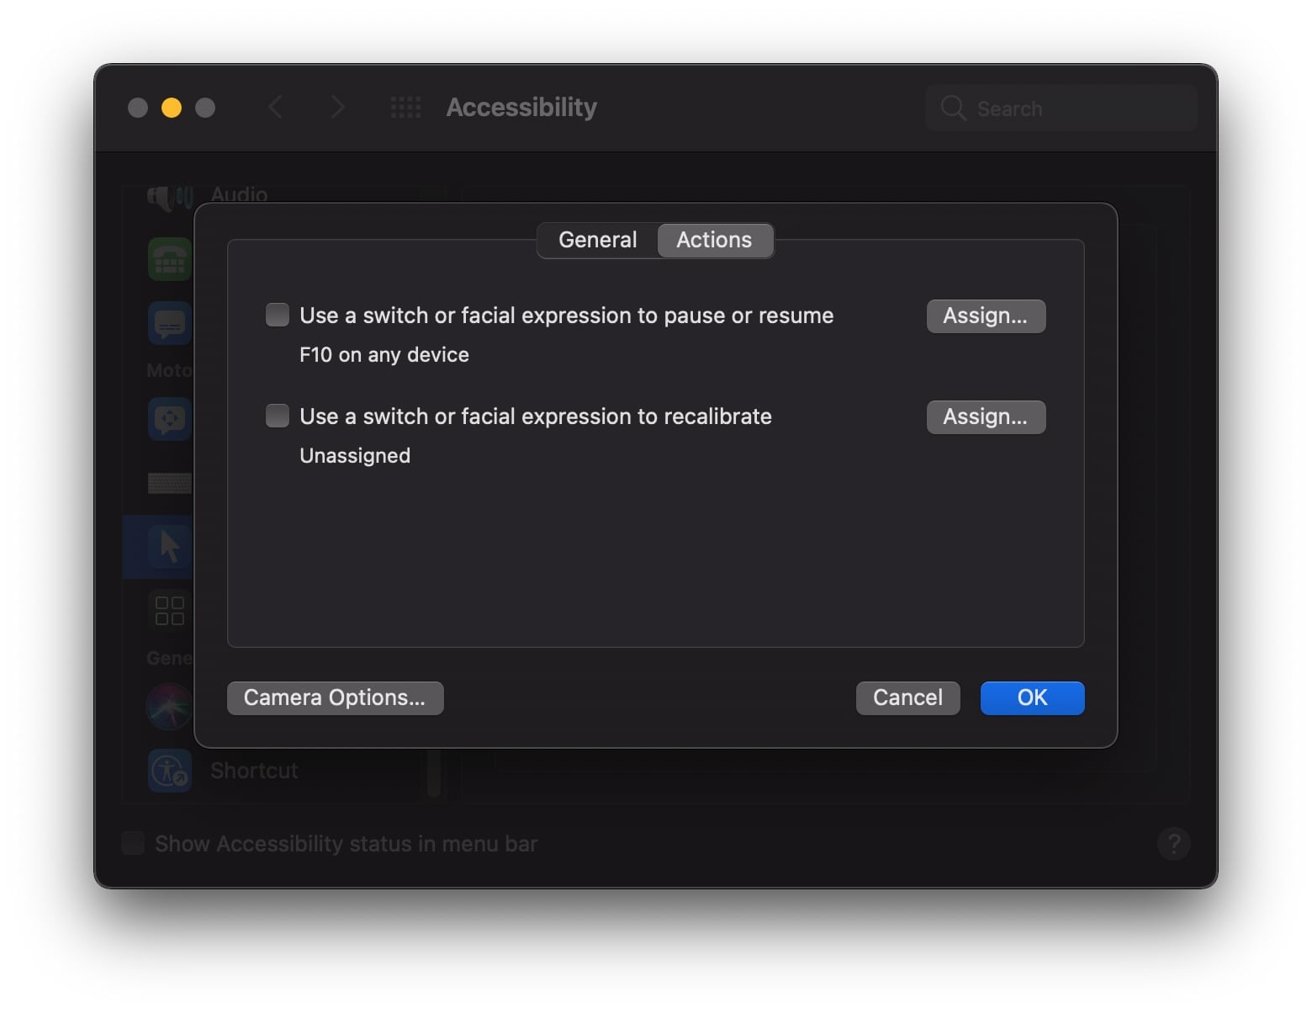
You can set facial expressions to toggle Head Pointer on and off, and to periodically recalibrate.
If the first option is enabled, you can press F10 to turn Head Pointer on and off, though you can also set other commands to toggle it using the Assign button. In that menu, you can define a "Physical Switch" or a keyboard button press to toggle the action, or a facial expression.
You can select from a list of predefined facial expressions, which will similarly toggle it on and off. The list includes a smile, an open mouth gesture, sticking out the tongue, raising the eyebrows, an eye-blink, scrunching the nose, or puckering your lips to the left, right, or outward.
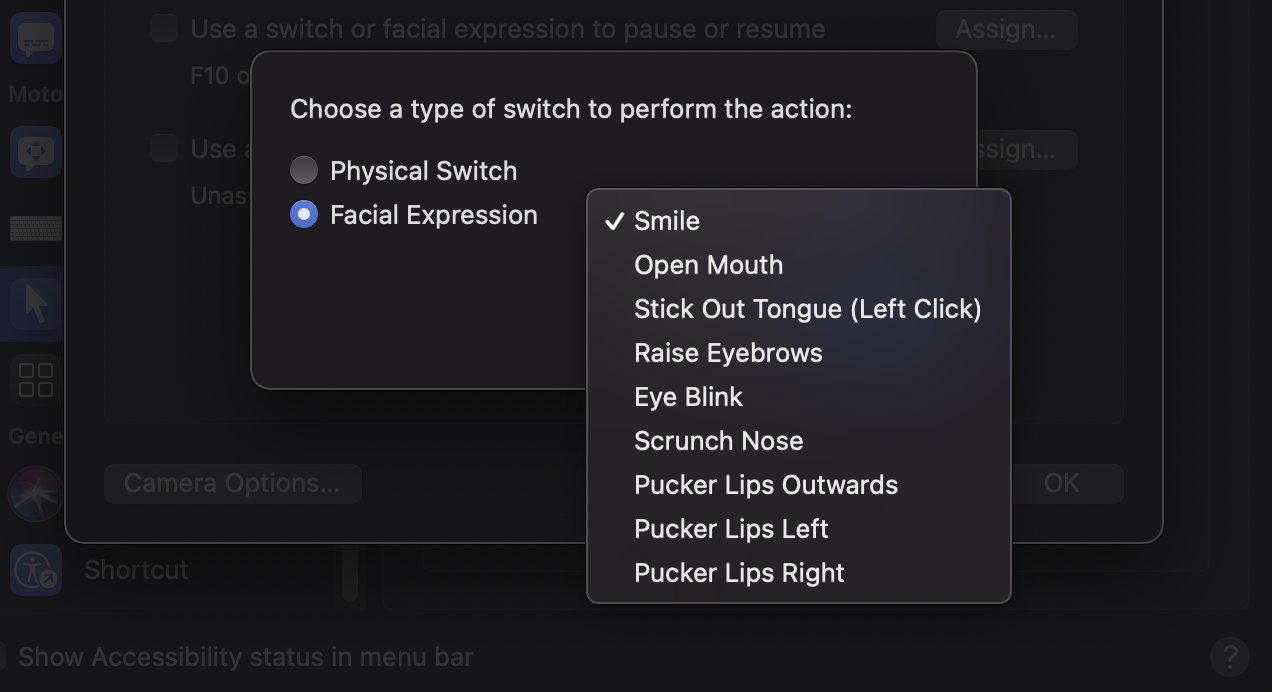
There's quite an extensive list of facial expressions Head Pointer can detect.
There's a similar menu for recalibrating Head Pointer if it's been a while and it's not quite detecting movements, or the cursor's acting wildly. Again, you can define a button, a physical switch, or a facial expression to prompt a recalibration.
You can even configure how much effort you need to put in for a facial expression to be accepted by Head Pointer. Maybe you don't want to stick your tongue out too much, or it's not picking up puckering correctly.
In the Camera Options menu, under Expressions, drop-down boxes allow you to set how much expressiveness you need to count as an intended facial action. The "Default" is the middle setting, but you can set it as "Slight" or "Exaggerated" as needed for each one.
Clicking mouse buttons
While moving your head to shift the cursor is one thing, you may also want to set up some facial expressions to perform some basic actions with the mouse buttons. Tick "Enable alternative pointer actions" and click Options to set this up.
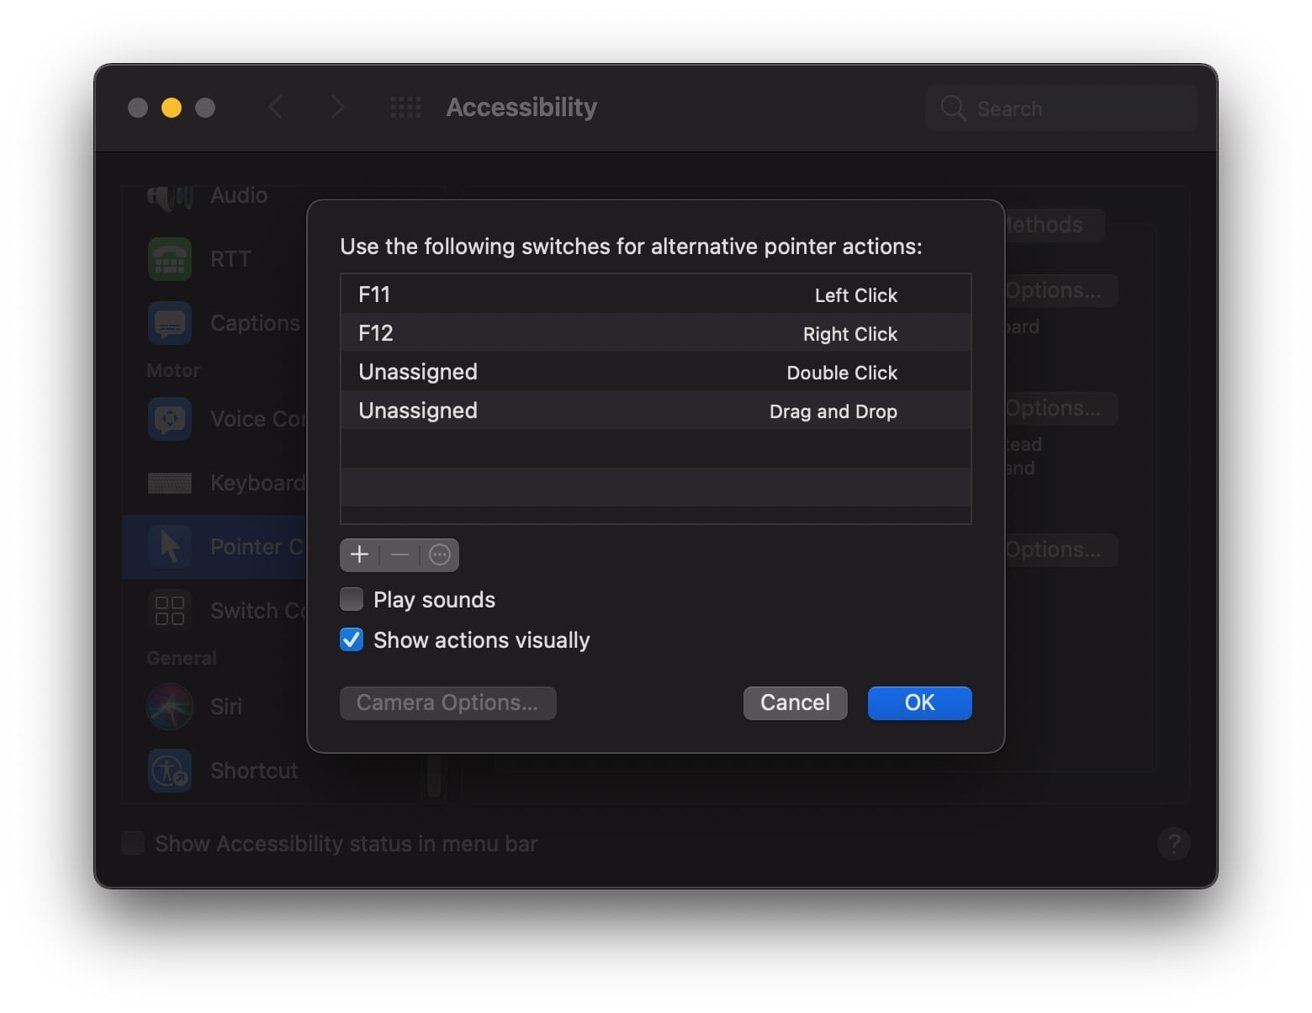
Expressions can be set to trigger mouse button clicks and click combinations.
In the menu, the F11 and F12 keys are set to left-click and right-click by default, with an interface to add more commands. Below are tick boxes, each to show visual indicators or to play a sound when a facial recognition linked to an action is detected.
How to assign a facial expression to a mouse action in Head Pointer for macOS
- Enter the Pointer Control section of the Accessibility menu within System Preferences.
- Click Options next to Enable alternative pointer actions.
- Click the plus symbol.
- Select Facial Expression then Next.
- Select the required Facial Expression from the list.
- Enter a name for the action and facial expression combination.
- Select the action you want to be performed. This covers left and right-clicking, double and triple-clicks, and toggling for a Drag and Drop action.
- Click Done.
- To remove the assignment, select it from the list, then click the minus button and confirm with Delete.
- To edit an assignment, select it from the list, then click the circle button. Make edits and save as before.
Keep up with everything Apple in the weekly AppleInsider Podcast — and get a fast news update from AppleInsider Daily. Just say, "Hey, Siri," to your HomePod mini and ask for these podcasts, and our latest HomeKit Insider episode too. If you want an ad-free main AppleInsider Podcast experience, you can support the AppleInsider podcast by subscribing for $5 per month through Apple's Podcasts app, or via Patreon if you prefer any other podcast player. AppleInsider is also bringing you the best Apple-related deals for Amazon Prime Day 2021. There are bargains before, during, and even after Prime Day on June 21 and 22 — with every deal at your fingertips throughout the event.