While once a Twitter checkmark was a verification symbol, now it can mean someone paid for Twitter Blue. Here's how to use Shortcuts to work out if an account is genuine or willing to pay.
Since Elon Musk took control of Twitter, the micro-blogging service has been in flux. With repeated policy changes over the months, a lot has changed for the site and the app.
One of those changes, and one that's often been complained about, deals with the Twitter checkmark.
The reason why Twitter Verified originally existed was because it indicated the account you were looking at was vetted by Twitter staff and was genuine. It was either the real person (such as for a celebrity) or officially representing a company or organization.
With the potential for anyone to sign up and claim to be someone they're not, the checkmark worked as a way to easily avoid fake accounts.
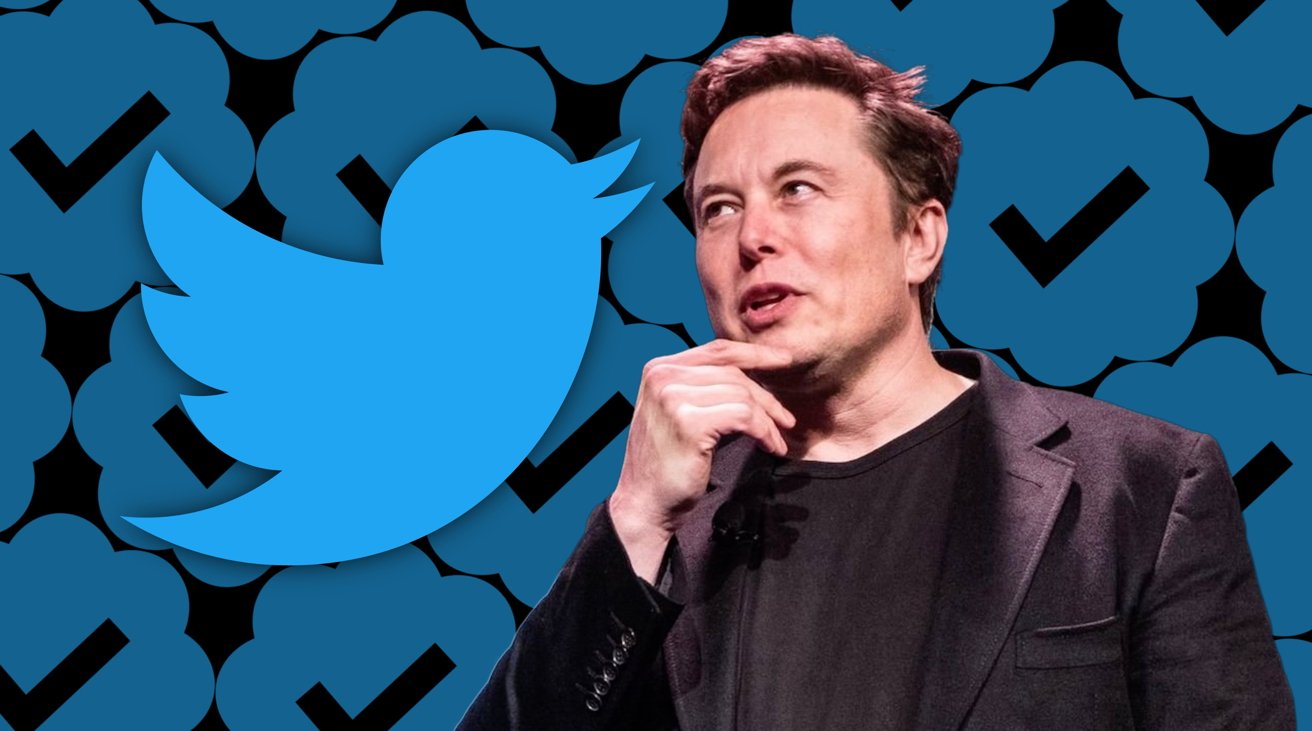
However, under Musk, it was deemed that the checkmark was too valuable to be provided at no cost. Instead, Musk believed that anyone should be able to get a checkmark, and if they signed up for a Twitter Blue subscription, they could get one.
The problem is that, since anyone can get the checkmark simply by paying a monthly fee, there's no guarantee that the account attached to the mark is genuine anymore. It's become a lot easier for accounts to get the mark, including fake ones.
This point was raised early on, but while some headway was made, Musk ultimately believed it was better to carry on and make it a subscriber benefit.
Then there are others who want the checkmark because it's a status symbol. Twitter Blue offers a monthly way to get it, but it's not going to stop the account holder from claiming they are "authenticated" by the company.
We know why Twitter Verified is an important thing for some people: bragging rights. But when everyone claims they're the real deal and can easily get this verification mark, it can get difficult to work out who to trust.
Telling the difference with Checkmate
While you could put a lot of research into each account to work out whether a checkmark is an actual verification or a paid addition, luckily someone's already made a tool that does just that.
"Checkmate," created by Mike Beasley and hosted on RoutineHub, is a compact Shortcut script that does all of the checking for you. That crucially includes explaining why Twitter Verified is on an account.
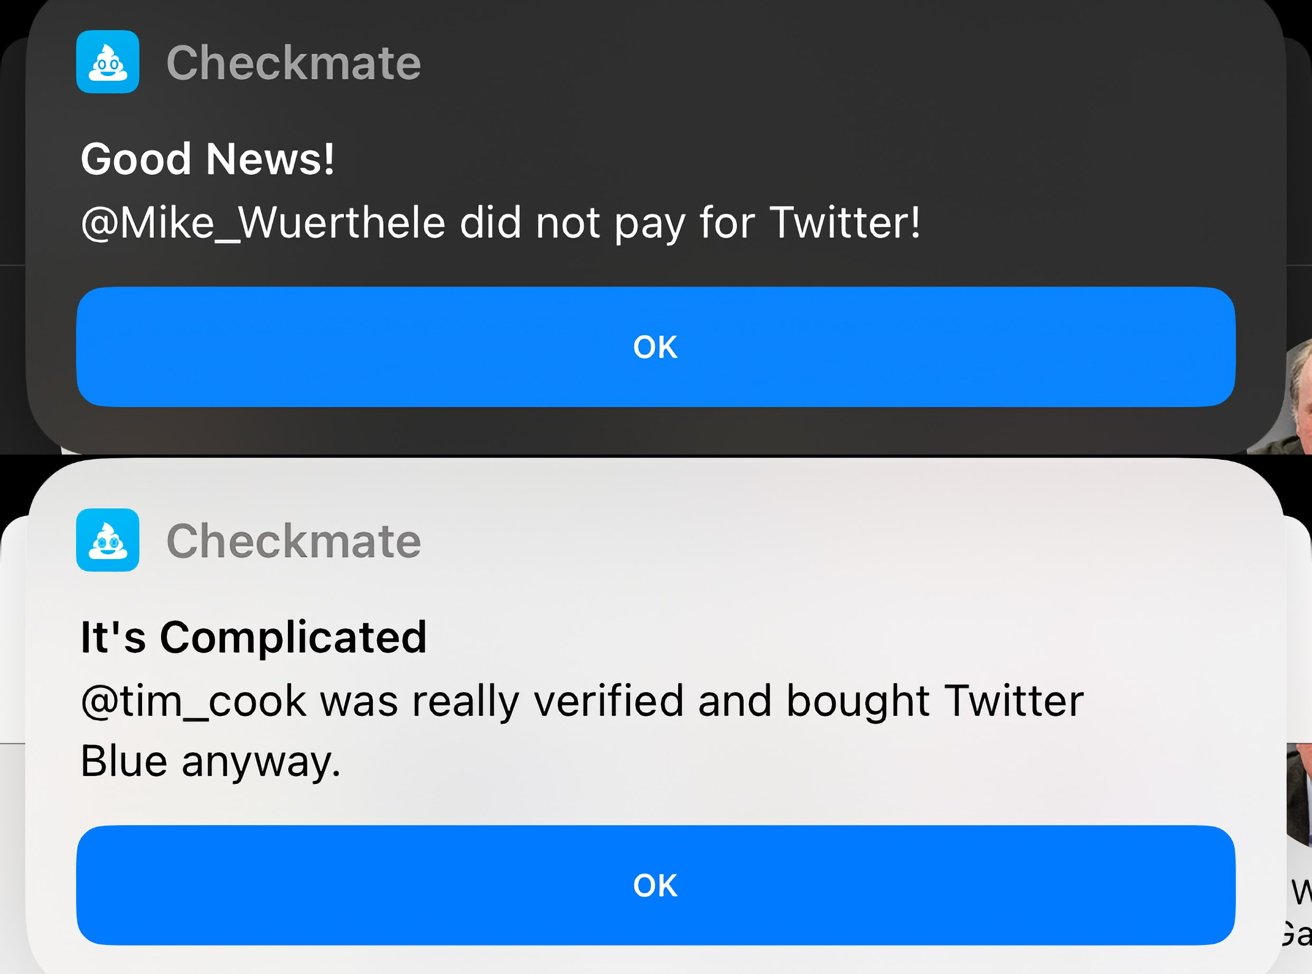
An example of how Checkmate reports Twitter checkmark statuses
When an account is checked, the shortcut will perform various checks to come up with one of four responses:
- The account is notable and didn't pay for Twitter Blue.
- The account is notable and is paying for Twitter Blue.
- The account isn't notable and pays for Twitter Blue,
- Or the user isn't verified at all, as it's neither notable nor paying the subscription.
In two of these situations, the account is notable enough to be verified by Twitter, and the Twitter Blue subscription doesn't matter in either case.
How to install Checkmate
- Open the RoutineHub page for the Checkmate shortcut.
- If you're opening the page on the iPhone or iPad, tap Get Shortcut.
- Alternately, if you open the page in a browser on another device, use the Camera app on your iPhone or iPad and scan the QR code on the page, then visit the page.
- In the Shortcuts app, tap Add Shortcut.
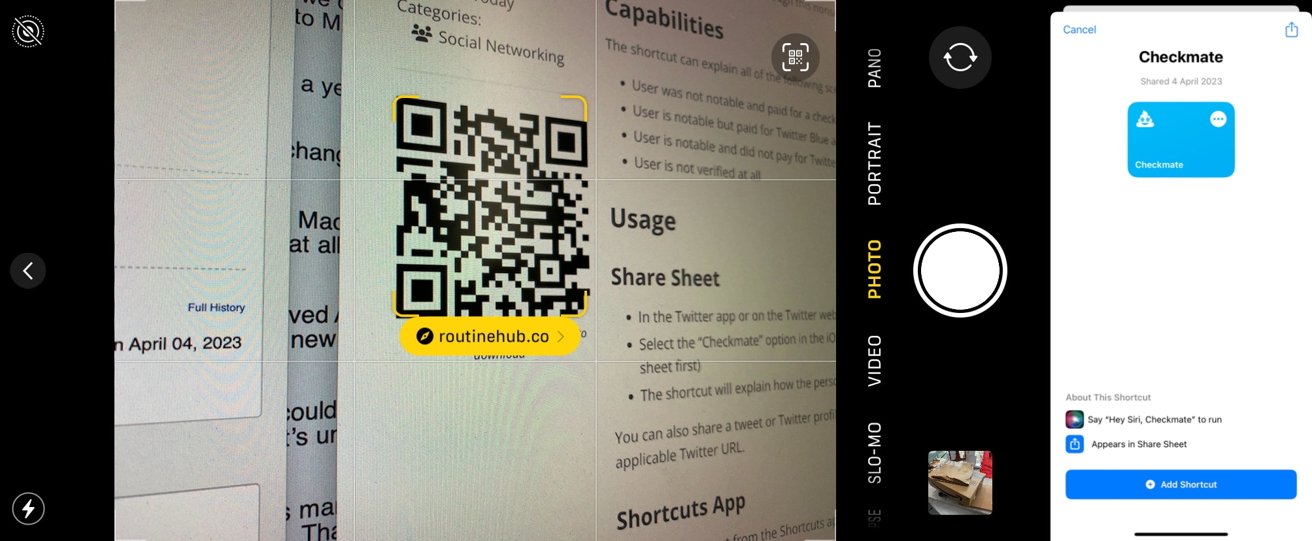
If you open the page in a browser, you can install the Shortcut by scanning the QR code.
How to use Checkmate in a browser or Twitter
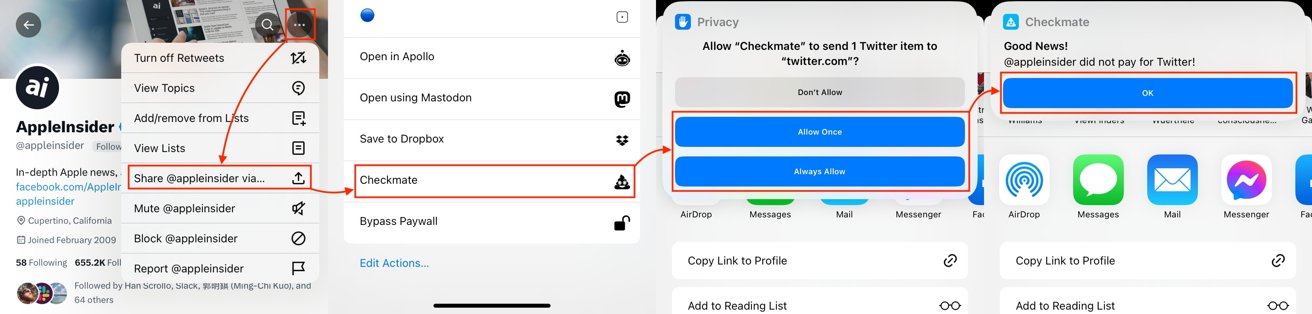
- In the Twitter app or a browser, access the account you wish to check.
- Open the Share Sheet. In the Twitter app, tap the three periods button then Share @Account via
- Select Checkmate on the Share Sheet.
- If the shortcut asks for access to updatekit.mikebeas.com or api.twitter.com, tap Allow.
- When asked to allow Checkmate to send an item to Twitter.com, select Allow Once, or to never be asked again, select Always Allow.
- Checkmate will then show a notification about the checkmark status for the account.
The process of checking Twitter verification with Checkmate
It's also possible to take advantage of Checkmate without necessarily visiting the account itself. So long as you know the Twitter handle, you can do the same check within the Shortcuts app.
How to use Checkmate in Shortcuts
- Open Shortcuts.
- Tap Checkmate.
- When asked, enter a Twitter username to check, then tap Done.
- Checkmate will then show a notification about the checkmark status for the account.