With documents increasingly having an all-digital flow from assignment to submission, Markup and the Files app in iOS and iPadOS are great for students. Here's how to get the most out of them.
Students bringing an iPad to school will be able to have an easier time handling electronic documents and using them to their advantage with the Markup feature and the Files application. Here are how the two can benefit students while in school.
Markup
The Markup feature in iOS and iPadOS allows people to convert any screenshot or webpage into a PDF and mark it up right on the device. You can write in annotations or highlight important portions of text with any color or shade you want.
Being able to do these actions right on the device helps to study material and to retrieve important information from sources easier, simpler, and less of a hassle.
How to create a PDF to use Markup
- Find a webpage or article you would like to markup
- Tap on "Markup" in the share sheet section
- Selecting that will bring you into Markup, automatically converting it into a PDF, and allowing you to mark it up any way you want
- Tap the pencil icon to start marking up the document
- When done, tap "Done" in the upper right of the screen
- Name your document to easily find it later
- Choose which location you would like to save the PDF to and then select "Save"
While that is one way to convert content into a PDF, Apple also allows you to do so via screenshots.
How to convert content into a PDF via a screenshot
- Press either volume button and the power button, or - if using an iPad - take your Apple Pencil and drag it from the bottom left inwards, to take a screenshot
- Once the screenshot is taken, you can edit it right there
- If you tap "Full Screen" in the top center, the device will make all content on the page you screenshot editable and convert it into a full-length PDF
- Once done, tap "Done" on the upper right left of the screen
- Tap "Save PDF to Files"
- Name your document to easily find it later
- Choose which location you would like to save the PDF to and then select "Save"
Markup is a great feature for students because it allows them to markup any document they may receive from their professor or peers and edit it right on their device. With Apple Pencil, it makes marking up documents easier and more precise.
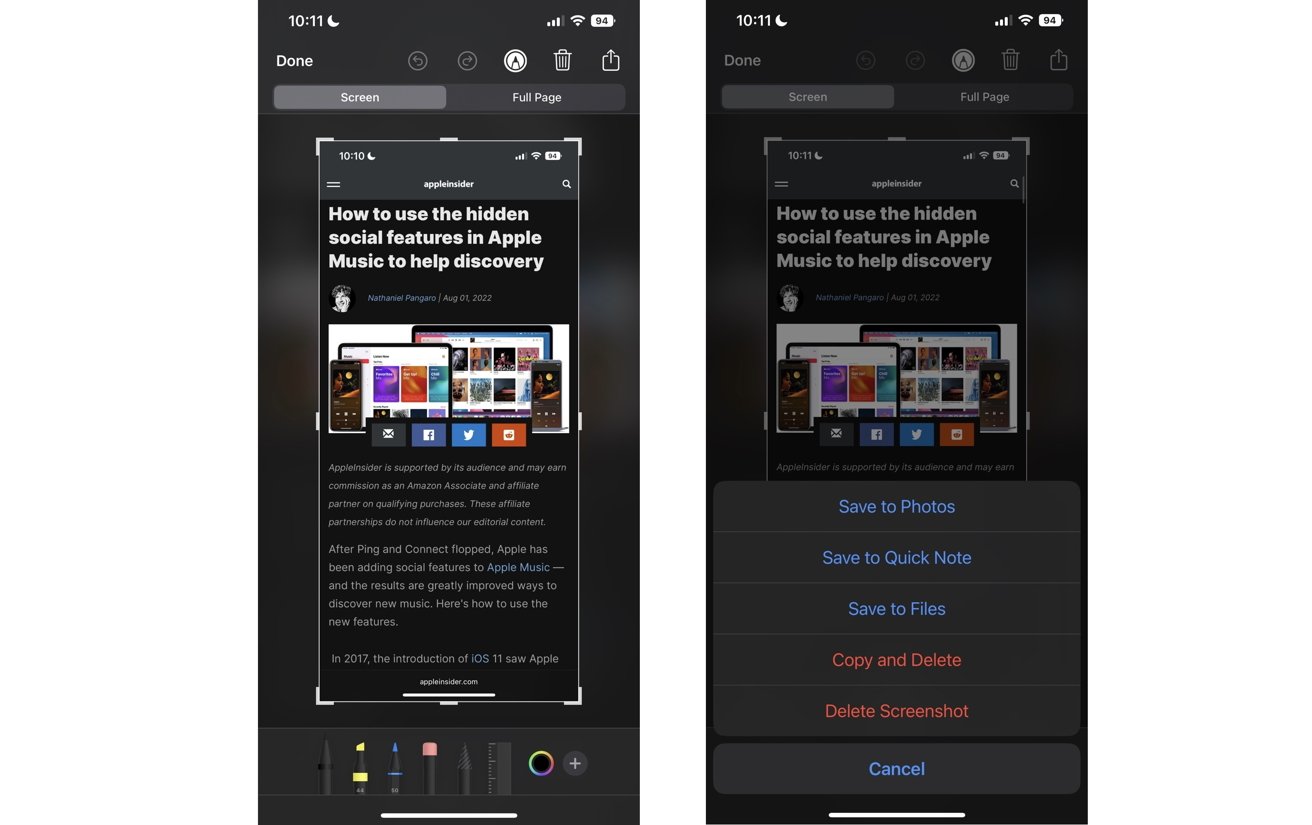 The area to makeup your screenshot (left) and the share screen to save the PDF - and other options (right)
Paired with the Files app, receiving and annotating documents will become simpler and more efficient due to the organizational abilities the Files app has to offer.
Files
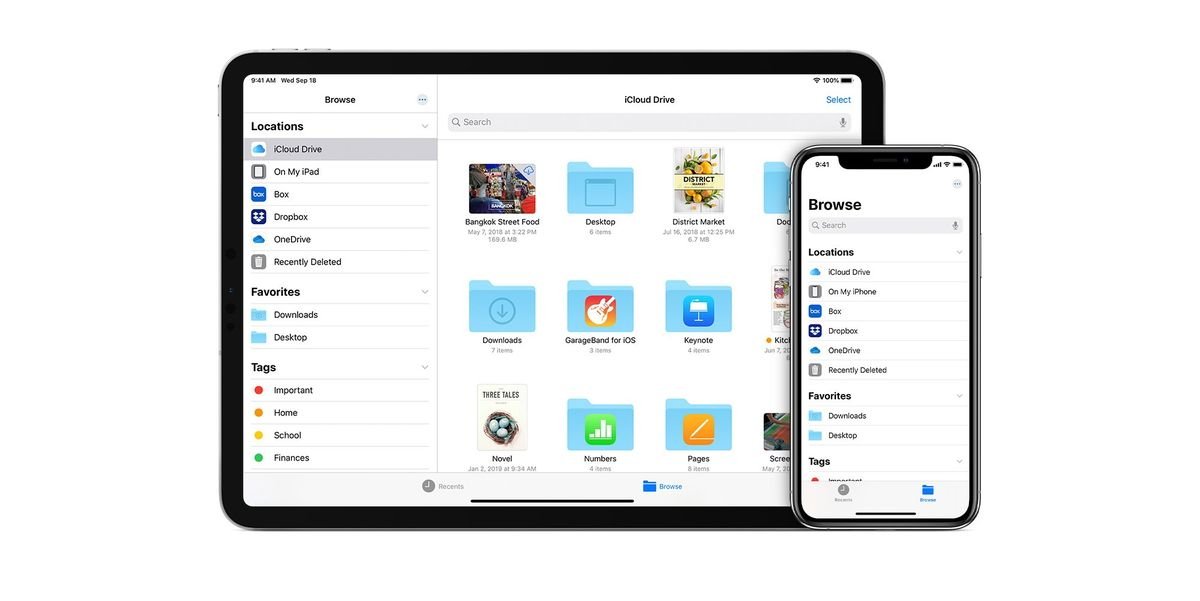
While saving and organizing files may not be the most exciting feature Apple has introduced, the app does offer useful abilities for students.
By being able to create, name, and place folders throughout the application, the organization style is a breeze. Being able to markup PDFs within the app as well is useful too, by allowing students to markup electronic documents supplied to them by their teachers and/or peers.
These features are just scratching the surface of the capabilities the Files app has for students and the Apple community in general.
Third-party accounts
Schools typically have file-sharing accounts individually assigned per student on Google Drive or Outlook (OneDrive). In Files, students can sign into those accounts directly within the app. Once signed in, students can upload, view, and download files from within their account(s).
This feature is very useful because it allows you to handle all your documents in one space. You are even able to transfer documents between cloud-storage services from within the Files app. This means you can take a file that is located in your Google Drive and transfer it to your iCloud Drive with ease.
iCloud file and folder sharing
With iCloud enabled, students can get access to their documents from all of their devices. Edits they make on one document will show on all their devices no matter if they view it from their iPhone, iPad, MacBook, or the web version of iCloud.
This feature is very handy for students who utilize both an iPad and MacBook at school or want to get a quick study session in from their notes on their iPhone.
Folders are also able to be shared and collaborated on within the Files app. You can either select a folder to share the content inside of it or choose to allow other people to add and make changes to it altogether.
Sharing a folder for the content inside of it is simple. You just hold down on the folder and select "Share". Once doing that, you can select how and whom you would like to share the folder with.
How to share a folder to collaborate with other students
- Find the folder you want to collaborate with others on
- Hold down on the folder until the menu appears
- Select "Share" and then wait for the share sheet to appear
- From the share sheet, select "Add People"
- A menu will appear allowing you to choose what app you would like to share the link to the folder on
- Once selecting the app, you can choose the people you want to collaborate on the folder with
- You can choose if you want people to only view the content in the folder or be able to edit them
Sharing iCloud folders and collaborating within and on them is a great way to split up and collect different portions of work from other classmates when working on a project or gathering notes for an exam. It truly is one of the most useful features of the Files app.
Drag and drop
Most classes now have their students hand in their assignments via Blackboard or Canvas, and with this, students can have access to their assignments straight from the Files app and drag and drop their assignments into the corresponding submission box.
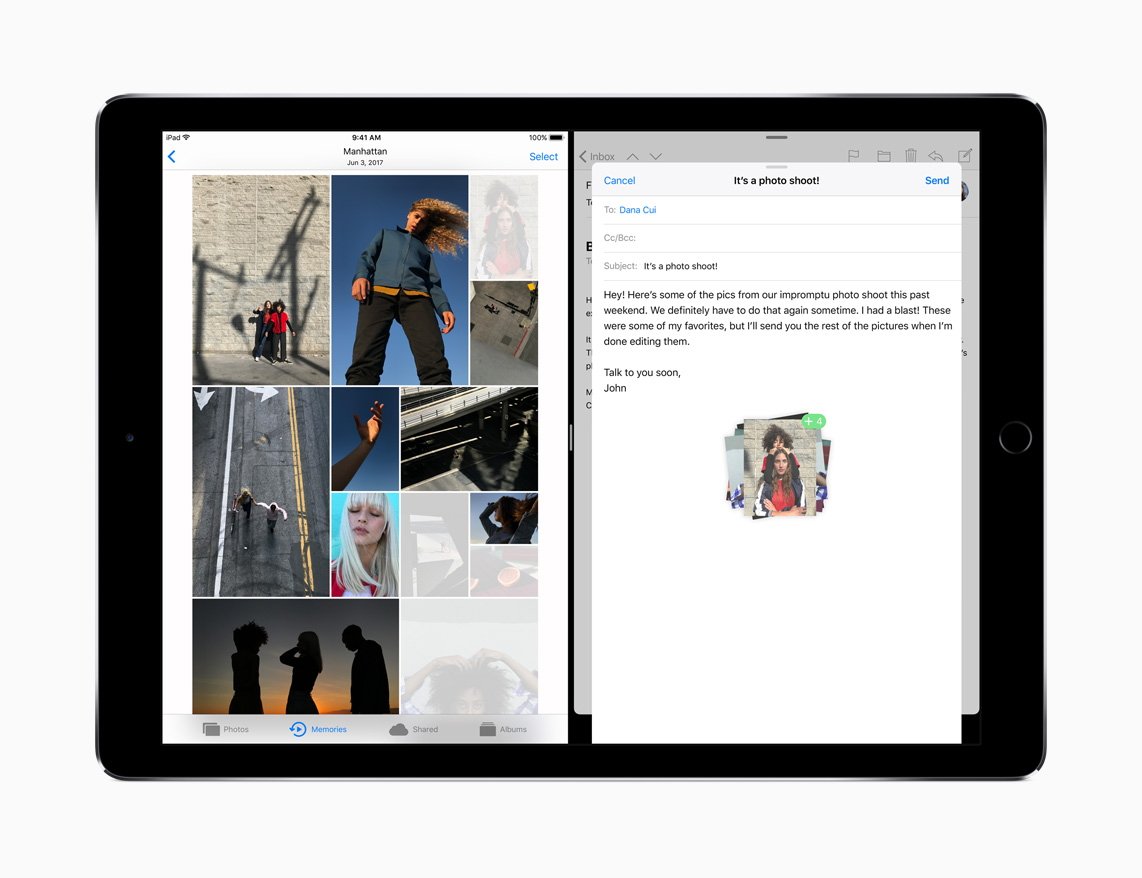
Dragging and dropping in iOS or iPadOS allows students to move photos, folders, and/or documents around the application or into other apps without having to lift a finger. You are also able to drag multiple items at once for faster transfers.
Keep on filing
The Files app is a great way to organize your homework, notes, and worksheets given out during class. With the addition of Markup, it allows you and every student to be able to write, annotate, and highlight nearly any PDF to help you achieve academic success.
The addition of the Apple Pencil and either the Magic Keyboard or Smart Keyboard Folio adds more to the college experience to help students do academic work from anywhere.
The Files app can be accessed on iOS, iPadOS, macOS, and the web version of iCloud.
 Nathaniel Pangaro




 Oliver Haslam
 Thomas Sibilly

 Marko Zivkovic

 Wesley Hilliard
 Malcolm Owen
 Andrew Orr


-m.jpg)


