 Darryl Boxberger
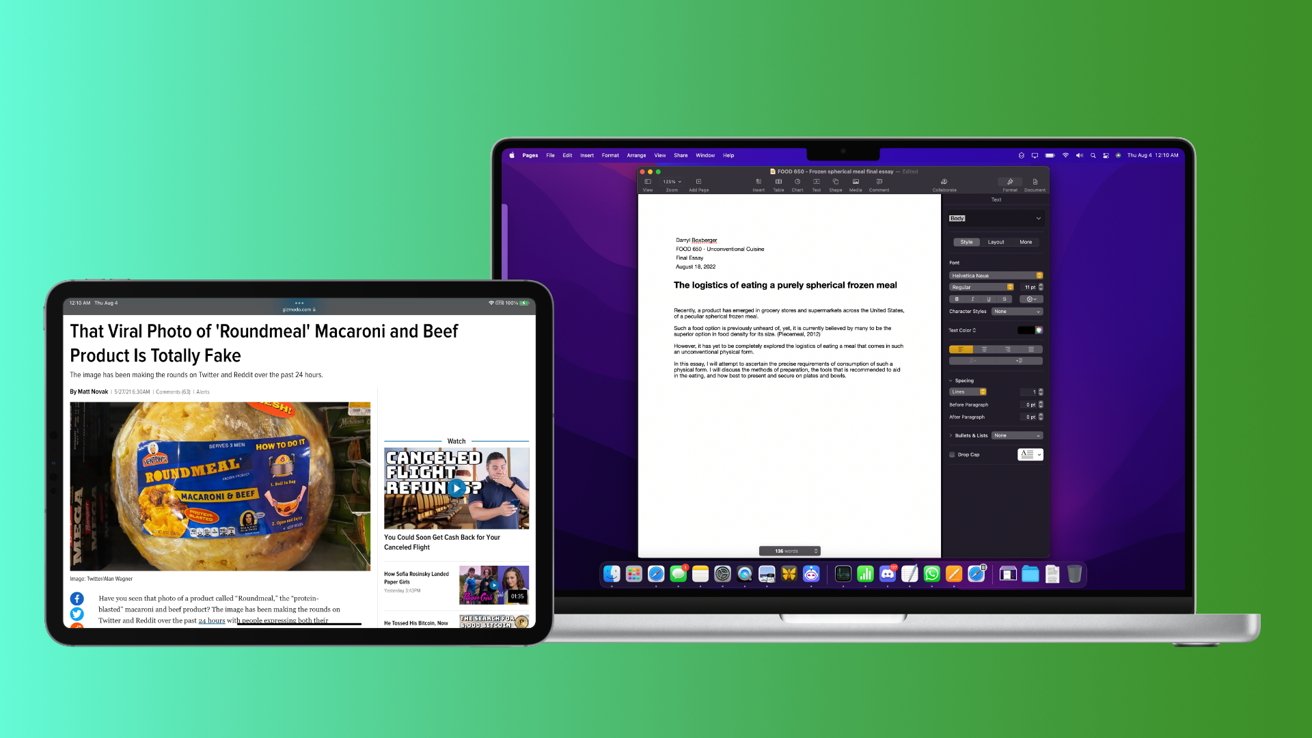
If you are a student and have both a Mac and an iPad, you can make class and revision time way more productive with Universal Control. Here's how to take advantage of the feature.
It's easy to supercharge study and play sessions with Universal Control, which allows you to more flexibly control your iPad and Mac devices.
What is Universal Control?
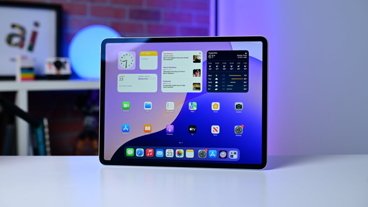
Universal Control allows you to use one set of keyboard and mouse to control up to three total nearby iPad and Mac devices. This is not to be confused with Sidecar, which turns your iPad into an external display for your Mac. The iPad stays on its normal screen with all your files and data in iPadOS. Universal Control allows you to remotely take control of your iPad with the Mac's keyboard and mouse, and vice versa.
All your work currently open on your devices won't be disturbed, and your hands will never have to leave the controls. So if you have study materials open on the iPad next to you while a Zoom class is happening on the main Mac, you can use the keyboard to participate in discussions, all while using the mouse to select other pages of your notes.
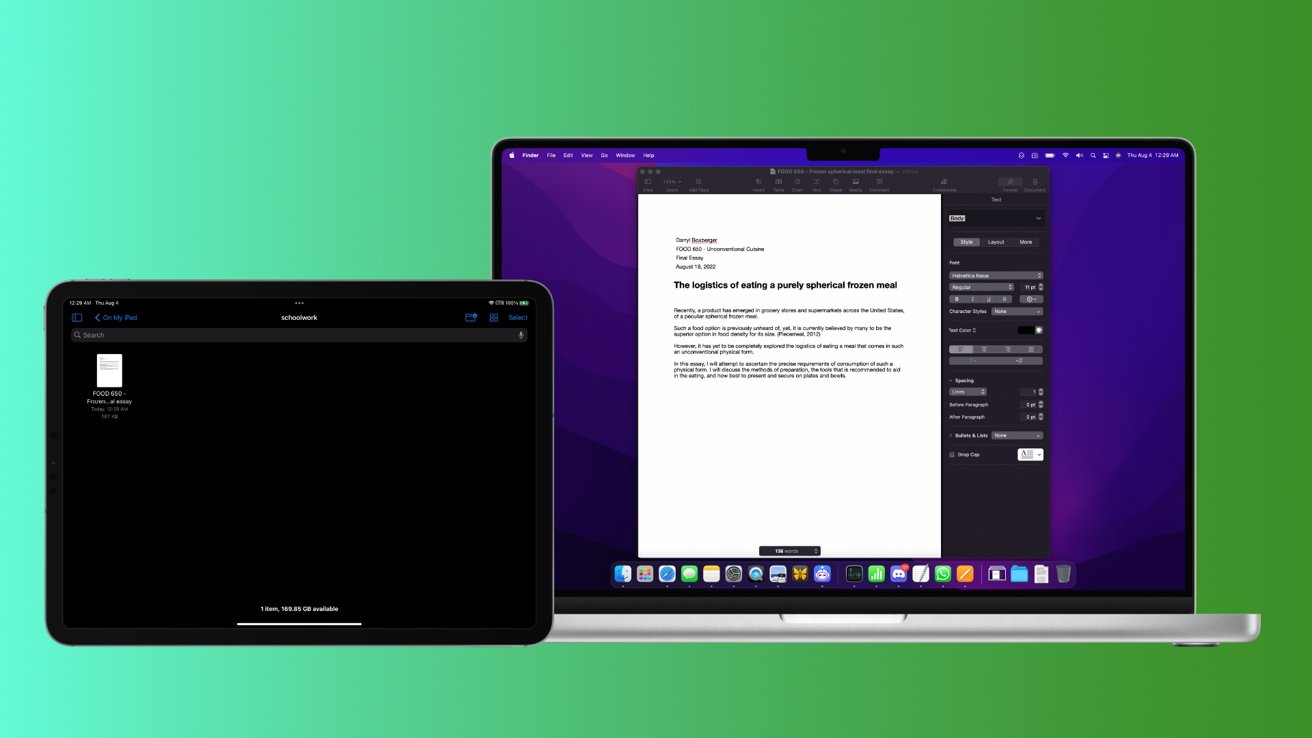
Universal Control also allows easy file transfer, by simply dragging a file between devices, freeing you from having to use flash drives and cloud storage space.
Why Universal Control is the best thing for students
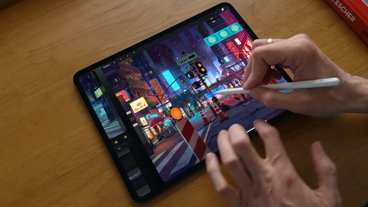
Since the devices remain separate, but controllable from one central set of input devices, you can take advantage of the Mac's keyboard and mouse to control the iPad for finer interfaces like selecting text, and resizing images.
The separation also means that files remain separate, and the active apps remain active and undisturbed.
The feature also enables easy file transfer for both schoolwork and during your downtime, which is way faster than email, using a flash drive, or a shared school drive.You can also mirror the Mac's display for your group project teammates so everyone can look at their own displays and not be crowded together.
How to set up Universal Control
Make sure all the Mac devices are updated to macOS 12.3 Monterey, and all iPad devices are running iPadOS 15.4 or later. Check out our in-depth feature on Universal Control to make sure your devices are ready for the functionality.
All devices in the setup will need to use the same Apple ID account, and be connected to the same Wi-Fi network, and be placed within 30 feet of one another.
If you are in a dorm room with tight desk spaces with all your machines sharing the same school Wi-Fi network, Universal Control will work perfectly.
There is no extra setup required. So long as all the devices are concurrently meeting the requirements, Universal Control is ready to be used.
It is recommended that you further configure settings under the Universal Control options on both iPad and Mac. Here's how to do it.
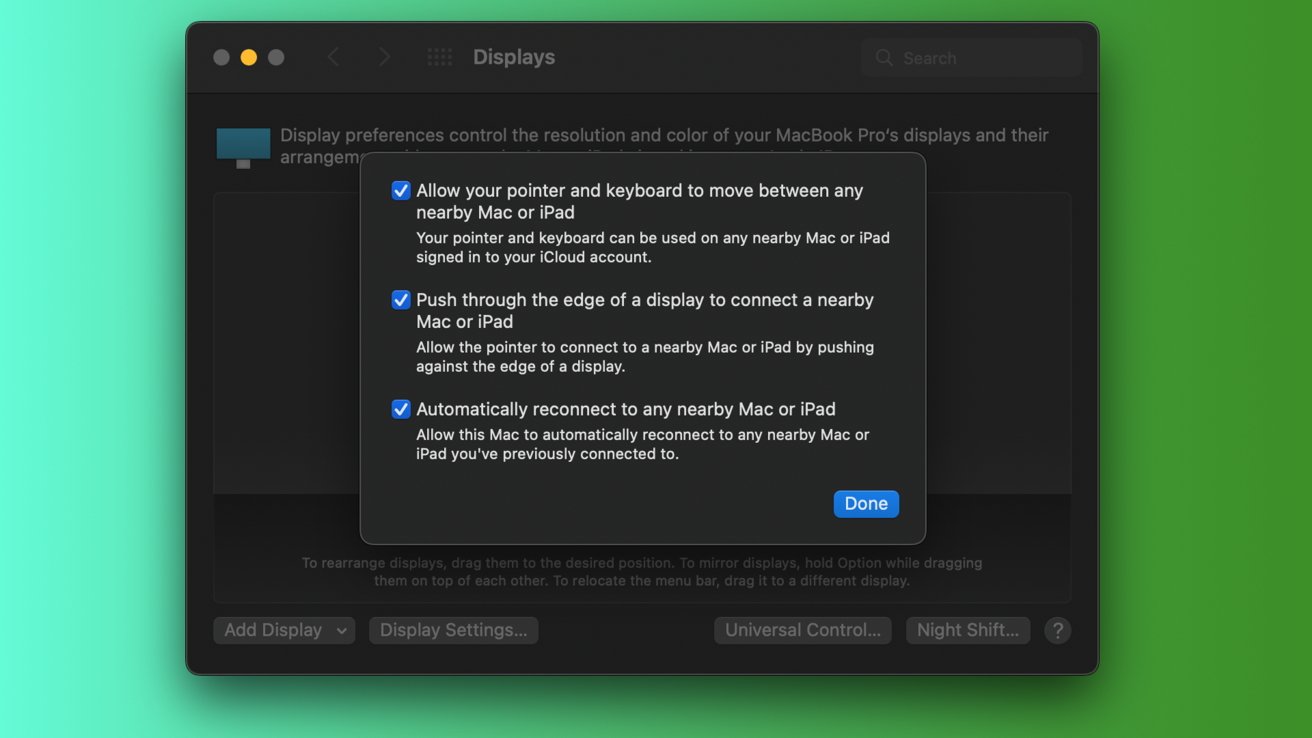
How to change Universal Control settings on the Mac
- On your Mac, launch System Preferences.
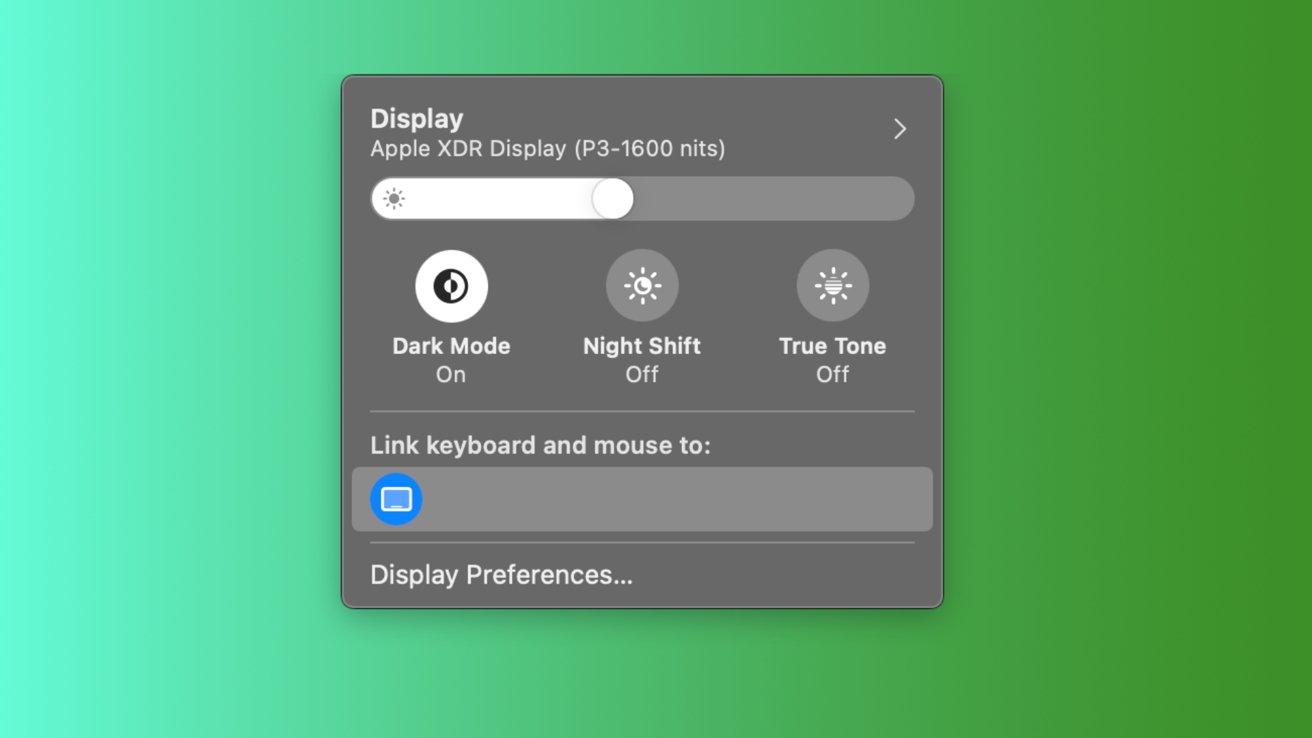
- Click Displays. The Mac will show you the detected setup, but you can change the setup by dragging the display. To set the iPad to mirror the Mac, hold down the Option key and drag the iPad screen onto the Mac.
- To configure Universal Control-specific settings, click Universal Control.
- When done, click Done.
It's also very easy to enable or disable Universal Control on iPad, especially when the feature become buggy.
How to change Universal Control settings on the iPad
- On your iPad, launch Settings.
- Tap General.
- Tap AirPlay & Handoff.
- To enable or disable Universal Control, toggle Cursor and Keyboard.
How to use Universal Control
Since the devices continue to function as if the feature never existed, your notes and lectures will not be switched away or closed down. Simply use the mouse or trackpad on any connected iPad or Mac, and push towards the border of the screen it's attached to. If you have, say, an iPad sitting to the left of the Mac, moving the Mac cursor all the way to the left will invoke an animation on both the iPad and the Mac, letting you know the cursor is about to "break into" the iPad.
Keep pushing, and the cursor will "enter" the iPad and can start interacting with the iPad's content.
Your Mac's built-in mouse and keyboard will now be controlling the iPad, and you can use iPadOS' own multitouch gestures and keyboard shortcuts to get things done faster and with more precision.
So you can have your research material on one side, and your essay on the other, or you can do finer work with a mouse without buying extra peripherals for the iPad.


 Marko Zivkovic
 Malcolm Owen
 Amber Neely

 Wesley Hilliard