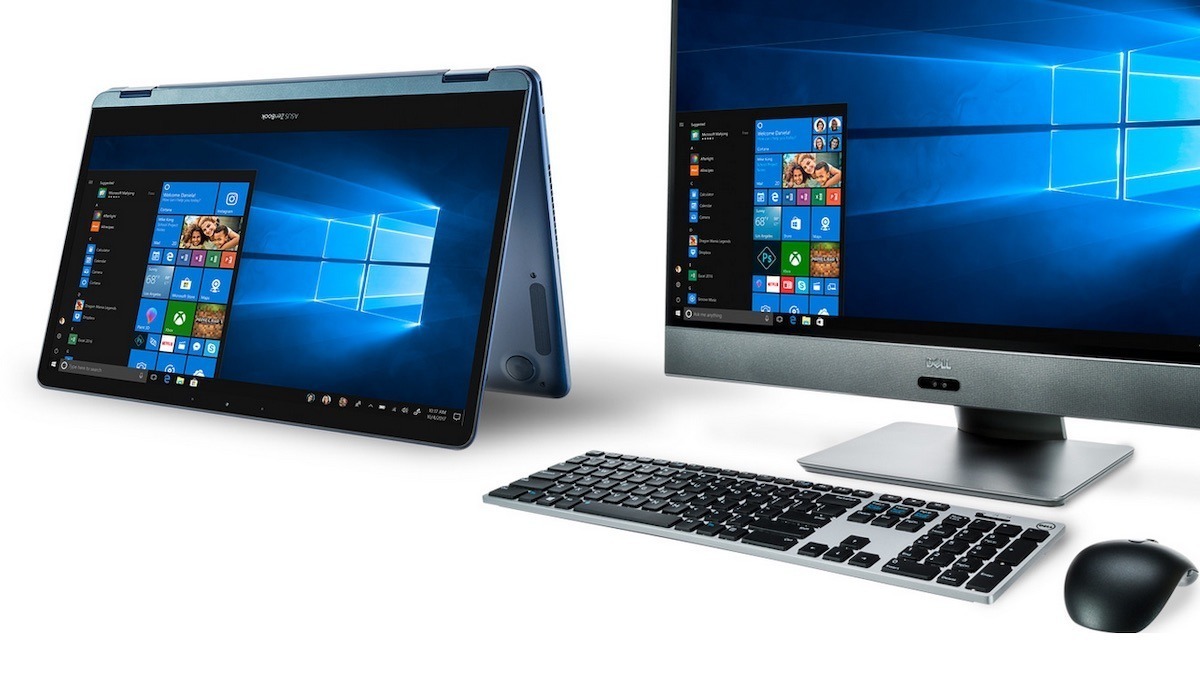
If you're a long-time Windows user, jumping over to macOS may seem to need a lot of effort, but it's a lot easier than it appears at first glance. Here's what you need to know about switching over from PC to Mac.
Most PC users who make the transition over to Mac have to come to terms with what appears to be a major change in the way they think about computing, as Mac and PC seem to be very different environments. This may have been a big hurdle years ago, but after years of people using iPhones and iPads, as well as a greater push for ease-of-use by developers in general, switching isn't really as hard as it appears.
Of course, this doesn't mean that there's nothing to think about for actually making the move over. There are many elements to consider, and the number of things could seem to be overwhelming, but it is an entirely manageable transition.
Whether this is a self-driven transition after buying a Mac, or receiving a gift or a hand-me-down from a well-meaning family member, it's something that you can do over the course of a few hours, and without too many headaches.
Pre-switch considerations
The list of things that you need to think about before moving to Mac can be divided up into three general areas: hardware, software, and data.
PC to Mac - Hardware considerations
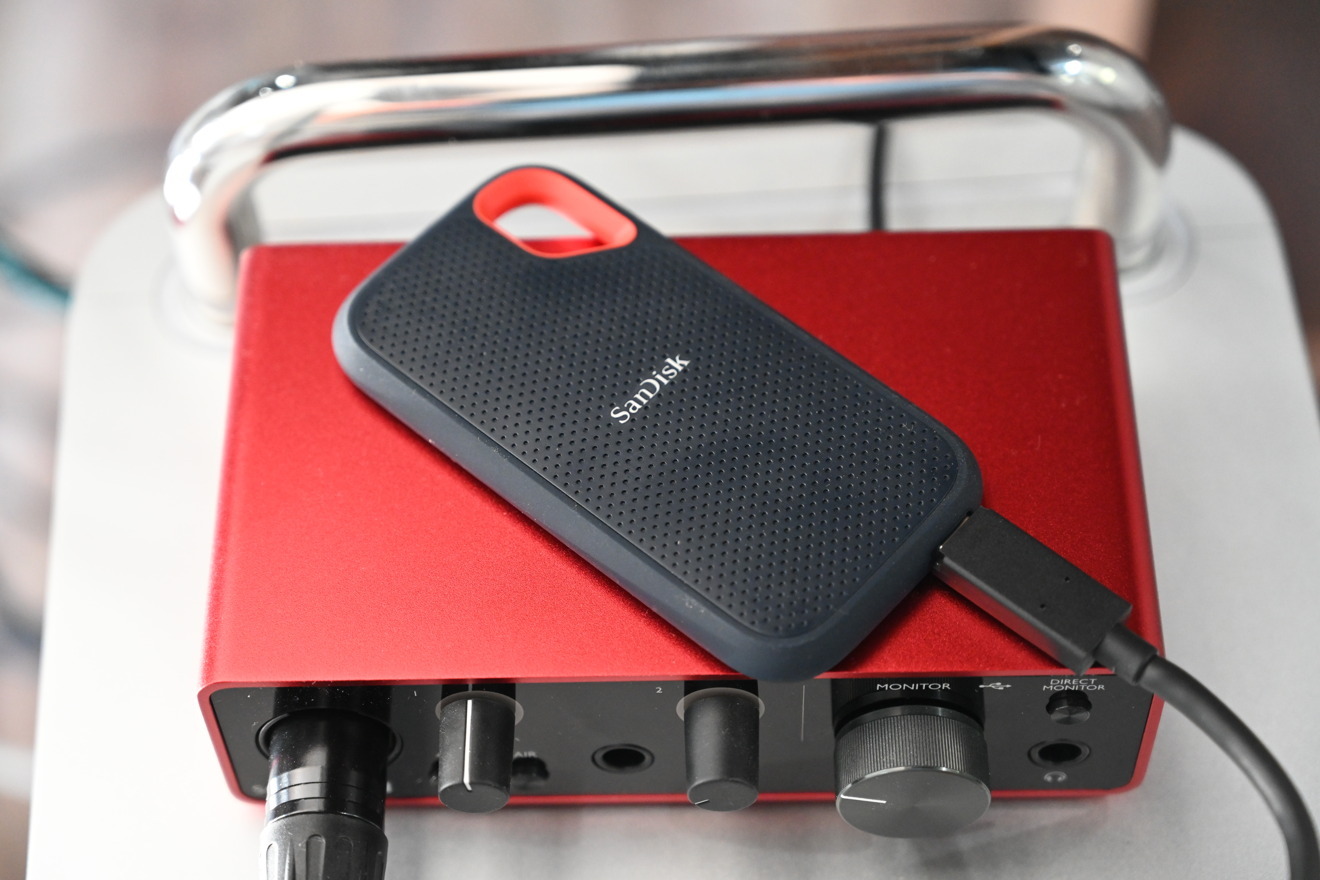
Obviously, you don't have to worry about most of the hardware in a switch, as practically nothing within a desktop PC enclosure or a notebook will be physically moving over to the Mac. The only real exception here would be if you were to take a hard drive out from the PC and install it into an external drive enclosure to connect to your Mac's USB or Thunderbolt ports, but that's it.
You're probably better off thinking about the hardware that you will be connecting up to your new Mac. This is especially true for a Mac mini, as while a MacBook Pro has a built-in display, keyboard, and trackpad, you do not have any of those with the Mac mini out of the box.

The M1 Mac mini has many familiar connections to use with your existing peripherals and hardware.
In the case of the Mac mini, you will have to consider how to connect a monitor to it, as well as a keyboard and mouse, and a network cable if applicable. Luckily, the back of the Mac mini has a plethora of standard ports, which makes it easy to hook things up, such as HDMI, Thunderbolt, and USB.
By contrast, you're not going to be able to hook up as many devices straight away to one of the MacBook lineup, due to the use of relatively few Thunderbolt ports. You may need to consider acquiring dongles or a Thunderbolt dock if you absolutely have to connect external hardware to a MacBook.
In some instances, it may be worth looking into acquiring wireless versions, such as a Bluetooth wireless mouse, to save from needing a dongle.
You may also use this as an opportunity to check if the hardware you are going to connect up to your Mac is actually compatible. In the vast majority of cases, peripherals and other hardware you can connect to a PC will work as intended with a Mac, even if it's not specifically labeled as doing so.
For extremely old peripherals, and rarely for newer devices, there is a chance that you can't simply plug and play with a Mac. In these situations, your best solution is to acquire drivers or supportive software from the manufacturer's website, if they are available.
PC to Mac - software considerations
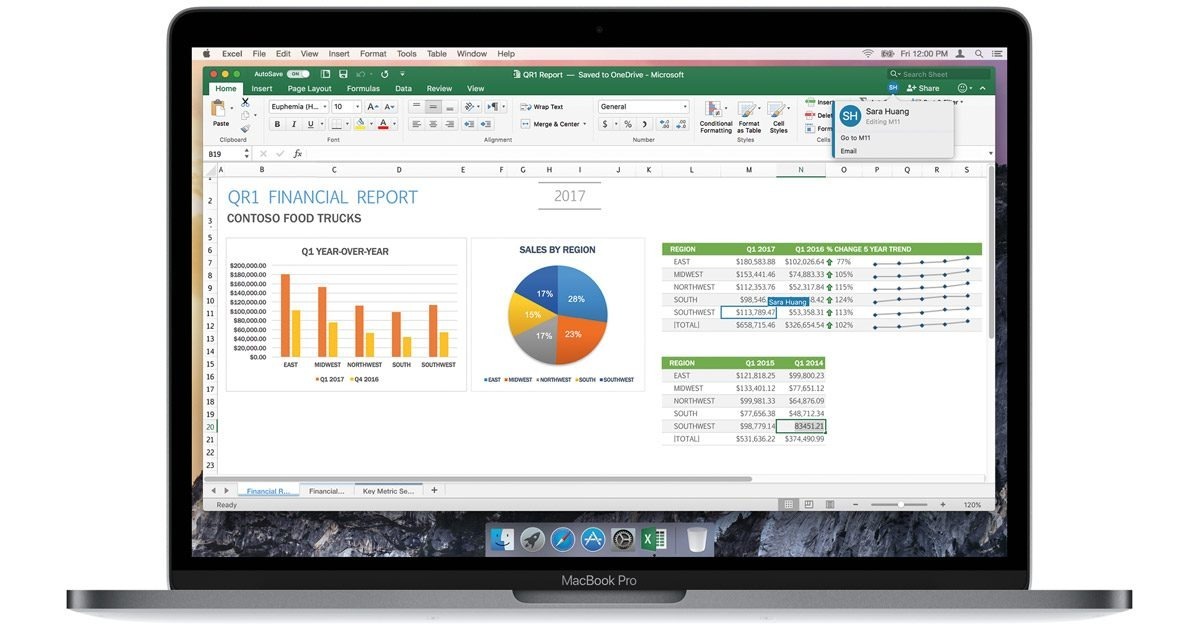
The good news here is that, just as most hardware works across both Windows and Mac with little trouble, you're also going to encounter the same situation for a lot of software. In many cases, you will find that there is a macOS version of an application that exists, complementing the Windows version.
This is especially true for mainstream software suites and other big-name apps. For example, Microsoft Office exists on macOS, as does Adobe's Creative Cloud range, and even many games available on Steam. There's also web-centric apps and communication tools that naturally have Mac versions available, including Skype, Zoom, Slack, and others.
Of course, for apps created by smaller teams, older tools, and software made just for a Windows audience, there probably isn't a Mac version available, but that is becoming a rarer thing as time moves on.
In cases where there isn't a macOS app of a Windows program, there are countless alternates you can acquire that do the same job. This isn't just limited to apps that don't have a Mac counterpart, but also many that are perfectly suitable alternates to ones that do. For example, Adobe's Photoshop could be easily replaced by Pixelmator Pro, while Microsoft Access data could be imported into FileMaker Pro
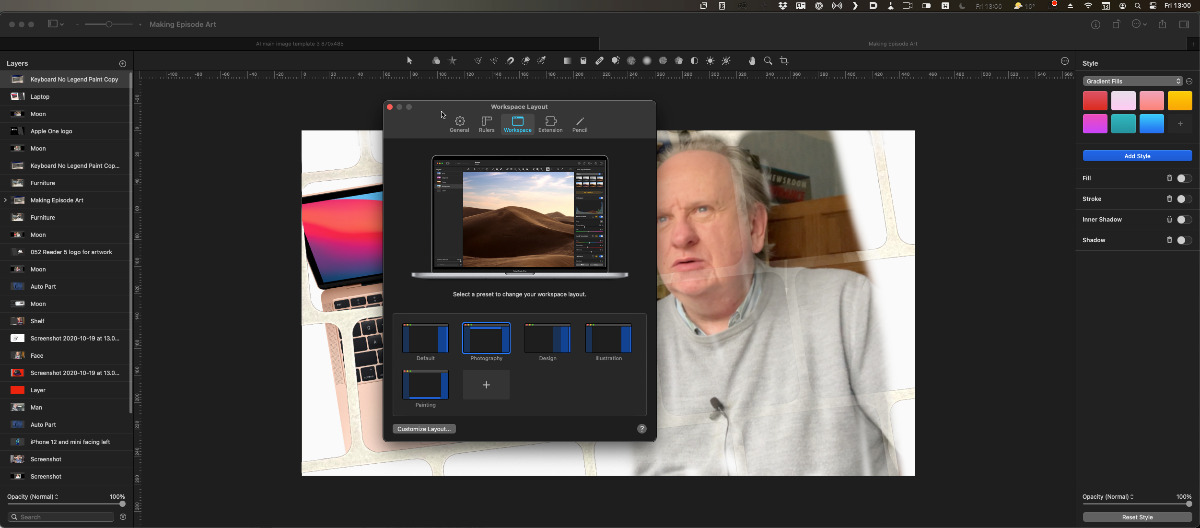
Pixelmator Pro, an example of a great app that exists on macOS, but not Windows.
Apple also has a wide collection of apps included as part of macOS for free, including GarageBand for music creation, the iWork suite for productivity, and Safari and Mail for web-browsing and email. It is highly recommended that you try out Apple's built-in apps and tools, as they may do the task you need doing without buying more apps.
As for where to find apps to install, you could always use a web browser to download installers from the developers directly, but iPhone and iPad owners may be more at home using the Mac App Store, the macOS variant of Apple's App Store. Searching, buying, and downloading apps through the Mac App Store is practically as effortless as doing it on iOS or iPadOS, and anyone used to the mobile version will be able to quickly figure out and use the Mac version.
In extremely rare situations where a Mac-compatible version or a suitable alternate to a Windows app isn't available to you, there are still ways you could get that app running on your new Mac.
If you have an Intel-based Mac, you have the option to install Windows on it using Apple's Bootcamp. The option isn't available on Apple Silicon Macs yet, but that will likely change down the line.
The benefit is that you will have a way to run a Windows app on your Mac, because you're running actual Windows. The problem with Bootcamp is that you have to completely exit macOS to run Windows on Bootcamp, which can be a fuss for many.
Alternately, virtualization software such as Parallels and VMWare Fusion is coming out with support for Apple Silicon alongside existing Intel versions. The virtualization software can be used to install a form of Windows that can run apps while within macOS, which allows you to share data between the Windows app and macOS apps.
Given that you will still have a working PC on hand, remember that you can always run your Windows-only applications on that for the moment, at least until you get a Mac equivalent running.
PC to Mac - Data considerations
The immediate good news for your data is that most of your files created in Windows will be entirely readable in macOS, so long as the file has been copied across to the Mac, and you have an application capable of opening it. Given the number of applications that have both Mac and PC variants that handle the same file types, you shouldn't have any trouble opening the vast majority of files you transfer over.
Just as mentioned above, in cases where an application isn't available in macOS but an alternative can be used, that should also be an acceptable compromise. Developers tend to include compatibility for file types beyond the native ones used by their app, which is a useful thing to know.
Be aware of some application foibles with files you move from Windows to Mac, such as a date bug in Microsoft Excel.
Do bear in mind that this extended compatibility doesn't usually apply to all historical versions of an app. Opening a file created in a very old version of a Windows-based program in an alternative app for macOS may not work in some cases, but it is worth trying anyway.
File foibles also exist across the same app on different ecosystems, which may need investigating for some users with mission-critical software and files they want to use. For example, as Excel for Mac uses a different base date for calculations, this could cause issues when trying to open a Windows-created Excel spreadsheet on a Mac, as the wrong results for dates may be shown. Excel should figure out the disparity on opening the file, but it's not foolproof.
PC to Mac - Transferring your data
A key problem is working out the best way to transfer your data across from the PC over to the Mac, and it's not necessarily as straightforward as simply copying files onto a USB thumb drive and transferring them over one by one.
For a start, Apple offers what it calls the Windows Migration Assistant, a software tool for your PC that can be used to transfer data across a network to a new Mac. Usable on Windows 7 or later, the tool will be able to transfer a plethora of data types from default data stores on the PC to their equivalents on the Mac.
What data does Windows Migration Assistant transfer to a Mac?
- Emails, contacts, and calendar information.
- Outlook contacts, appointments, and mailbox settings (32-bit version only).
- Windows Live Mail email settings and emails.
- Windows Mail contacts, email settings, and emails.
- Bookmarks from Internet Explorer, Safari for Windows, and Firefox.
- A variety of system settings including language and location, and custom desktop pictures.
- Photos and other images.
- Media from iTunes.
- Files from the top-level folder of the currently logged-in user's home directory.
- Non-system files stored in the Windows or Program Files folders.
- Top-level folders located on the Windows system disk and other attached disks.
This data can be transferred over at the time of initially setting up the Mac via Setup Assistant, or by using the Mac's Migration Assistant. Before doing so, ensure you have sufficient backups for your Windows PC, and that the two are on the same network. Ethernet would be best for faster file transfers.
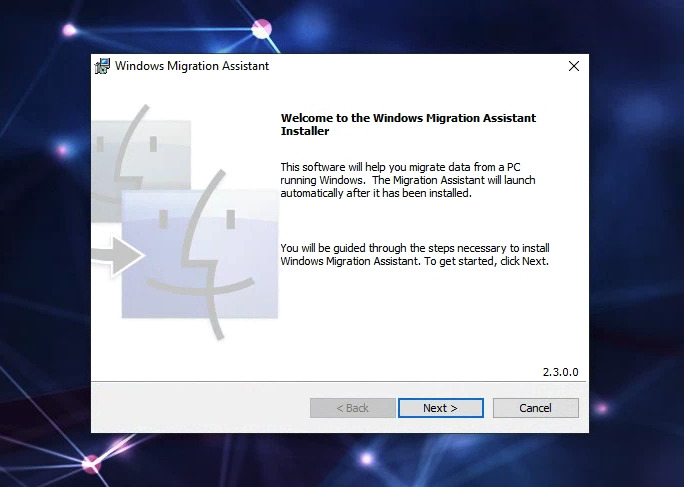
The installer for the Windows Migration Assistant is only a few megabytes in size to download. Make sure you get the right one for your target version of macOS.
Be aware that there are multiple versions of Windows Migration Assistant, specifically for macOS Big Sur, macOS Mojave and macOS Catalina, macOS Sierra and High Sierra, and for earlier generations. All require a PC running Windows 7 to function.
How to use Windows Migration Assistant to move data to a Mac
- Install Windows Migration Assistant on the Windows PC. Download the version that matches the version of macOS that is installed on the Mac.
- Open Windows Migration Assistant on the PC.
- Either turn on the new Mac and wait for the Setup Assistant, or on an already set up Mac, open Migration Assistant from the Applications folder.
- Follow the prompts on the Mac version until it asks what system you want to migrate from. Select From a Windows PC and click continue.
- Enter the administrator name and password into the Mac Migration Assistant. Click continue.
- Select the Windows PC from the list displayed on the Mac.
- Check the displays of both the PC and Mac to make sure they're showing the same passcode. Click Continue on both systems.
- After scanning the PC, the Mac will show data types it can migrate across. Tick next to items you want to transfer, then click continue.
- After migrating, close the Windows Migration Assistant on the PC, and log into the Mac.
- Set a new password for your Mac's user account.
The migration will do a lot of the heavy lifting for transferring important data, but it won't necessarily catch everything. You should check through the Mac data to ensure the files you want to be transferred are now on the Mac.
If there are files missing, you could use a USB thumb drive or set up a network share to transfer your files across.
It is also feasible to remove the drive from the PC and place it into a USB enclosure to connect directly to the Mac, as it will be capable of reading files from drives formatted for Windows systems. While macOS can read NTFS-formatted drives, a format typically favored by Windows, it cannot write to the drive, so keep that in mind.
You could always use an external drive to copy across files you want to keep, if you want to have more control over what moves and what is left behind.
Another migration option is to take advantage of cloud storage. Applications like the Adobe Creative Cloud suite and Microsoft Office offer cloud storage elements as part of their subscriptions, which can be used to store user files that each respective system uses.
In many cases, files are automatically saved to cloud storage to enable access on other devices. This means the files stored online would be immediately accessible once the Mac version of the app has been installed and user accounts authenticated.
Using cloud storage in this way is meant to be for convenience of access, but for migrations, it can also prove itself to be quite valuable, especially for work documents.
Post-migration suggestions
Adjusting to how macOS works may take a while, and there's only so much we can cover in this article, but it is set up to be fairly straightforward and quite similar to Windows in a number of ways. You will need to take time to learn of the differences, but that's part of the switching experience.
For example, iTunes doesn't exist in macOS anymore, with it instead split off into separate apps for Podcasts, Music, and TV. You'll find your transferred content available to view in each of the apps, if you used the Migration Assistant.
The Start button of Windows has its Mac equivalent, in the form of Launchpad, which is accessible from the Dock. You could also use Finder, Apple's alternative to File Explorer, to access the Applications folder, which contains apps not located in the Dock.
Keyboard shortcuts are generally the same as Windows equivalents, but instead of the Windows key and Alt, you'll be using Command and Option. A primary example is Command-X, Command-C, Command-V, and Command-Z, which are macOS' common Cut, Copy, Paste, and Undo shortcuts.
Apple has published a list of common shortcuts you can use within macOS and its apps.
If you want to change a major setting, you will have to access System Preferences, which you can access from the Apple icon in the top-right of the screen.
Since you've copied your files over to the Mac, now would be a great time to invest in an external drive and to use it for Time Machine, Apple's backup system. The last thing you want is for your hard work from migrating your precious data to go to waste, so get a backup done as soon as you can.
Lastly, if you're having trouble, look for assistance. There's support documents accessible from the Help option in the menu for most apps, while Apple has its own extensive online support pages you can search through for specific problems.