How to add and remove devices from Apple's Find My
 William Gallagher
Apple has extended Find My to help you locate third-party devices too
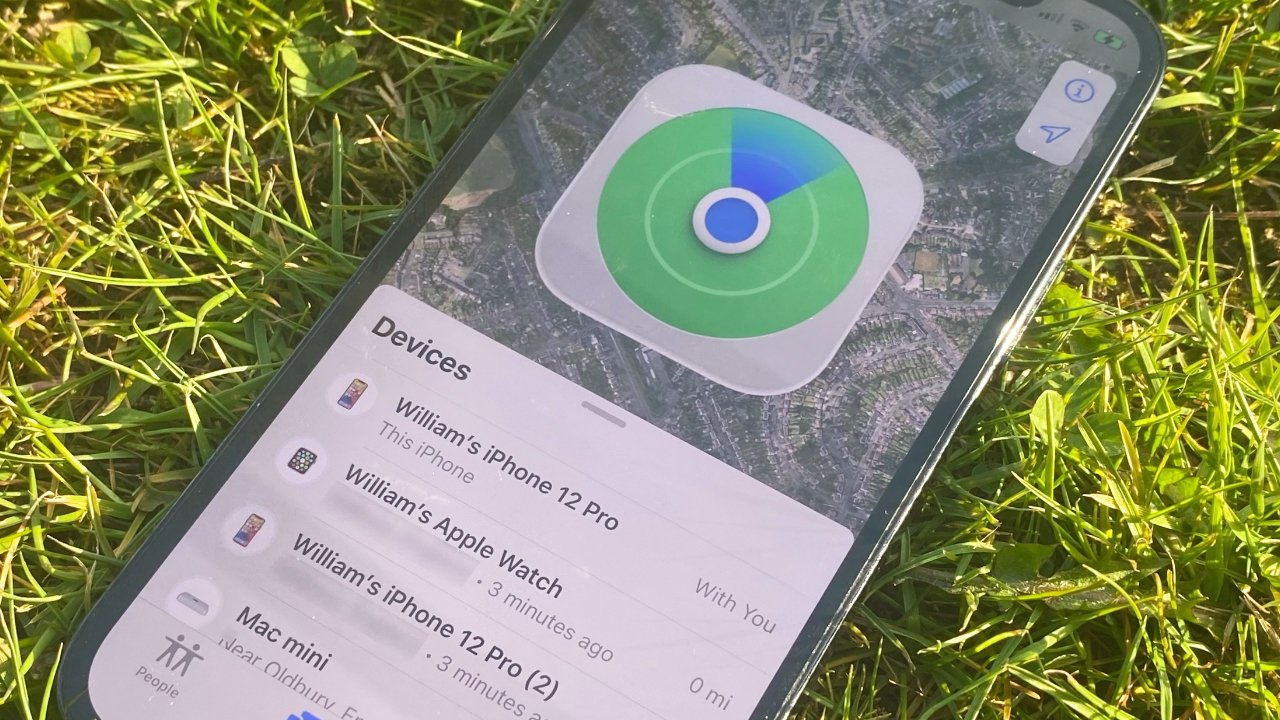
Now that we can add certain third-party accessories to Find My, that service for locating misplaced devices is going to prove ever more useful. Here's how to set it up, add devices — and remove them, too.
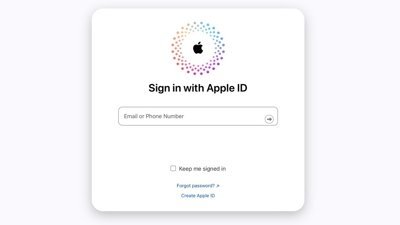
Until that panicked moment when you realise that you've misplaced your AirPods, you're likely to regard Find My has just one of the things you have to do when setting up an iPhone. Set up Face ID, sign in with your Apple ID, set up Find My.
We go through it quickly and most of us, most of the time, never needed to think about it again — and certain never wanted to. Now that Apple has extended the service to third-party devices, though, it's going to become a much more familiar part of our routine.
Next time you buy an expensive device that can be tracked through Find My, for instance, you're now going to add it. And when you sell that device, you're going to want to remove it.
With this one development, Find My has become significantly more useful and so it's going to be significantly more used. If you didn't set it up when you got your new iPhone, do it now.
How to set up Find My on iPhone
- Go to Settings, then tap on your name
- Choose Find My from the list that appears
- Tap on Find My iPhone at the top of the screen
- Turn on Find My iPhone, Find My network, and Send Last Location
- Get back out to the main screen of Settings
- Now tap on Settings
- Choose Location Services
- Tap to turn on Location Services
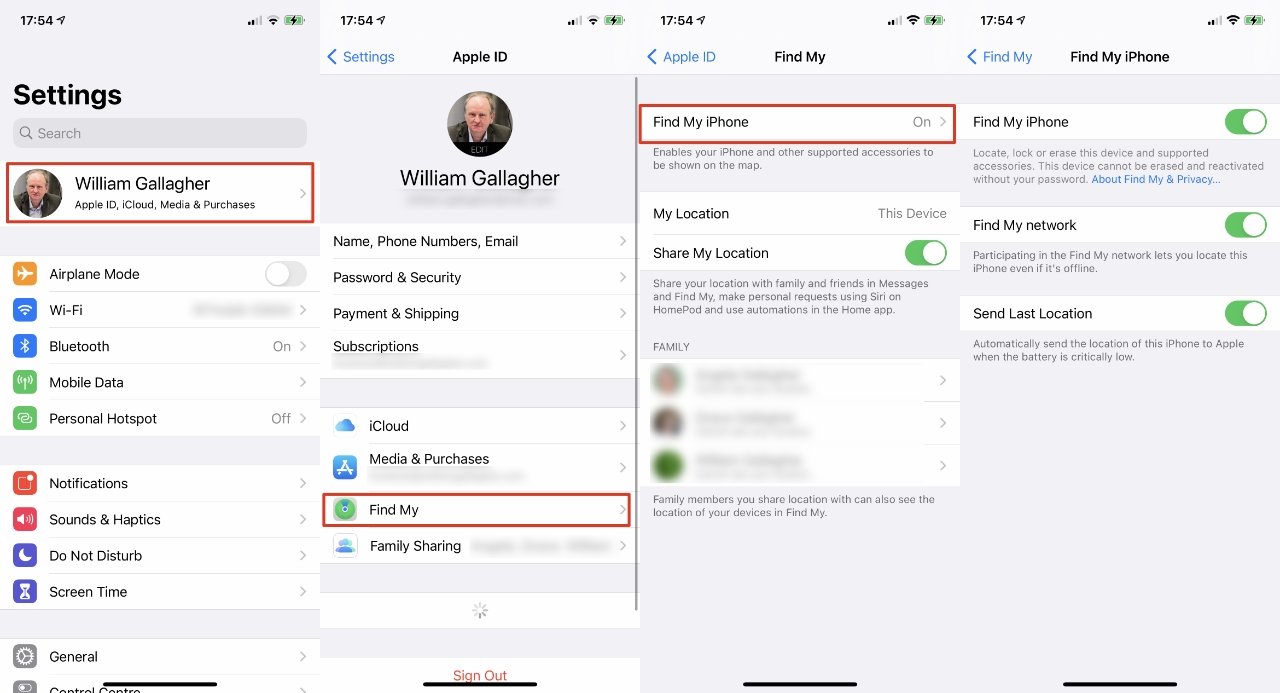
There is also an option to Share My Location, on the first page of Find Me. It's useful for many reasons, and you can specify which family members you want to be able to share your location details with, but it's not needed for tracking your own devices.
Strictly speaking, neither is anything except the Find My iPhone option. However, if your iPhone is running out of battery power, having this turned on means it will send its location just before it gives up the ghost.
How to turn on Find My for AirPods, Apple Watch, or Beats devices
Assuming that your AirPods, AirPods Pro, Apple Watch, or compatible Beats headphones are paired with your iPhone, they are automatically added to Find My when that phone is.
This is more than some assumption that those devices will be near your iPhone, and so tracking the phone means tracking them. Each device has its own, distinct entry in the Find My system.
They can each be found by themselves, they can each be made to play a sound — if the device has a speaker — and they can each be removed separately.
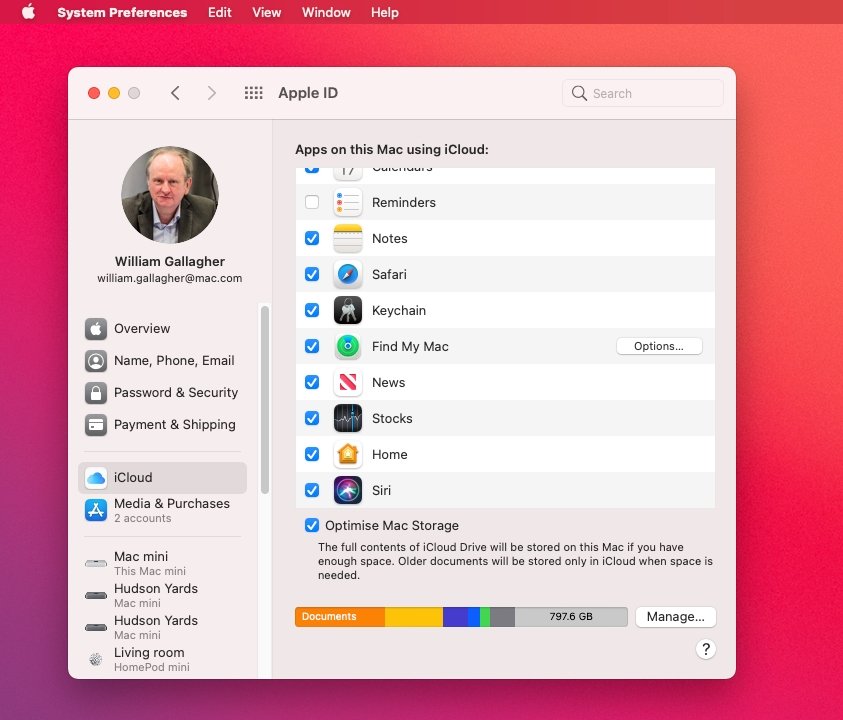
How to turn on Find My for a Mac
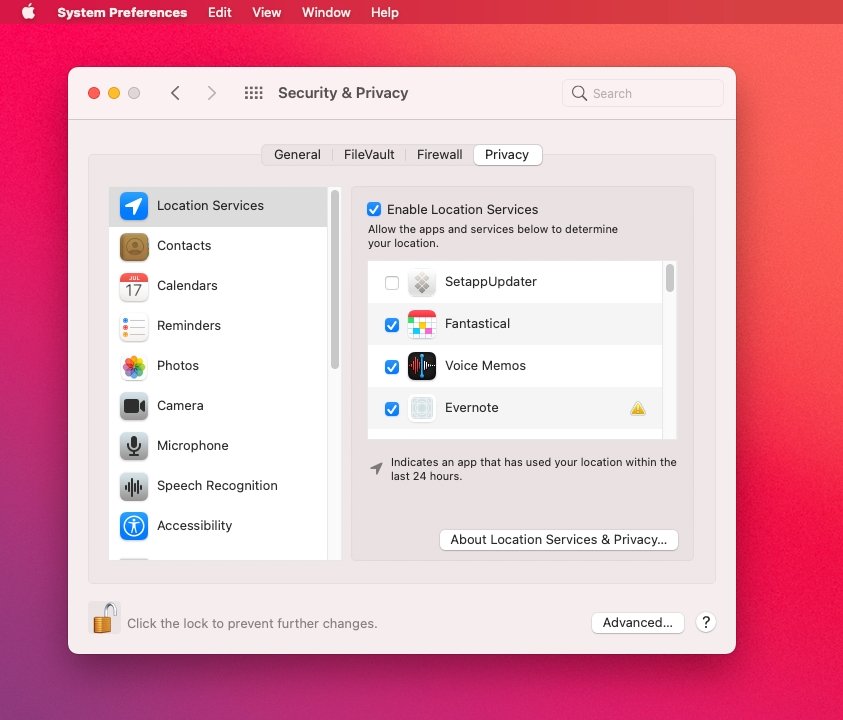
- Open System Preferences, and choose Security & Privacy
- If the Privacy tab isn't automatically selected, click to choose it
- Click on the padlock icon at bottom left and enter your Mac's password when prompted
- Click on Location Services
- If Enable Location Services isn't already ticked on, tick it on
- Click on the icon of 12 dots in a grid, next to Security & Privacy at the top of the screen
- This takes you back to System Preferences, now click on Apple ID
- Choose iCloud
- Make sure Find My Mac is ticked on
- Click on the Options... button on the same line
- Turn on Find My Mac
- Turn on Find My network
- Click on Done
Again, there are more options you can consider as you go through these, but they're not needed to make Find My work.
Chiefly, when you're in Security & Privacy, and have enabled location services, you get a list of apps that are, or have been using your location. You can choose to tick or untick any of them, if you need.
There are also indicators next to some. There will be a location symbol next to each app that has used your location within the last 24 hours, for instance.
If you see any warning icons next to an app's name, it's most likely that the app has been moved or deleted since it ask you for permission to be included. It's not very clear how you find out what the warning means, though.
Rather than clicking on the warning icon, you need to position the cursor over that icon, and wait several seconds. A pop-up will appear that explains what you're being warned about.
If none of this is truly needed for Find My, then arguably neither is Find My network — not for your Mac, or for your iOS devices. Yet this is what's new, this is the heart of Apple's addition of third-party devices to the Find My system.
How and why to use Find My network
"Find My" is a very un-Apple-like contorted name that grew out of Find My iPhone and has come to mean find any Apple device or, now, many other devices. The contortion is only really confusing, though, over this name How and why to use Find My network.
It is not something you use to locate your home or office Wi-Fi network, nor even a hotspot which might be more likely to be on the move. It's not Find My Network, it's Find My network — with a lowercase "n."
What turning this on does is enable the new feature that sees your devices as part of a global resource. "The Find My network is an encrypted, anonymous network of hundreds of millions of Apple devices that can help you locate your device," says Apple.
Making sure Find My network is turned on means you have two ways of tracking your devices — and Apple makes it look seamlessly as if you have just one.
Finding devices from near and far
If you've lost your AirPods in the office, open the Find My app on your iPhone and look for them through that. If you've lost them in London, open the Find My app on your iPhone and do exactly the same thing.
It's just that the data the app shows you will have come from very different routes.
Locally-lost devices will show up because they've sent you their location, or they're near enough by to receive the request to play a sound. Devices mislaid in other cities, other countries, will show up because they are near someone else's Apple device.
They're practically bound to be near someone's Apple gear, and you are more than bound to be near yours since you're looking at the app on your iPhone right that moment.
Find My network is really the first sign of Apple's forthcoming "AirTags" system. That system is known to work like the Tile tracking one, and it's now embedded within the increasingly familiar Find My app.
So, though, are every device you've added and there's going to come a time when you need to remove one or more. Maybe you just have a very long list now, or maybe you've sold one of the devices.
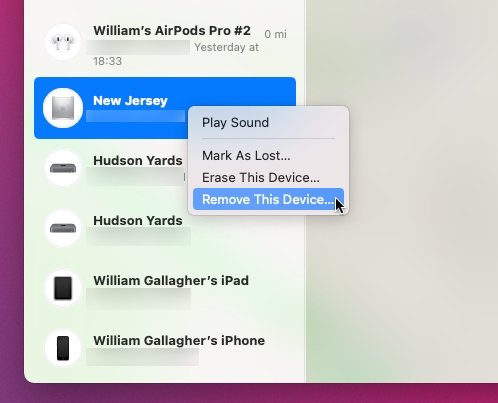
How to remove devices from Find My
- On the device, go to Find My in Settings, or System Preferences, as above
- Turn off Find My
- Next, turn off the device
- On another device you own, open the Find My app
- Tap or Click on Devices
- Select the device and then right-click on Mac, or tap on iOS
- Choose Remove This Device
- When prompted, confirm you want to do this
If you haven't turned off Find My on the device, then when you choose Remove This Device, you'll be told that it will reappear in the list next time it's turned on.
There's a slightly different final set of steps if you're removing the device because you've sold or given it away.
- On another device you own, open the Find My app
- Tap or Click on Devices
- Select the device and then right-click on Mac, or tap on iOS
- Choose Erase the device
- You'll be prompted as if the device were lost and you want it back: ignore the prompts to send a message
- Erasure can take a time, especially if the device is not presently online
- Wait until you get an automated email confirming the device is erased
- Then follow the steps above to remove the device from your list
You still don't want to use Find My if you can help it
Hopefully you will never mislay an iPhone, have a MacBook stolen, or forget that you've reluctantly given your iPad to a family member who doesn't appreciate it.
When you do, though, Find My is a help. And if Apple's addition of third-party devices to its system does nothing else, it will make more of us more familiar with how to use this excellent Apple feature.
Stay on top of all Apple news right from your HomePod. Say, "Hey, Siri, play AppleInsider," and you'll get latest AppleInsider Podcast. Or ask your HomePod mini for "AppleInsider Daily" instead and you'll hear a fast update direct from our news team. And, if you're interested in Apple-centric home automation, say "Hey, Siri, play HomeKit Insider," and you'll be listening to our newest specialized podcast in moments.


 Mike Wuerthele
 Malcolm Owen
 Chip Loder
 Christine McKee
 Michael Stroup