The Apple Watch has become its own thing, more a separate, independent device over the years, but it is still tied to your iPhone — and especially when you're setting it up.
So here's what to do when you've got your Apple Watch Series 7, or any current model, out of the box and put it onto your wrist. First, turn your Apple Watch on by pressing and holding the side button until you see the Apple logo.
Apple says this can take a few minutes but for once they're being a bit over-cautious, it doesn't tend to take that long at all. Not this part, anyway.
Once your Watch is on, it's going to tell you to bring it near to your iPhone. And when you do, your iPhone recognises that you have.
Just as Apple does with AirPods, it displays an image of the Apple Watch and asks if you want to Continue setting up. You do.
There is a question, though — and Apple does ask you next — whether you want to set up this Watch for yourself or for a family member. The difference is that if you say it's for your third cousin four times removed, Apple adds a few extra steps.
You have to pick which family member you want, for instance, which means they have to be in your contacts list. And there are issues to do with parental controls.
But otherwise it's all much the same as the, presumably, more common thing of setting it up for yourself.
Which means the next step is that you have to position your iPhone so that it's over the Apple Watch. The Watch displays that truly beautiful hazy, gauzy animation, the iPhone sees it, and then two are paired together.
That Watch now belongs, if you like, to that iPhone.
You're just nowhere near finished yet.
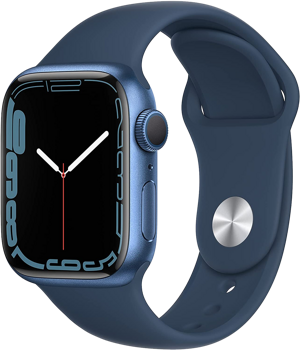
Apple Watch Series 7
Using a backup
Next, you have to choose between setting the Watch up as new, or using a backup from an old Watch. You don't have any choice in the matter if this is your very first Apple Watch, but if it is, you again just get some extra steps, extra questions.
They're all to do with issues like privacy, Location Services, and so on. For speed, let's do this by using a backup from an old Watch. You'll see the extra steps, about Location Services and so on, but you won't have to actually answer them.
Choose the latest backup available. Wait for quite a time. This is when Apple is not being conservative, for some reason this bit can take minutes.
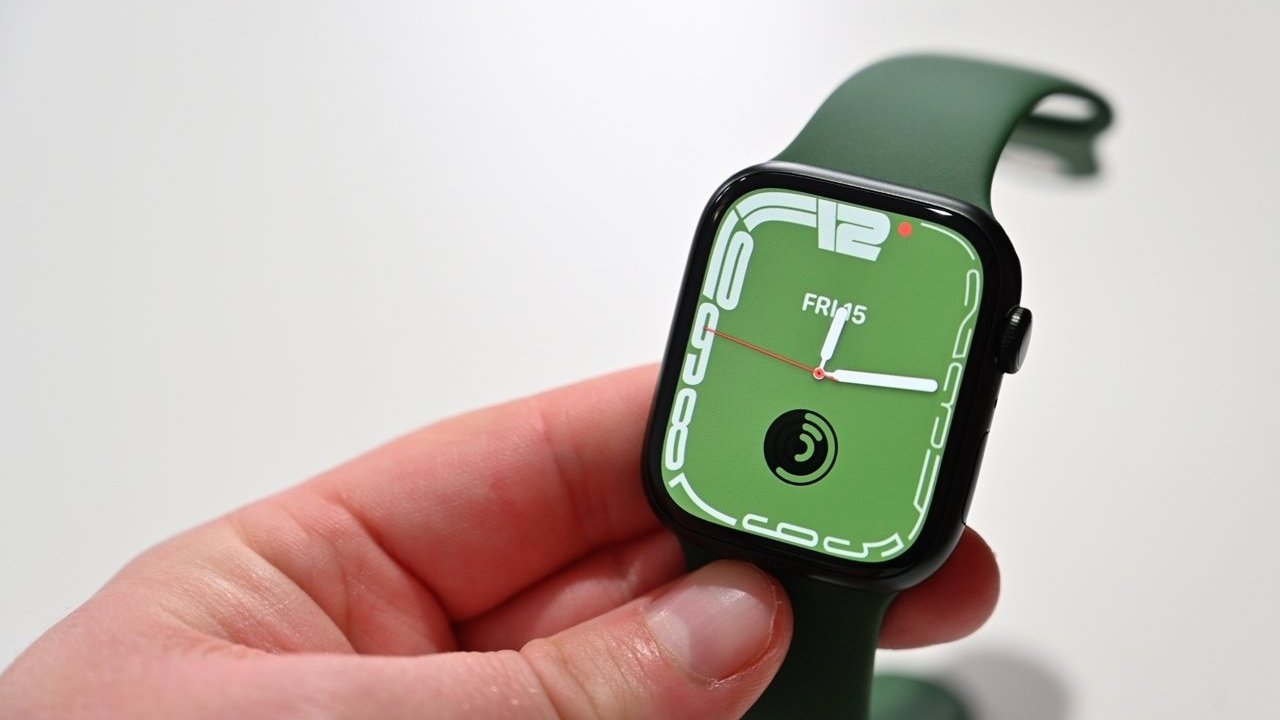
Setting up Apple Watch Series 7
Apple Music, Shared Settings, text size, and passcode
After that, you'll have to agree to Terms and Conditions. Then you'll be prompted to optionally sign in to the iTunes Store. In practice you can do this now, you can do it later, you might never bother.
Whenever you do it, though, it lets you control Apple Music from the Watch, and that is handy.
Next, Shared Settings. Whatever you said, whatever you chose when you set up your iPhone, it all applies here. Permission for Location Services, for Find My, for how you use Siri, and for sending bug reports to Apple and Developers. Whatever you set on your iPhone, you're now setting it here.
And you don't have a choice. There's only an OK button.
You do get a choice in the next section, and this is quite a new addition to the setup. You can choose the size of text displayed on the Watch. You can fiddle here, you can see examples, but it's probably better to let it go for now.
Let the Watch show you the default text size. When you've used the Watch for a time, when you've been in and out of apps on it, then you can adjust the size in Settings.
Strictly speaking, you could also let the next bit go, about setting a passcode. Go for the long passcode or the short one — the short is just four digits — but do not choose the Don't Add Passcode option.
It's just too useful. When you pop the Watch on your wrist and you have set a passcode, it asks you for it. From that point until whenever you take the Watch off, when it loses contact with your skin, you have been identified. You can use Apple Pay, you can confirm purchases from the App Store.
And nobody else can get into your Watch to use it.
So set a passcode.
Health, updates, and Apple Pay
Next, two health-related points. You're asked if you want to set up Activity, which is the Watch feature that nudges you along into being fitter. Just say yes, but you can set it up later. Don't forget. Activity is one of the best reasons for having an Apple Watch.
Enable Blood Oxygen. This lets you later use the Watch's feature for checking your bloody oxygen levels and there's no advantage to keeping that turned off.
You might want to think more carefully about the next step, to do with keeping your Watch up to date. If you let Apple have its way, your Watch will automatically get new updates and install them.
If, instead, you'd rather wait a few days until everyone else has downloaded an update and found any problems, you choose Install Update Manually.
That does mean your staying on top of when updates are out, though. The Watch will prompt you, and AppleInsider will always warn you if any issues have been found.
Now, just as with the iPhone, Apple inserts an Apple Pay section into the setup. It really isn't necessary for your use of the Watch, Apple is pushing its Apple Pay service — but at some point, do set it up.
The ability to just turn your wrist to pay for things is gigantic, it makes using your iPhone to pay seem prehistoric. The thing is, you can add all your debit cards and credit cards to Apple Pay in the Apple Watch, so for now leave this section until you're ready to schlep through adding them.
If you've already done this on your iPhone, though, adding your cards to the Apple Watch is a very quick process of you confirming you want to do this, and your bank saying okay, you are really who you say you are.
Back to health, for a moment. Emergency SOS. You have no options here, Apple is just telling you that if necessary, your Watch will contact someone you nominate. Tap on Continue.
What the Watch display shows
Next, Apple is again just telling you something instead of asking you anything. It's promoting the fact that Apple Watch Series 5 and later have an always-on display. Instead of the Watch being blank until you turn your wrist, or sometimes do a flamenco-style movement, it's on all the time.
That is very nice. Seriously, it's great. But you can adjust that in Settings later — and you cannot adjust it here in Setup.
Whereas you can set whether you want your Watch apps displayed as what Apple calls it a grid, but is really more of a honeycomb. Make your choice to display it as either the honeycomb or as a straight list.
Frankly, the list is boring, and the honeycomb "grid" is confusing. So you're not going to really win here. Pick either or leave it as it is - knowing you can change your mind later.
And that's the last decision you have to make, it is the last part of setting up that you have to do.
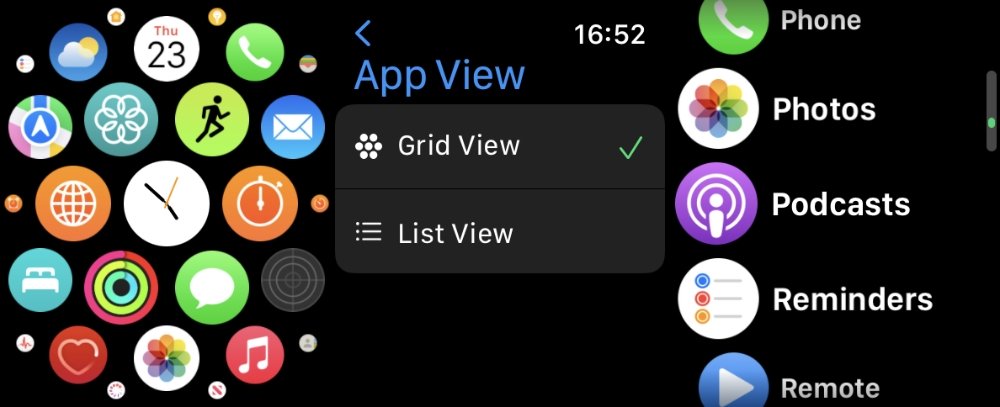
Changing between "grid" or list view for your apps
Finishing up
It's just still not the last part of setting up that has to be done. You'll get this "Apple Watch is syncing" message and it will make you sink a bit too. The length of time it takes varies depending on all sorts of things such as, if you used a backup, how much data has to be installed.
But just as an example, this Watch took a little under five minutes to fill out that circle.
Once it was done, though, it was done. Your Apple Watch is ready to use — which means a lot of fun choosing between its different Watch faces, and really a great deal of fun keeping its healthy activity rings going.