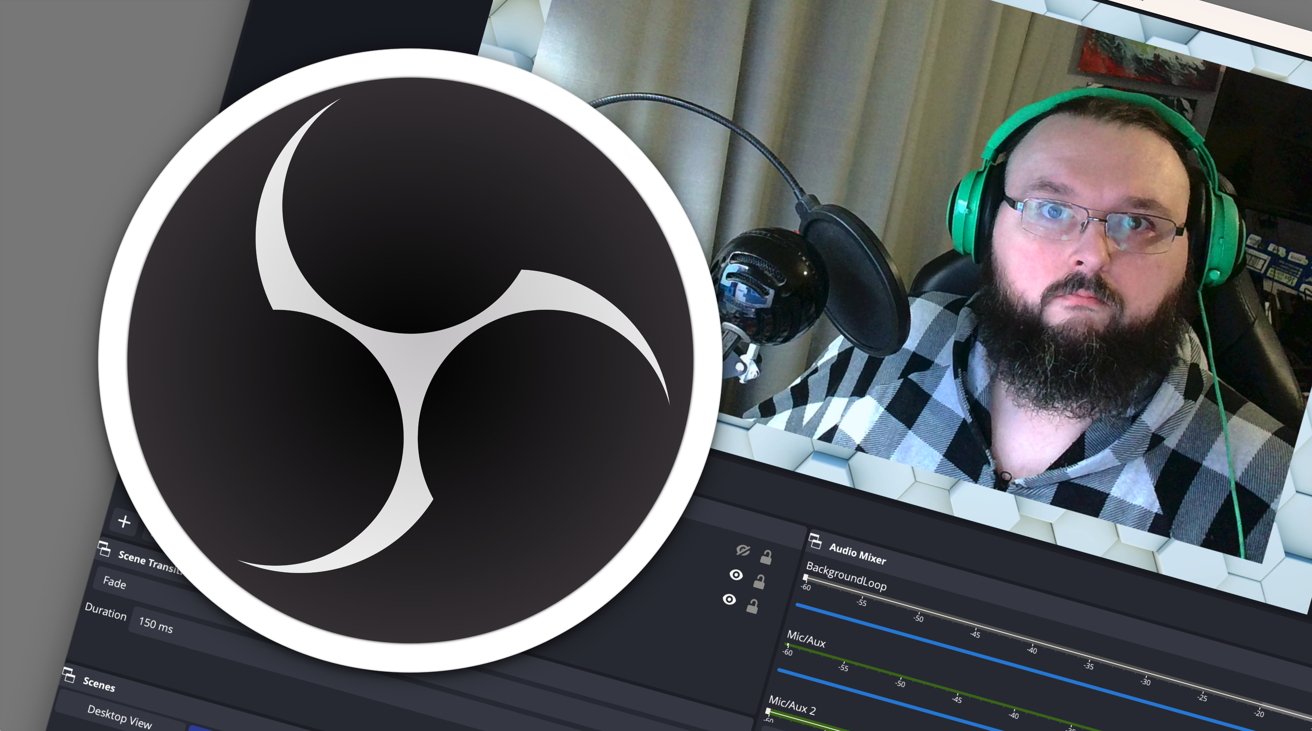
If you want to stream online via Twitch or another video platform, OBS Studio is the tool to use. Here's how to get started using it on macOS.
At one point in time, everyone wanted to be a YouTuber, but with the emergence of streaming, some now want to succeed at live broadcasting. In some cases, people want to succeed at both.
The reasons why streaming's so popular are numerous, such as providing viewers with immediate responses to feedback, as well as the excitement of working live without the safety of pre-recorded and highly edited content.
It's like live television, but at a smaller scale and under your terms.
Live streaming has two mainstream applications, covering lifestreaming and game streams, though it also has other uses. For example, it can be used for education and marketing purposes.
Getting started with streaming isn't that much different from hosting a Zoom call. With a tool like OBS, you can also elevate the stream beyond a picture of you in front of a plain wall, speaking to the camera.
You could also make the stream more television-like.
The key tool to it all is OBS, and this is what you need to know to get started with it.
What is OBS?
To use its full name, Open Broadcaster Software is a free open-source app that you can use to stream from your desktop to various online streaming services. It's referred to as both OBS and OBS Studio, with the latter being the name of the downloadable tool.
Compatible with macOS, Windows, and Linux distributions, OBS can cast video and audio you feed into it to external streaming platforms, like Twitch, YouTube, and Facebook.
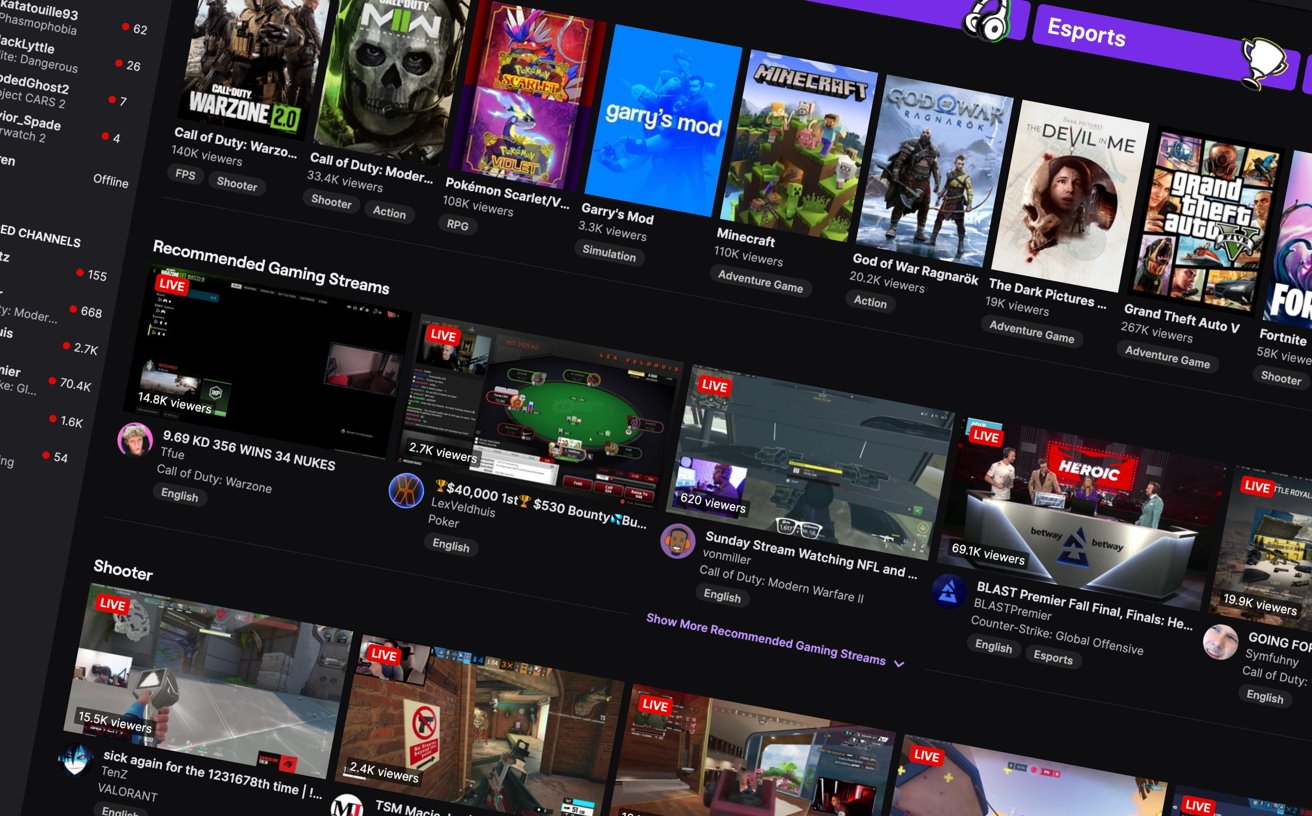
Streamers rely on tools like OBS for broadcasts.
These feeds can take many forms, such as live video from cameras and webcams, screen capture of your desktop or apps running on it, and audio from a microphone or other audio sources.
Much like the broadcast gallery of live television, OBS can combine those feeds together in a way you select, producing an outbound video feed that is then streamed out to viewers.
With sufficient video streams and extra graphical elements, you can create your own newsdesk with a chyron (lower-third graphics), and even a picture-in-picture effect. This latter element is used by streamers so that they can show their face in the corner of the screen, reacting to gameplay.
Indeed, you can even set OBS to record the video locally instead of streaming it, enabling users to create fast YouTube videos, for example.
There are other tools that can do the same task out there, but OBS is free, fully featured, and with some deft Google-fu, has ample documented support out there.
Hardware considerations
As mentioned earlier, you probably have almost all of the things you need in terms of devices and peripherals to put on a decent OBS stream, especially if you have dealt with work-from-home video meetings during the pandemic.
Aside from a Mac, you will just need a microphone and a camera to get started with streaming via OBS. That camera could be the built-in webcam of a MacBook Pro or a third-party webcam, though you can use some higher quality cameras over USB.
There's also the possibility of using a dedicated camera input like the Elgato Cam Link if USB connectivity isn't possible.
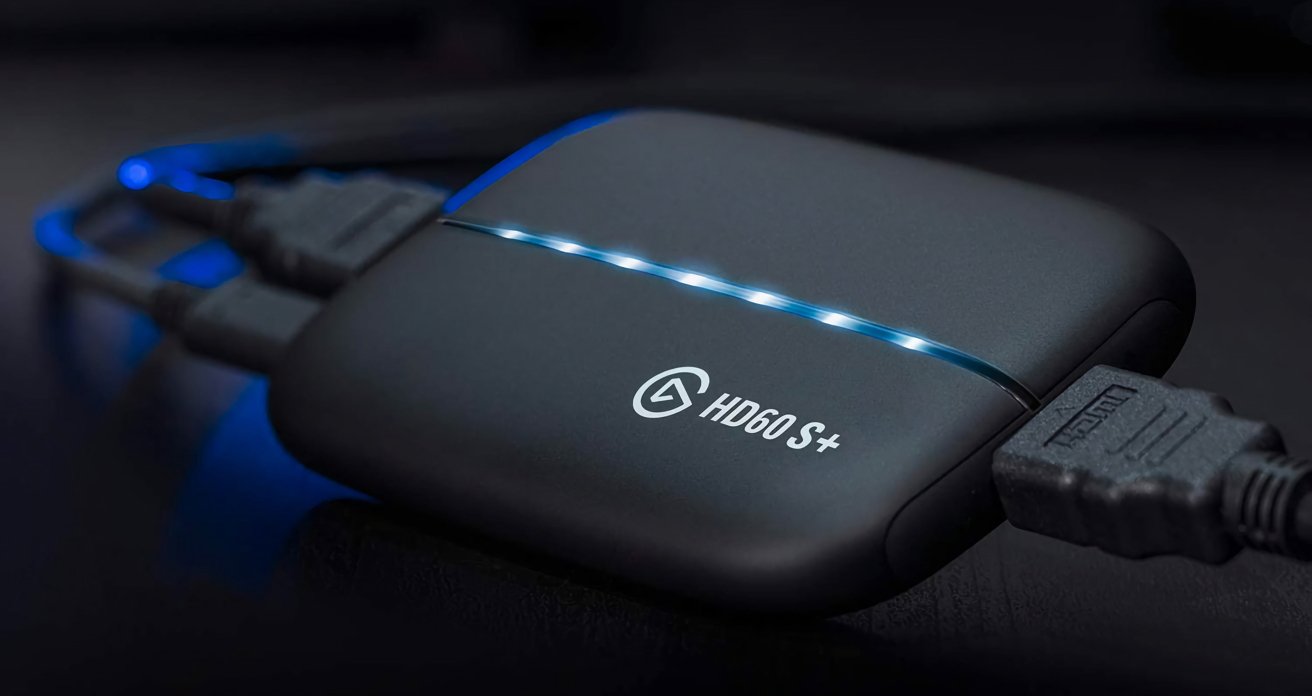
Elgato is a well-known producer of video capture devices.
If you have an iPhone, Continuity Camera is also a great option.
If you're streaming gameplay from consoles or need to use other video sources, you could introduce a video capture device to the setup, such as the Elgato Game Capture series of devices. Though billed as console-friendly video capture options, many can also be used to pull video from other sources as well.
While it's not hardware you connect to your Mac, you should also consider adding lights. Making sure you're well-illuminated will help separate you from your background and make you look good on camera.
As for the Mac itself, you don't need the most powerful model available, but the performance certainly helps.
In September, OBS Studio was updated to include Apple Silicon support, but you can still use the Intel-based version as well on older Mac models. Indeed, the requirements for OBS Studio's version 28.1.2 release only asks that you have a Mac that supports macOS 10.15, which is a fairly low bar.
Installing OBS
The first thing to do is to download and install OBS Studio, which is available from the OBS Project website.
From the download page, click the Apple logo, then download the installer for the Intel or Apple Silicon version, depending on your Mac.
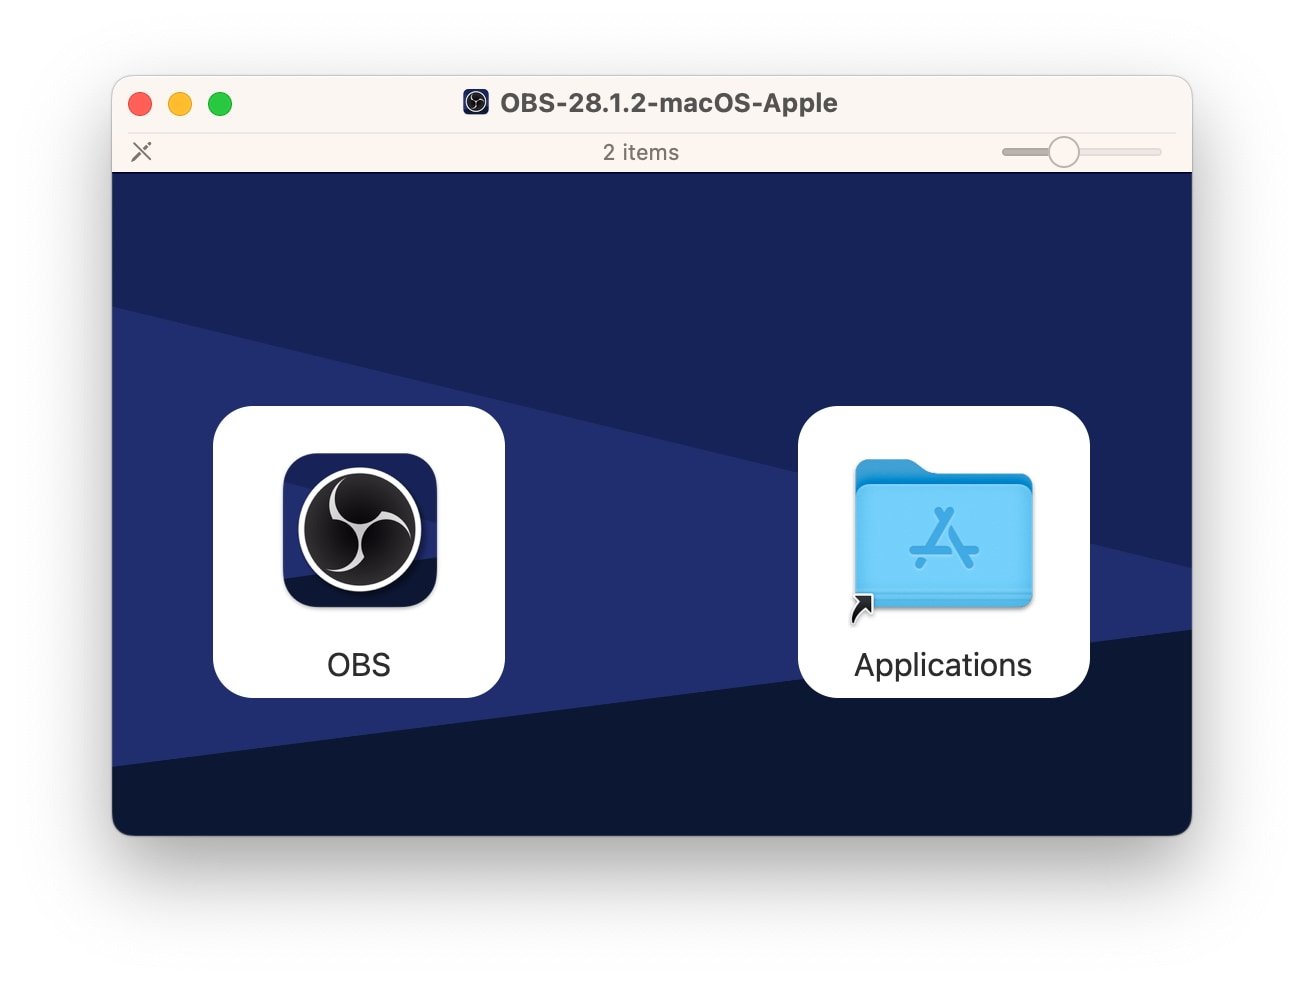
The installer for OBS on macOS
Open the downloaded DMG file, and in the window, drag and drop OBS into the Applications folder.
Once installed, it can be opened from the Launchpad, as well as from within the Applications folder itself.
Interface and automatic configuration
On opening OBS Studio, you'll be greeted by an interface with many different docks to use. Each of these can be moved around by dragging the title bar to a different section of the window.
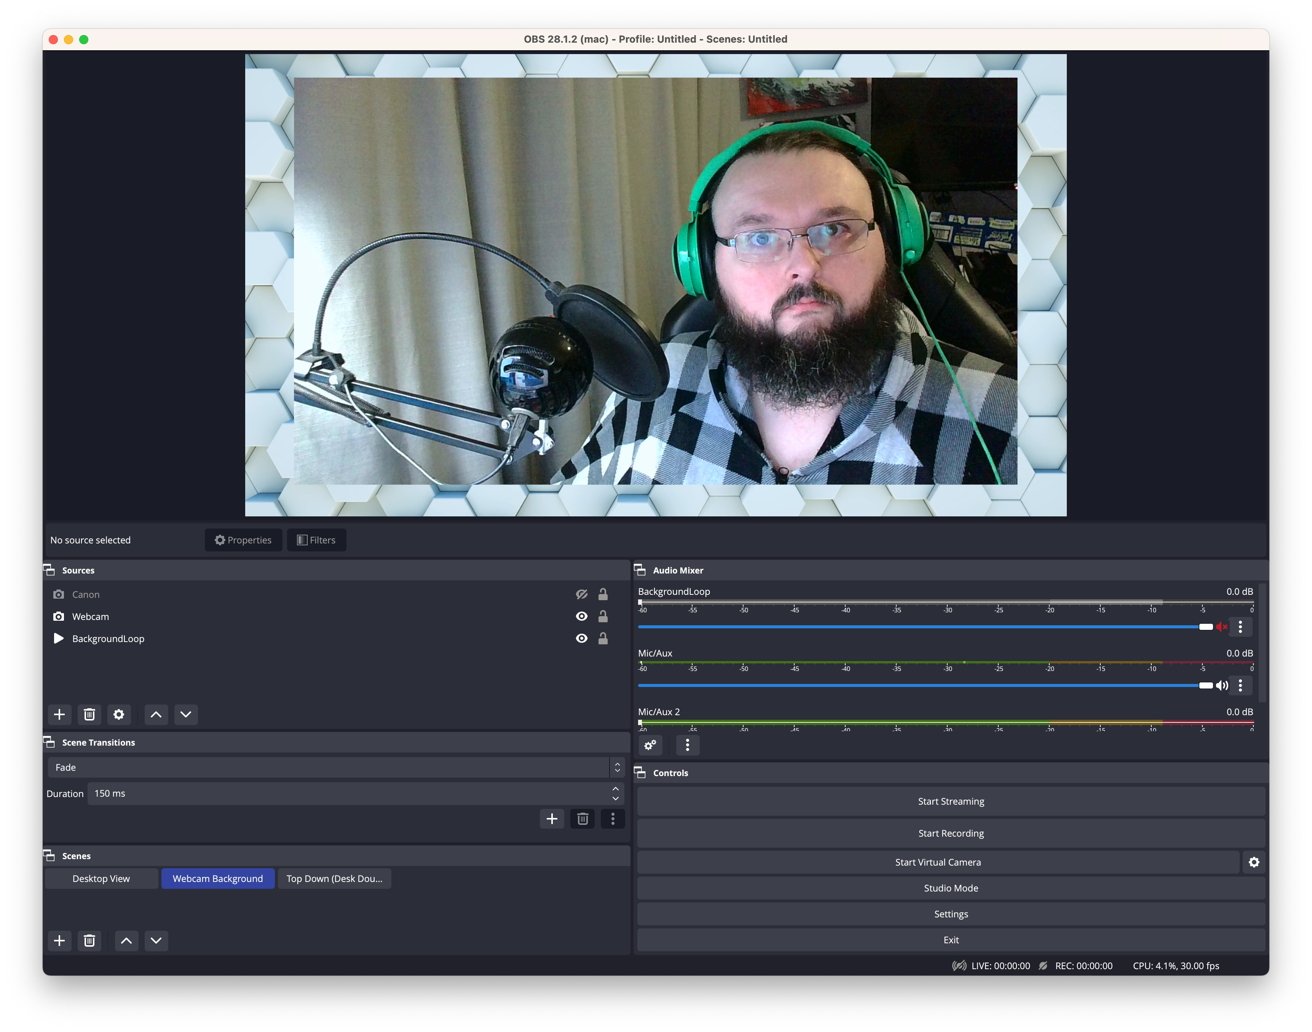
The main OBS interface
The main docks to be aware of are:
- Main Window - Shows what the video output is for the stream and is also used to position and resize graphical elements.
- Sources - Lists all of the graphical elements of a selected scene. This includes video feeds, graphics, screen capture sources, and other elements.
- Scenes - Lists all configured scenes and allows you to quickly switch between them.
- Scene Transitions - Used to set the switching between scenes to use fades and effects.
- Audio Mixer - This lists all of the audio sources, their volumes, and controls to mute or adjust the volume of each.
- Controls - These start and stop streams and recordings, turns the Virtual Camera on and off, enters and leaves Studio Mode, opens up the Settings menus, and quits the program.
However, before playing around with these elements, you should go through the Auto-Configuration Wizard. This will show the first time you run OBS, but you can also do it again by selecting Tools in the menu, followed by Auto-Configuration Wizard.
The wizard will automatically perform some tests on the Mac and your connection and will ask questions such as the resolution of the stream and desired framerate for streaming.
It will also allow you to enter the details for a streaming account to use with OBS, which you should set up at this point. Select one of the services, such as YouTube or Twitch, the click Connect Account to go through that service's authentication and configuration.
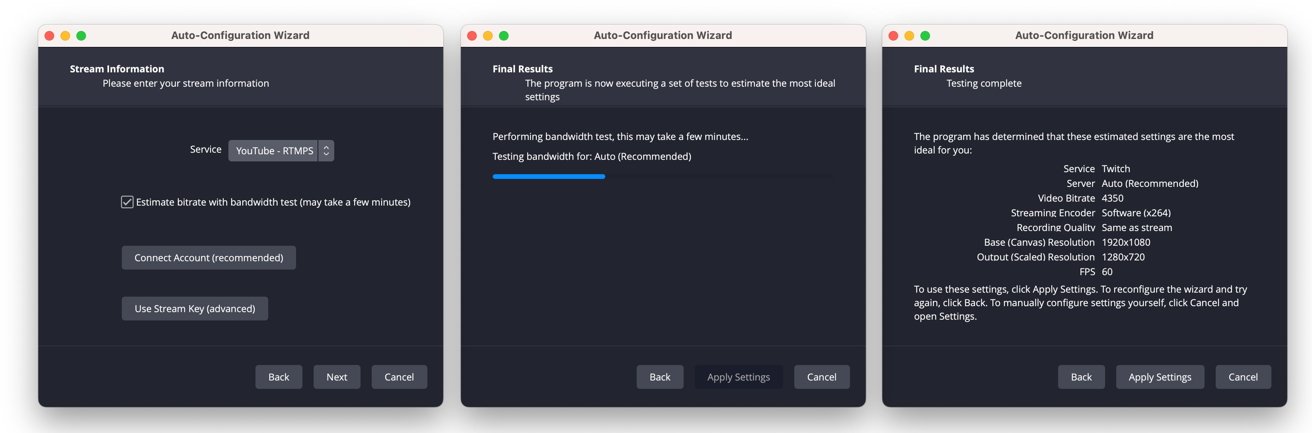
The Auto-Configuration Wizard in OBS will get you started.
Once you are set up with a service, the wizard will then perform a bandwidth test to work out how far it can push your Internet connection for the stream itself. It'll also work out the performance of your Mac at the same time to work out the optimal settings.
After the tests have completed, it will display estimated settings that you can tweak under the Settings menu later. Click Apply Settings to set them as default.
Scenes and Sources
The way OBS works is based on users setting up several scenes and switching between them. This is considered the easiest for a solo streamer to work with since they can quickly change scenes while they are performing other tasks, such as gaming.
The idea is to set up scenes in advance for specific purposes since you won't necessarily be able to do so mid-stream. While some purposes are obvious, such as a main view of a screen or feed with you in a smaller picture-in-picture feed, there are others that you can create.
For mainstream streaming, you could add scenes that display a graphic showing you're about to go live, one showing you'll be right back, or that the stream has ended. In cases where you're doing something more practical, such as using an item on a desk, you could add a scene that shows a second camera view to your main webcam, so you can switch between them.
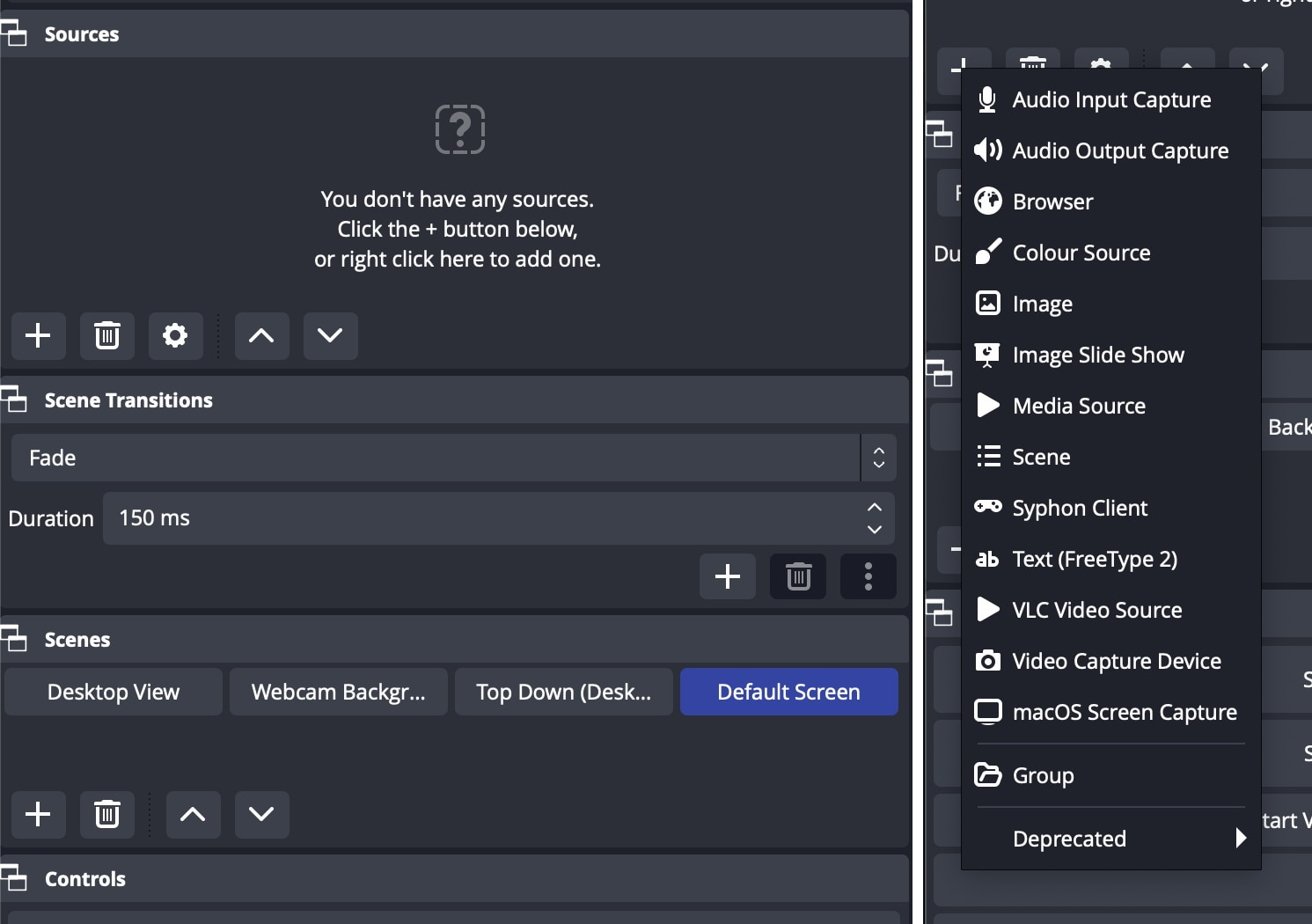
A new blank scene without any sources (left), the list of addable sources (right)
Creating a new scene in OBS is simple, in that you click the plus button in the Scenes dock, then enter a new name for it, then click OK. That creates a blank scene without any sources, and an empty Sources dock.
Click on the plus button in Sources to bring up a list of potential sources you can add. It's a long list, but the key ones to add are Video Capture Device, Image, and macOS Screen Capture.
Video Capture Device refers to cameras and video capture cards or accessories. Select it, then enter a name for the device, then on the next screen, select the right option from the Device list, then click OK.
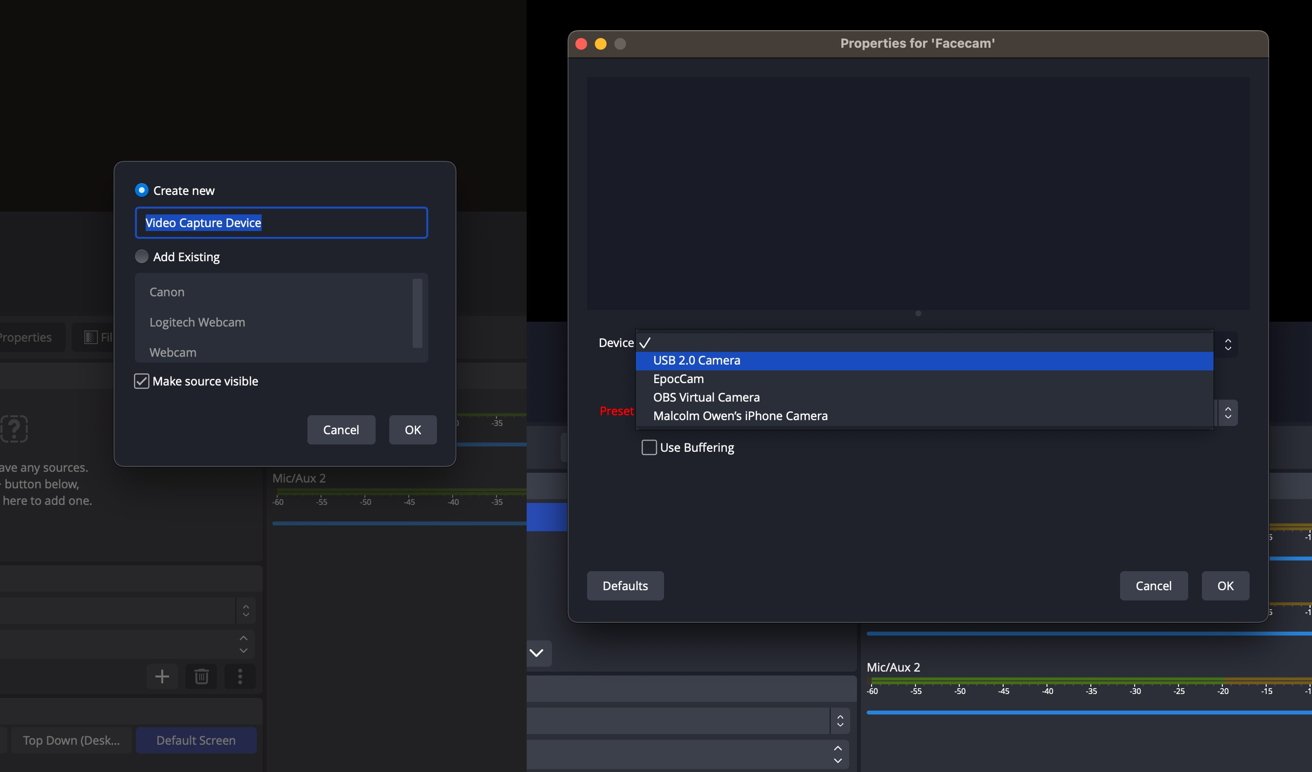
The process of adding a video source to a scene in OBS.
Image obviously refers to still images you can add to a scene. After selecting it, enter a name for the graphic and click OK, then on the next screen, click Browse, find the image and click Ok.
The macOS Screen Capture can capture your macOS display or an app within it. Select it, give it a name, and click OK.
In each case, you can right-click the source to make changes to them.
For example, under macOS Screen Capture, you can select to capture the entire display or a window, or an application.
After you have added your sources, you can change the order of the layers by selecting each and then clicking the down and up arrows. While selected, you can also use the red outline surrounding the element on the main display to change its size and position.
There are even more positioning and alignment options available if you right-click the element in the main display, which can help speed up arranging the scene.
Audio on macOS
The Audio Mixer will automatically populate when audio feeds are included as part of the sources.
For example, if you set up a macOS Screen Capture, it can show the audio stemming from the source in the Audio Mixer.
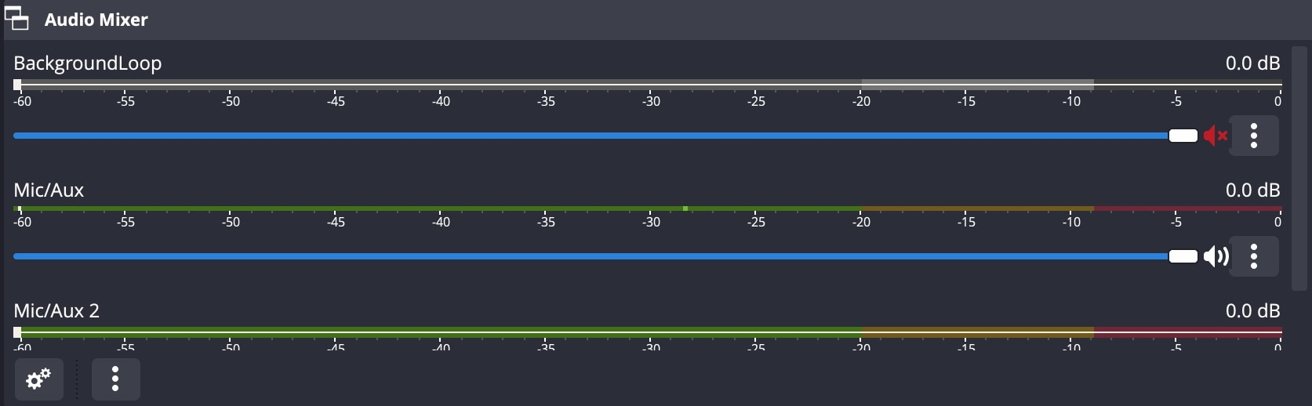
You can manage sounds within the Audio Mixer dock.
This is along with the default Mic/Aux source, which is the system-selected default microphone input. If you have a headset or microphone plugged in and set up as the audio input under System Preferences, that's what will be set up here.
Each audio source can be muted and their volume adjusted on the fly using the sliders. Clicking the dots on the right next to an audio feed will bring up extra options.
The Filters option will allow you to set up various effects to that audio feed, including a compressor, noise suppression, and a noise gate, among other options. These can be enabled and tweaked, depending on how you want that audio source to sound.
Older than macOS Ventura?
If you want to capture audio from your Mac's desktop in the macOS Screen Capture option, that works fine under macOS Ventura, but for older versions of macOS, it doesn't work at all.
In such cases, you should use tools like the OBS-recommended Sound Siphon, Loopback, and BlackHole. OBS has produced detailed instructions to set up BlackHole with OBS on older Macs, in part because it's a free option.
While this is a fix for older macOS installations, it can also be handy for macOS Ventura users to install as well, if they want more advanced control over the audio picked up from the macOS desktop than the existing catch-all approach.
Transitions and Studio Mode
While you are streaming or recording, you can switch between your different scene configurations by clicking each of them under Scenes. However, if you want to switch in a more professional way, you will have to consider transitions.
There are two ways to do a transition: the Scene Transitions dock and Studio Mode.
Under Scene Transitions, you can select the type of transition, such as a fade, swipe, or stinger, and how long the wipe takes to complete. This directly affects the usual switching method by clicking on scenes, and it will continue to affect switching until you change the transition.
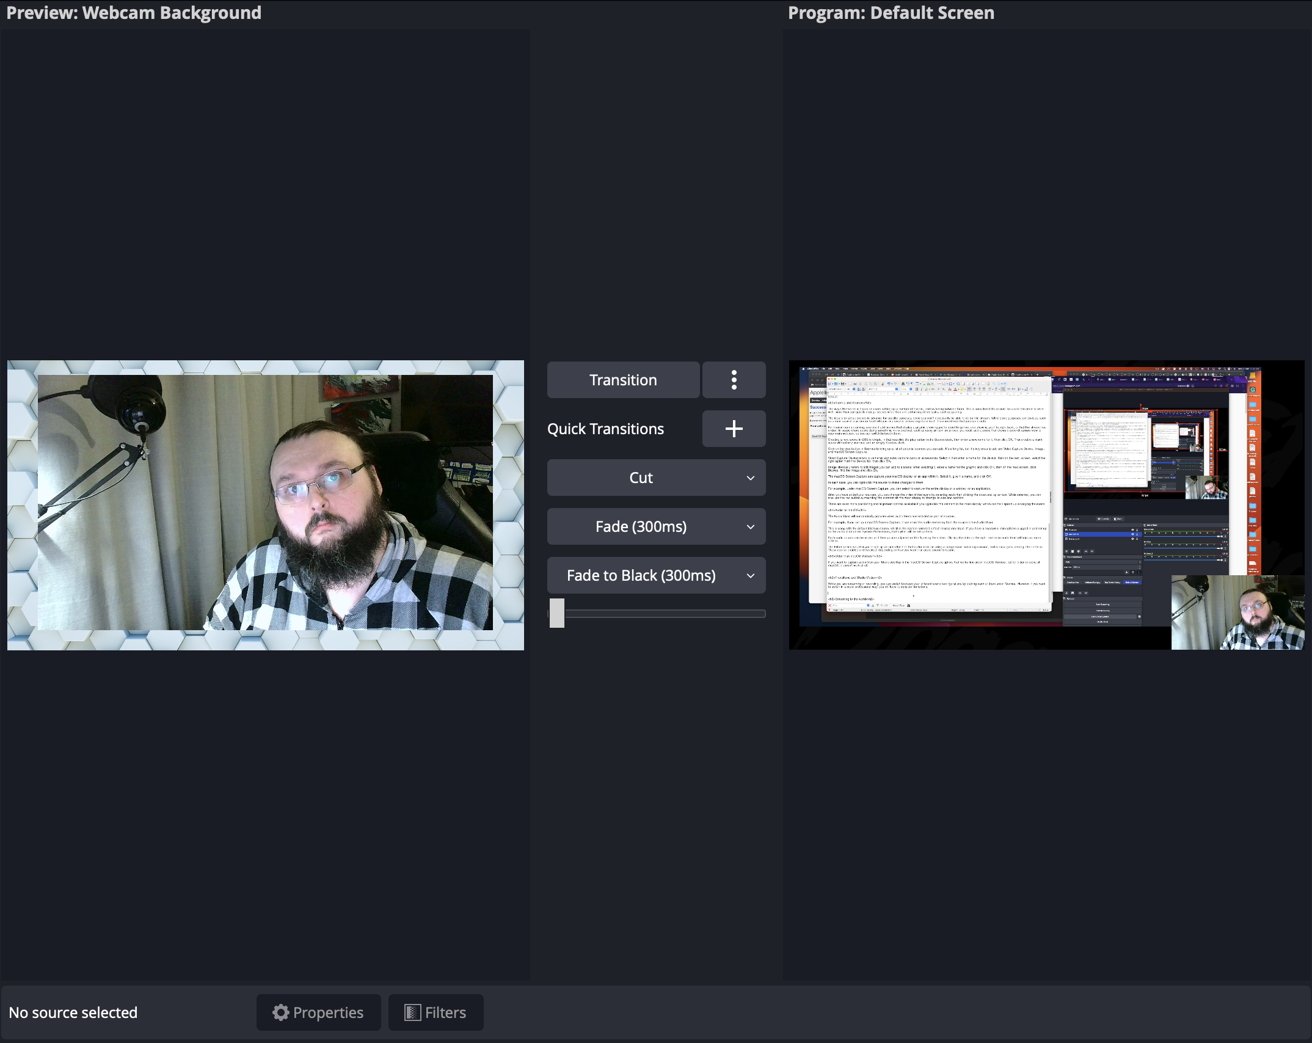
Studio Mode gives more flexibility and control over inter-scene transitions.
By clicking Studio Mode in the Controls, the main section showing the video feed splits into three sections:
- To the left is a Preview, showing the scene you can transition to.
- In the middle are the transition controls.
- To the right is the live stream output, named Program.
The idea is that you can change the transition and the contents of the scene before the transition takes place without interfering with the video feed that viewers are currently seeing.
The central transition controls give you a few options you can instantly trigger by clicking the button, each with a drop-down to change for something else.
At the bottom of the controls is a slider, which can allow you to partially or gradually perform a transition, blending the Preview and Program views.
Streaming to the world
Once you are all set up and presentable, you're practically ready for your maiden stream broadcast. However, even now you have some options.
To commence a stream on the service you had previously configured, click Start Streaming. If you want to record a video using your streaming settings without actually streaming, you can do that too by clicking Start Recording.
This second option is very useful if you want to record a presentation in one go, or with light editing afterward. This can also be used as a quick way to make YouTube videos, such as an explainer on how to do something in an app or an educational presentation.
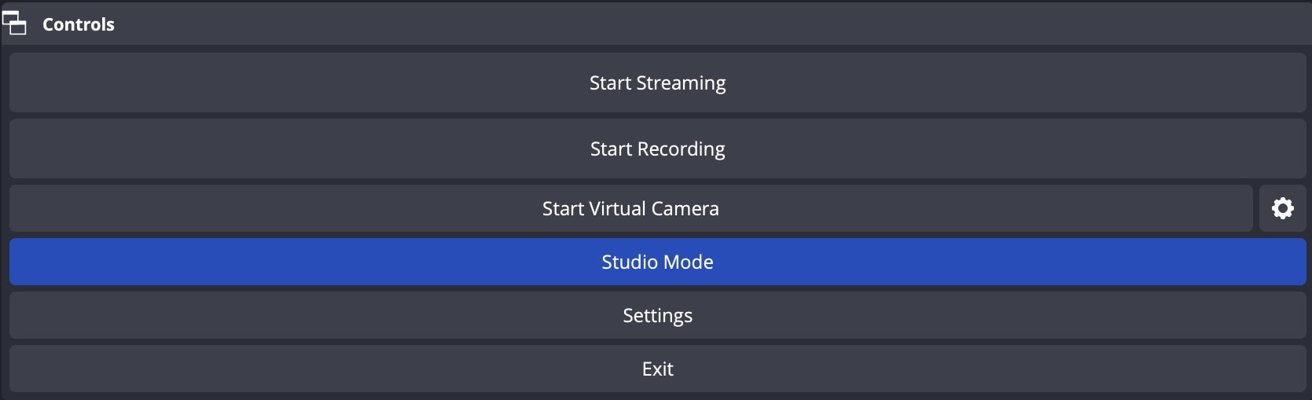
Use these controls to start streaming, recording, and to launch the OBS Virtual Camera.
However, the option to Start Virtual Camera can be a handy choice as well. If you're using Zoom or other video conferencing tools, you could set OBS to stream to a virtual camera, which can be selected as if it's a camera or video source in the other apps.
This can be a useful option if you want to have a more professional appearance for a presentation within Zoom, for example. Instead of relying on any built-in presentation or screen sharing tools, you can instead have more control over the video call participants can see, and therefore enabling it to be made as perfect as possible.
In all cases, you can cease a stream, end a recording, or close the virtual camera by clicking Stop.
Further thoughts
This guide only scratches the surface of OBS, as there is a lot you can configure, tweak, or change in the tool.
This includes things like changing your streaming platform, tweaking the resolution of the stream, adjusting how much bandwidth it consumes, and so on. All of this is hidden under Settings, which can be well worth an exploration further along your streaming career.