If you're upgrading to an iPhone 11, iPhone 11 Pro or iPhone 11 Pro Max, then there are certain steps you need to take to make it a smooth and fast process. Here's what to do first.
Apple's new iPhones will begin arriving in customers' hands this Friday. What you do first depends on whether it's your first iPhone or an upgrade, but whichever it is, there are steps you need to take. Take our advice and you'll be using your new device faster — and you won't lose any data or apps along the way.

Backup your old iPhone
You know that you've downloaded a lot of apps over the years, but if you already have an iPhone then we guarantee that you don't realise what else you've done. There will be countless iOS or app preferences that you set up or modified, and you only remember them when they're gone.
Trust us on this one. Save yourself the irritation of finding an app suddenly doesn't work the way you're used to, or that the long-forgotten login to your work websites needs to be re-entered.
You do all this by backing up your old iPhone before you even switch on the new one. To backup your iPhone, you can either use iCloud or, via a Lightning cable to your Mac, iTunes.
These days either way is fine, though you'll likely find that iCloud is the most convenient. Either way, though, you have to have enough space available for the backup.
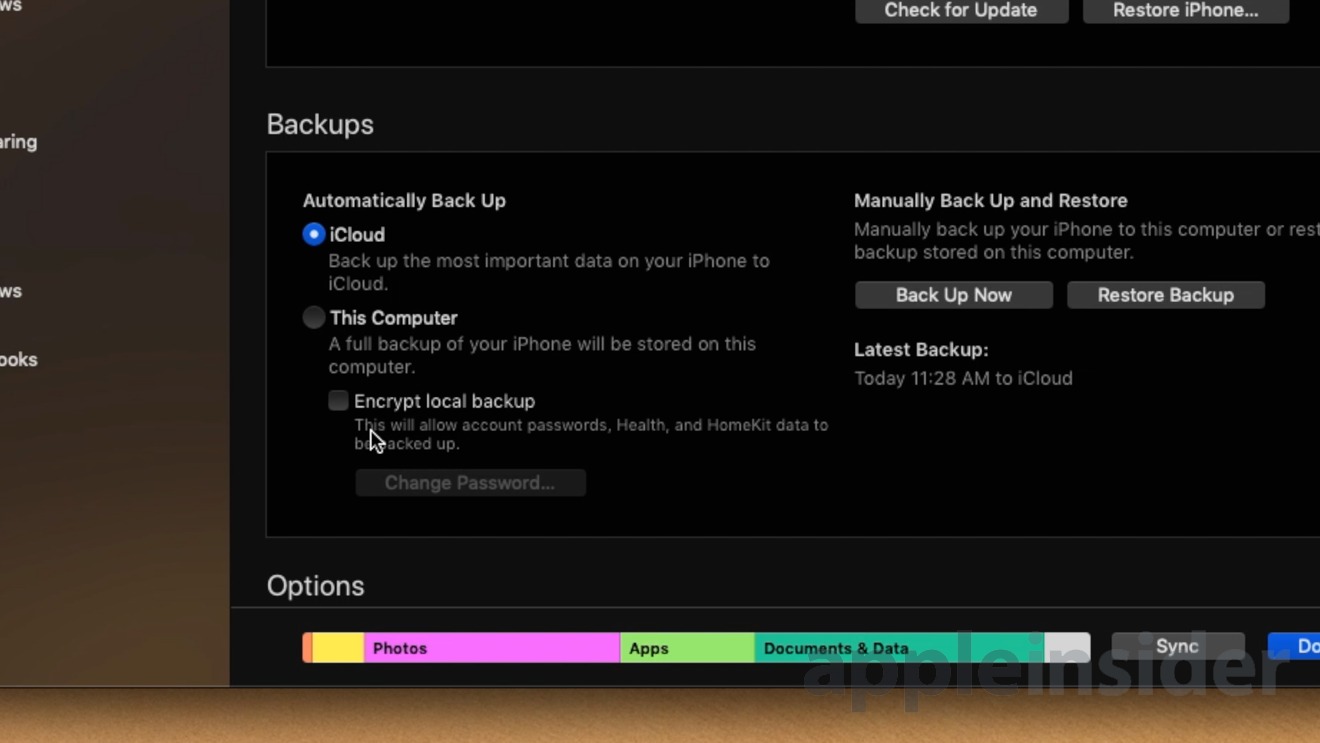
Be sure to encrypt your iTunes backup
By default, if you use iTunes, then your iPhone's back up is stored on your Mac's internal drive. If you don't have room on that, you have to tell the Mac to save it somewhere else.
When you're using iCloud, it's both easier and harder to handle being out of space. That's because, really, you've only got one option. If your current iPhone tells you that you need more storage to store the backup, you've got to shell out for a bigger iCloud plan.
This is too important to skip. Make sure you backup your iPhone, even if it means having to pay more money.
Quick start
This may or may not be your first iPhone, but if even you've been around the block a bit, Apple has gone around it a lot more. A billion or more iOS installations later, Apple has this down.
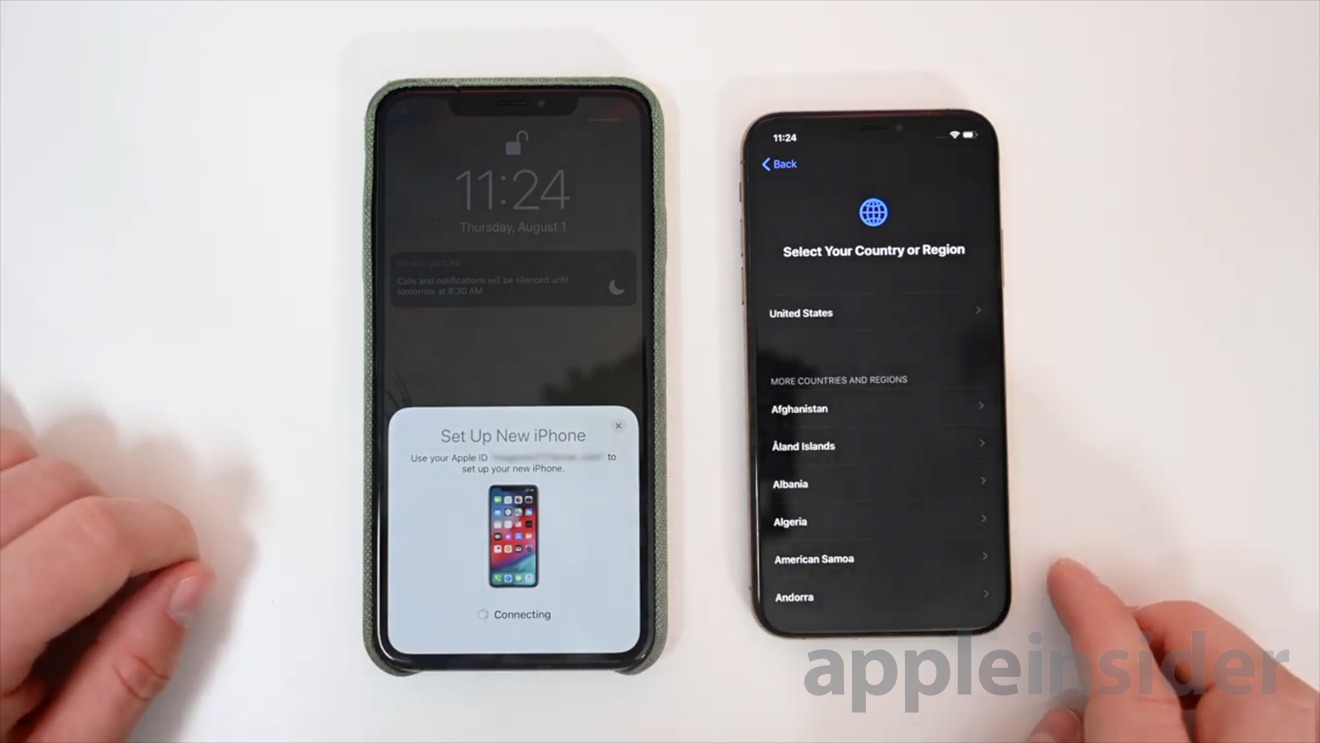
Switch on your new iPhone and Apple will step you through almost everything you need to do to get it actually working. The steps just vary a little depending on whether you have another iOS device around.
If you have that previous iPhone, or perhaps an iPad, and it's running iOS 11 or later, place it next to your new iPhone. This is Apple's Quick Start, and it automatically sets up the new device with certain settings such as your Wi-Fi network.
Set up the easy way
When you don't have an existing device, you just have to enter these details when prompted.
Security
Whether it's done automatically or by you choosing from a list, you have to pick your Wi-Fi network. Once you do, you'll be prompted through various security options to do with Face ID and creating a passcode.
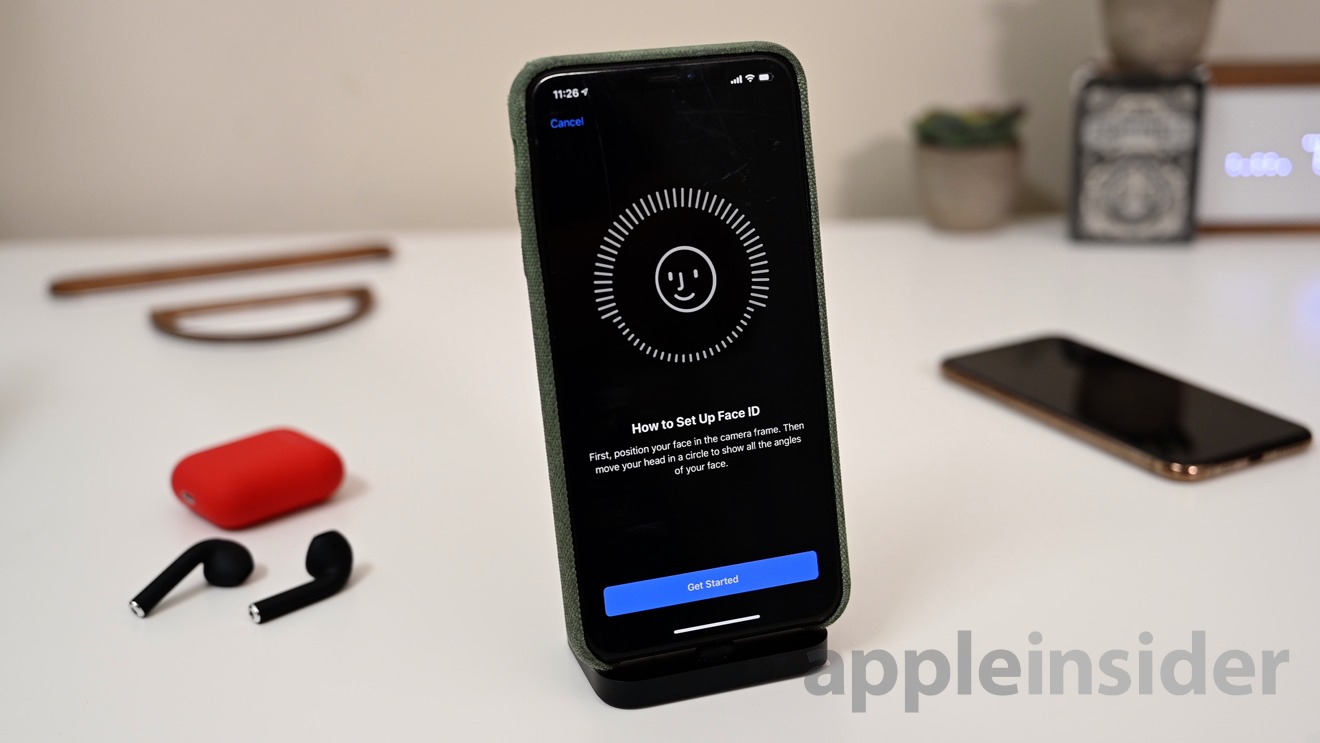
Face ID setup
Even if you've been using Face ID for years, you still have to set it up anew on each device. That's because your face details are stored in the device's secure enclave and are not shared with Apple or anyone else, not even you.
So take the time to go through setting that up, and the same for a passcode.
Get it all back
This is when you'll be glad you backed up your old iPhone. Once the security settings are done, your new device will ask if you want it Set Up as a New iPhone or not.
You can restore everything from your iCloud or iTunes backup, or you can move your data from an Android device.
Almost there
Apple will now step you through signing in to your Apple ID account — or, if this is your first iPhone, optionally setting up an account. And then it needs you to switch on Siri, it needs you to decide whether to bother with Screen Time and so on.
You're also going to be prodded to set up Apple Pay. Plenty of people skip this because Apple Pay is already set up on their Apple Watch where they use it most of the time. For that matter, plenty of people skip this step when they're setting up their iPad because they never swipe that 12.9-inch iPad Pro across a supermarket checkout's reader.
Nonetheless, set it up. That's solely because if you don't, Apple will keep on pressing you to do it, long after you've finished the rest of the setup.
Get it out of the way now, and the next thing you know, you're done with all of Apple's steps and its suggestions.
It's just that there is a little more than will help you — and especially if you've had an iPhone before. The first time you turn your new iPhone with all your old apps and data in place, you may even wonder what in the world is different.
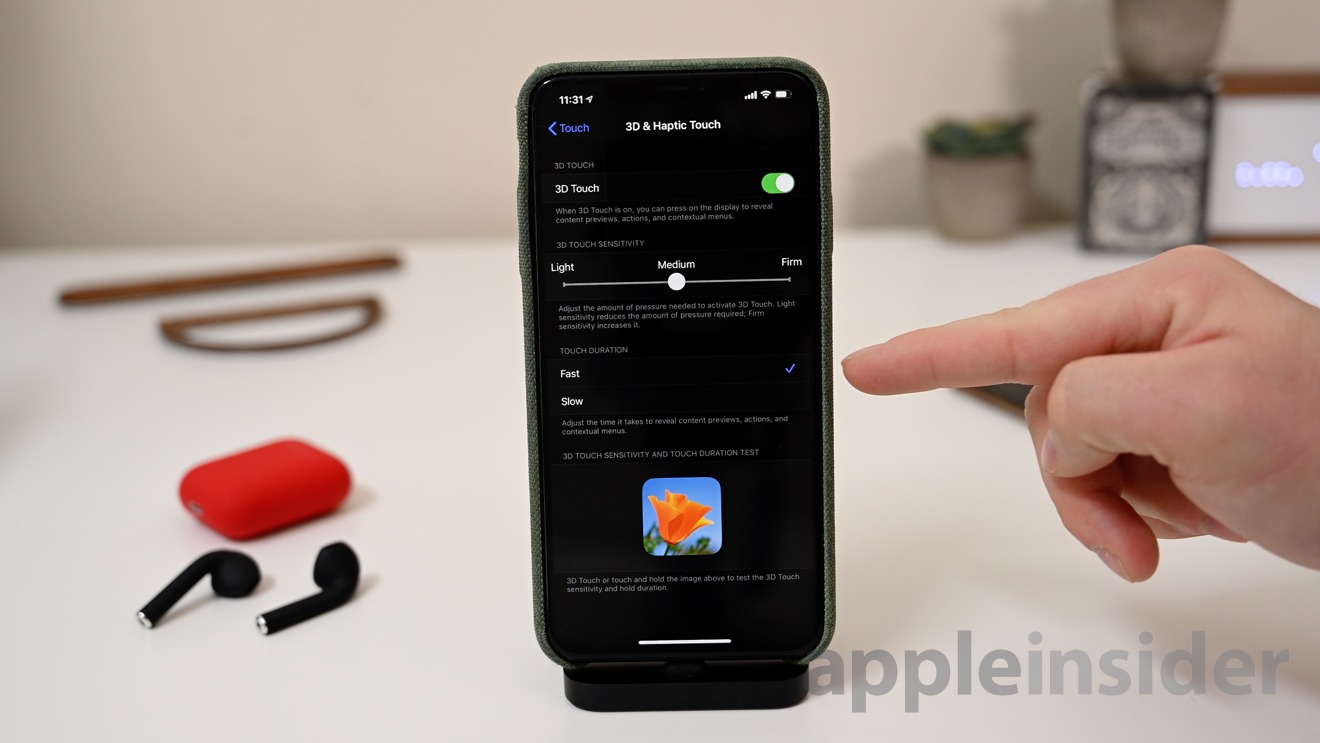
Haptic touch
Long press on any app and you will now get a popup context menu through what Apple calls Haptic Touch. Depending on the developer, you may find that menu contains all of the app's most commonly used features.
Whether you get a list like this or not, though, you will always get two options. One will be a button to let you share an app, and the other is Rearrange Apps.
You need to know this one since it's here because the way you rearrange or delete apps is different.
Haptic Touch options
There are now two ways to do it. If you press and hold on an app then at first you get the new popup menu but if you just leave your finger where it is, after a beat, that menu goes away and all of your apps start wiggling as they used to.
Alternatively, you can press to bring up the menu and then choose that Rearrange Apps option.
In both cases, once the wiggling has started, the screen adds a Done button for you to press when you're finished.
Updates and customization
Next, remember to update your most important apps. You can skip this and just know that they will automatically get updated soon. However, a key part of iOS 13 is what it gives developers and so what those developers then give us in their updated apps.
So take the time to check out what's been updated and explore their new features. This is an ongoing thing and you'll see more updates over the next year, but right away you're likely to see more developers adding the Haptic Touch context menu.
Last of all, go to Settings, Control Center, and look at what new options there are. Easily the one most people will use is the Dark Mode toggle.
Find that under the More list and then the control to let you switch on or off Dark Mode is available right there in your Control Center.
Getting going
You know that you're going to be happy with your new iPhone, and with iOS 13 too. It's when you take these steps, however, that you get all of the new benefits and yet hang on to everything that was yours about your old iPhone.
Keep up with AppleInsider by downloading the AppleInsider app for iOS, and follow us on YouTube, Twitter @appleinsider and Facebook for live, late-breaking coverage. You can also check out our official Instagram account for exclusive photos.