One way to make use of a spare Mac is to turn it into a server for home entertainment purposes. Here's how to set up Plex Media Server in macOS.
Owners of an old Intel-based Mac who've replaced it with an Apple Silicon version may be wondering to themselves what to do with their left-over hardware. If it's not possible to pass it on to another family member or sell it on, it could still be useful as a media server.
While the entertainment world is moving to a streaming-centric existence with services like Netflix, Disney+, and Apple TV+, not everything will be available to view on those services. You may have content on disc that simply isn't available via a streaming service, or is available but you don't want to pay twice to own the movie.
Keeping discs around adds the extra issue of needing a device capable of playing said media in the living room, which could add to the existing pile of electronics under the TV. There's also the storage of all of that media to think about, as those discs and cases can take up valuable space, especially for larger collections.
One answer to the problem is to set up a home media server, specifically to hold a copy of content that you own on disc. The server could stream that video across the home network to devices when required, without needing extra hardware in the living room.
That server could easily be located elsewhere on the network, possibly on the other side of the house. Meanwhile, those discs could be stored safely in an attic or garage, out of the way but accessible if required.
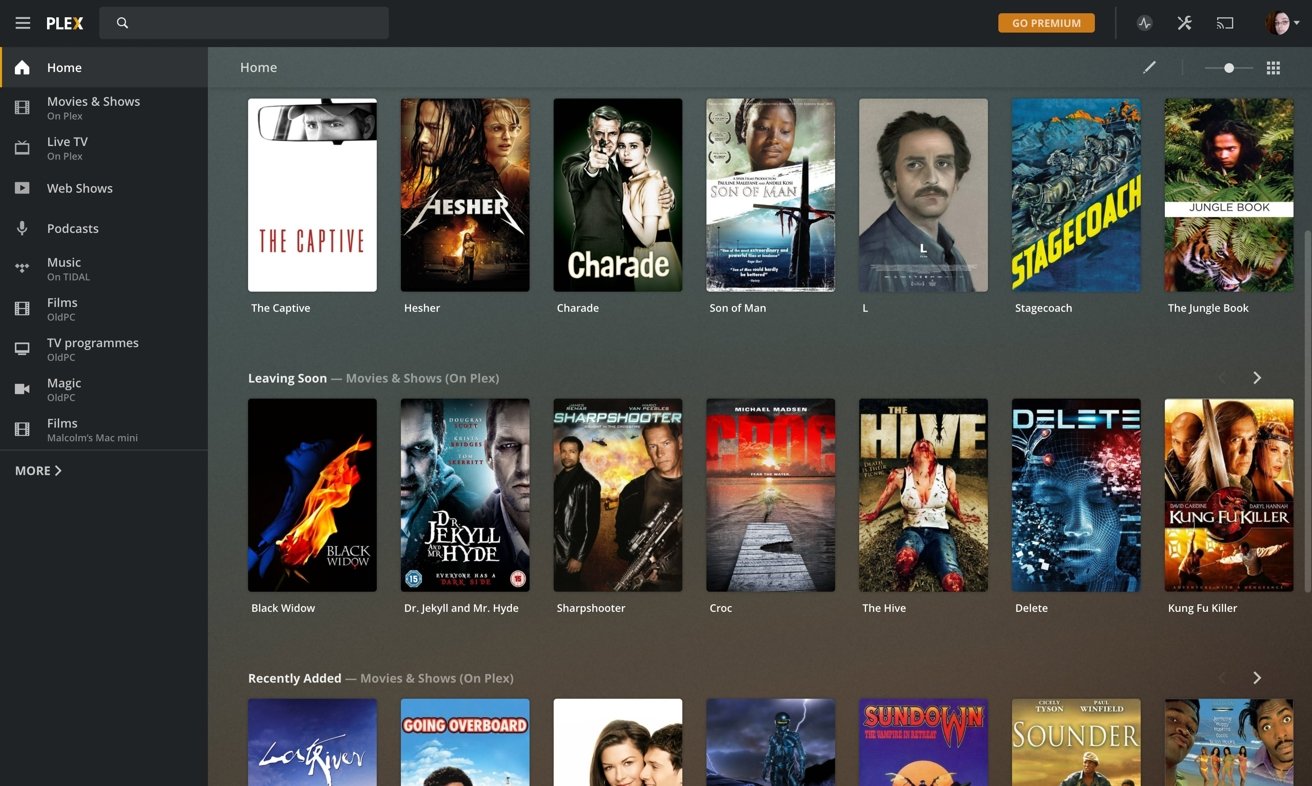
Possibly one of the more straightforward ways of doing this is with Plex, a home streaming ecosystem that includes server software, apps for mobile devices, and for the Apple TV. As a system, it requires a little effort to get going, but once it's set up and the content is loaded, it becomes very easy to play that content on your chosen device.
This article is a basic guide to getting started with Plex, including installing it on your Mac and getting to a point where it will serve content. There's a lot more that can be done with Plex than what is covered here, and it is worth exploring for those intrepid enough to do so.
A word on legalities
The main use for Plex is to store and serve video files across the network, which is completely legal use for the app. If it's content that you actually own, such as video recordings you filmed and added to the server, then that's perfectly legal, without question.
However, since many users may choose to rip their store-bought DVDs and Blu-ray discs for the intention to view them over the home network, things become legally ambiguous. Depending on the country, the laws may state that such actions are not allowed, or are permissible.
Add in that the act of ripping a movie from a disc to a video file for personal use is a stones throw away from piracy, and lawyers suddenly become interested. Sharing those videos with others does constitute piracy and is against various laws, but doing so strictly for home usage is a very grey area.
It is also considered bad form for anyone to rip a borrowed disc, or to sell their ripped disc on while retaining their digital copy.
Doing so to your own media could be argued in some cases to be the creation of a "back up" of the physical media, and that retaining the disc in storage would go some way to prove that claim.
Of course, this is a complex and theoretical issue that has different outcomes that varies based on the circumstances, the country that the activity takes place within, and even the parties arguing over the legalities.
AppleInsider advises for readers to perform their own research into the matter for their country, as to what is and isn't allowed.
Furthermore, this guide will not be covering the ripping of media from disc. It will be assumed the user has a collection of video files they legally own and want to stream on the network.
Plex versus Apple's Home Sharing
The whole point of Plex is to allow the sharing of video content across a network and to a user's devices. However, it's not the only way.
If you are heavily invested into the Apple ecosystem of hardware, then you are probably aware of Home Sharing. The idea of Home Sharing is to allow music and media stored on a Mac to be shared with other devices on the local network.
For those who live just with Macs, iPhones, iPads, and the Apple TV in their home, Home Sharing seems to be a good option, though it has its limitations.
The main one for our purposes is that Home Sharing is limited to only sharing video media encoded for use with iTunes. If you have files encoded in other ways, then Home Sharing won't recognize them without a re-encode.
Plex can handle many different formats, and does its best to transcode content where required.
You're also far less limited in what devices you can share to with Plex, as it's basically compatible with any device with a client app. This means you can easily stream from the Plex app to Android devices, Roku, Chromecast, Amazon's hardware, and Windows desktops, as well as Apple hardware.
Plex server on Mac versus on a NAS
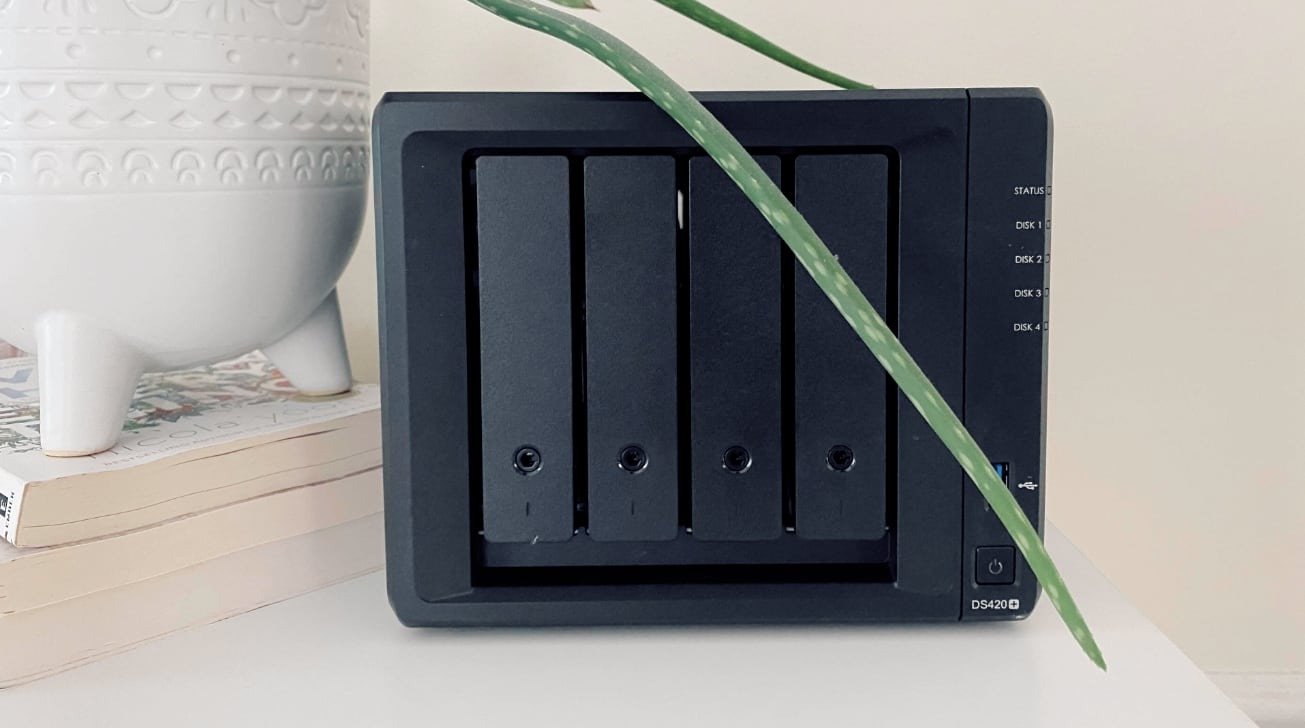
To set up a Plex media server, you need a server of some kind. While you can set up a Mac or PC for the task, a network-attached storage (NAS) device could also be used.
Since many NAS products on the market offer support for Plex as a media server, it seems like opting for a NAS would be the obvious choice. The appliances can use RAID for redundancy, as well as have the potential to hold many terabytes of data, both of which are useful for keeping a digital media collection intact.
In most modern Macs, with fixed internal storage that cannot be easily upgraded, adding more capacity inevitably involves hooking up external drives. This may make a Mac mini take up more physical space, but it will certainly grant you more storage capacity.
However, while a NAS may excel at storing masses of data, it may not necessarily be that good in other areas.
For example, if you want to take advantage of transcoding, the process where a media file is converted in various ways to play optimally on another streamed device, that task typically requires a large amount of processing. A NAS may not have the performance required to properly transcode media, especially on the cheaper end of the spectrum and for 4K video.
A Mac's processor stands a better chance at transcoding the same media, which may make it a more appropriate choice depending on the media you intend to share on your network.
The two devices could work together for media streaming purposes, with the Mac handling the Plex server and transcoding while the NAS hosts some of the media archive. This method would be useful if you cannot attach any more storage to the Mac, such as with external drives, or if you would rather have the quiet Mac in the living room while the noisy spinning drives are elsewhere.
If you are taking your first steps into media streaming, going for a Mac server could be more beneficial, as you can simply use the one you already have, or the model you just upgraded away from, instead of spending money on a NAS appliance. Sure, it'd be very useful to have Plex running on an old spare Mac mini that's doing nothing, but there's nothing stopping you from running it on a Mac being used as your daily workhorse.
Plex requirements
In terms of system requirements, Plex is quite forgiving if you want a basic installation. It'll run on OS X Mavericks and later versions of macOS without issue.
Things become a little muddier when you take into account performance, as that pertains to transcoding content or hosting multiple simultaneous streams. In instances where no transcoding is required, an Intel "Atom" 1.2Ghz processor or a typical ARM-based NAS will be capable of handling streams.
When you take into account transcoding, Plex suggests an Intel Core i3 3GHz processor will be able to handle a single 720p transcode, while a Core i5 3GHz processor could manage a single 1080p transcode. A 4K transcode is also possible on a Core i7 3.2Ghz processor.
If you anticipate serving multiple streams at once, you will need a faster processor, otherwise content will stutter.
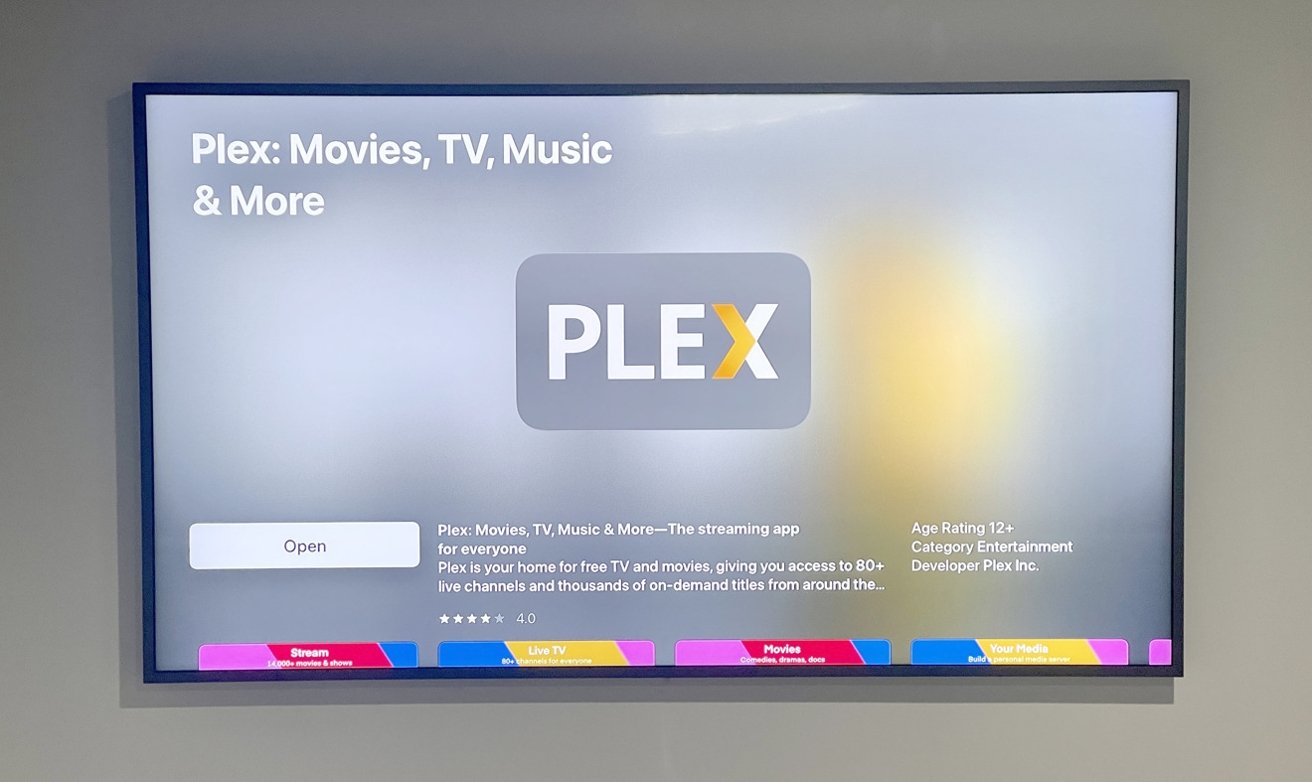 If you have an Apple TV, it is advisable to get the Plex app for it if you set up your own Plex Media Server.
 Hardware-accelerated streaming is possible in many cases, especially for Intel Core processors from the second-generation "Sandy Bridge" chips onwards using Intel Quick Sync Video. This can allow for transcodes to occur while conserving processing capacity, which is handy for this sort of application.
While Plex's support pages don't cover Apple Silicon, the Plex Media Server will function using Rosetta 2, so it will be functional. Forum posts for users waiting for a native version of the server report that the M1 chip is capable of at least two simultaneous transcodes under Rosetta 2.
Though unconfirmed, an Apple Silicon-native version of the server software is likely to be under development by the Plex team.
You also should ensure that you have sufficient network bandwidth to allow streaming to take place. While most people will have gigabit-class home networks, some will be limited by 100Mbps equipment, which could be an issue if multiple streams saturate the available bandwidth.
Wi-Fi connections are generally slower and less reliable than a wired connection, but should still be able to stream content without issue. Make sure that your wireless network runs at 802.11n or newer standards for a better experience.
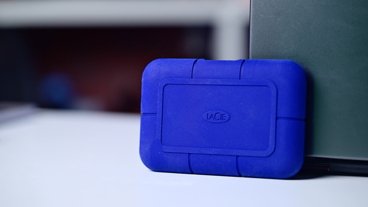
As masses of storage capacity is important for Plex, you may wish to employ external storage drives, or even Thunderbolt 3 RAID appliances, to supplement the Mac's internal storage. You can nominate folders where content is stored within Plex, so having it on a connected drive isn't a problem.
(Mostly) free
While Plex does bill itself as free, it's only completely true for basic functionality, but if you want to do more involved stuff, it'll cost you. A Plex Pass is offered to users that opens up extra premium features.
The standard free tier allows you to host a media server and to stream content to Plex app clients on set-top boxes, game consoles, and computers. If you want to stream to your iPhone or iPad, that needs the pass.
You could also make a one-time in-app payment to unlock streaming to iOS devices, but without activating the rest of Plex features.
You can enable a TV tuner to work with Plex, so you can stream live TV broadcasts over your network to clients, but recording again requires the pass. Free users also gain access to Plex's on-demand library of ad-supported content.
Paying for the pass also adds things like the ability to share your Plex content with others in more customizable ways.
The cost of the pass is $4.99 per month, $39.99 per year, or $119.99 for a lifetime subscription.
This may seem quite steep, especially if you want to stream to your iPhone, but keep in mind that if you're just streaming to an Apple TV and other set-top boxes, you don't need the pass.
How to install and set up Plex Media Server on macOS
- Download Plex Media Server for Mac from the Plex website.
- Extract the server from the Zip file.
- Open Plex Media Server. This will display a Plex icon in the menu bar, and for the initial setup, will automatically open up a new browser window for logging in.
- If you have a Plex account already, log in using your desired method via the page.
- If you don't have a Plex account, select an option and then the relevant link to sign up for an account, and complete the registration process.
- On the "How Plex Works" page, click "Got It!"
- The web interface will then suggest you can sign up for the Plex Pass. You can skip this for the moment by clicking the close icon in the top right corner.
- Enter a server name for your Plex server, which will be displayed in Plex client apps.
- If you want to be able to stream from your server to your personal devices over the Internet from a remote location, make sure to tick "Allow me to access my media outside my home."
- Click Next.
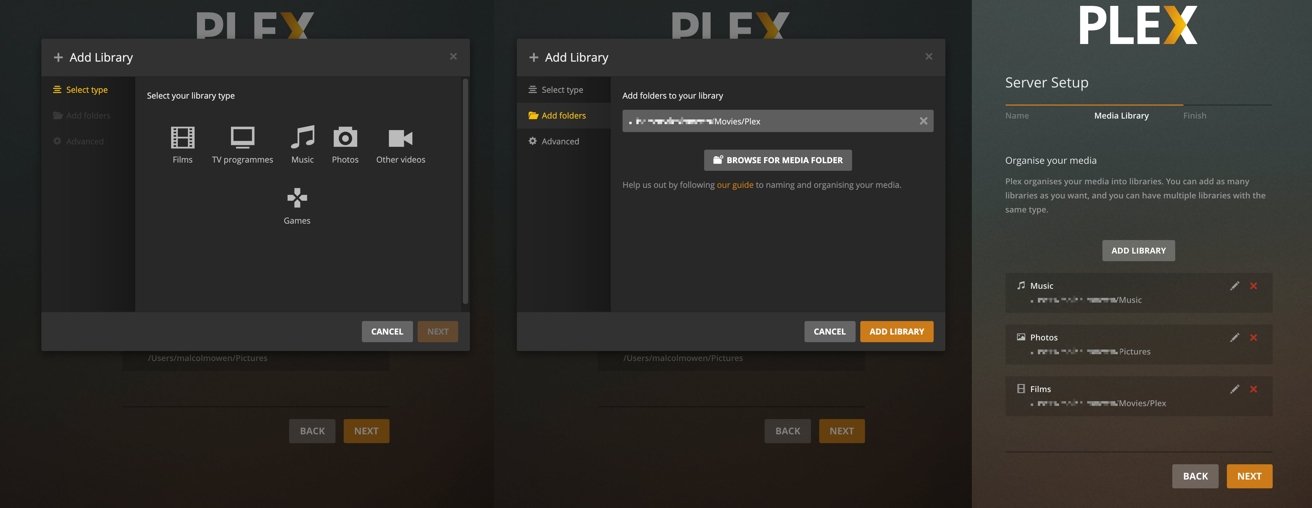
- On the Media Library screen, click Add Library if a relevant default library isn't visible.
- Select the appropriate type of library for your content, such as Films, TV Programs, or Other Videos. Give the library a custom name if required, then click Next.
- Click "Browse for Media Folder." Select a folder that Plex will use to access your stored videos from. It is advisable to create a dedicated folder for Plex content using a Finder window. Click Add.
- If further configuration is required, select Advanced and change further options for the library. Once complete, click Add Library.
- Once all library folders have been selected, click Next on the Server Setup page.
- Click Done.
On completion, the browser will display the main web-based interface for Plex, including all of the content it can access. This includes all active servers that are linked to the same Plex account, if available.
If you close the browser window, you can bring it back up again by selecting the Plex icon in the menu bar and then selecting Open Plex. Selecting Preferences within the same menu brings up further settings for the server that can be configured.
At this stage, the server is running on the Mac, and will be viewable in client apps signed in to the same user account. For example, install Plex on an Apple TV on the same network, log in with the same credentials, and you will be able to see your new Plex server in a list of sources on the side.
There are client apps available for macOS, including using a Mac as a Home Theater PC. The App Store also hosts the iOS, iPadOS, and tvOS app, which can be downloaded here.
All of the software is free, though the iOS and iPadOS apps will be limited to streaming one minute of content unless you have the Plex Pass. The tvOS app doesn't have such a restriction.
Plex File Naming
It's at this point that you will want to start adding media to the Plex libraries defined during setup. This process may seem complex, as Plex recommends organizing media in a specific way for metadata-acquisition purposes, but it is quite understandable.
Plex's support pages provides guides for naming media files and folders, but it boils down to a few simple rules:
- Separate your libraries into different folders, such as one for movies, one for TV shows.
- Create a folder for that movie or show name
- Place relevant media files inside that folder, typically with the same name as the folder.
- For TV shows, folders can be created to identify seasons, and episodes are named using a season and episode notation or by date.
- Add the year as part of the folder and file names.
- For movies, you can also add the IMDB ID as part of the folder and file name, to specify which film from multiples sharing the same name is in the library.
Extra credit
While Plex is installed on your Mac, it won't be set up to automatically start when you log in. This can be easily rectified by running Plex Media Server, clicking the icon in the menu bar, then "Open at login."
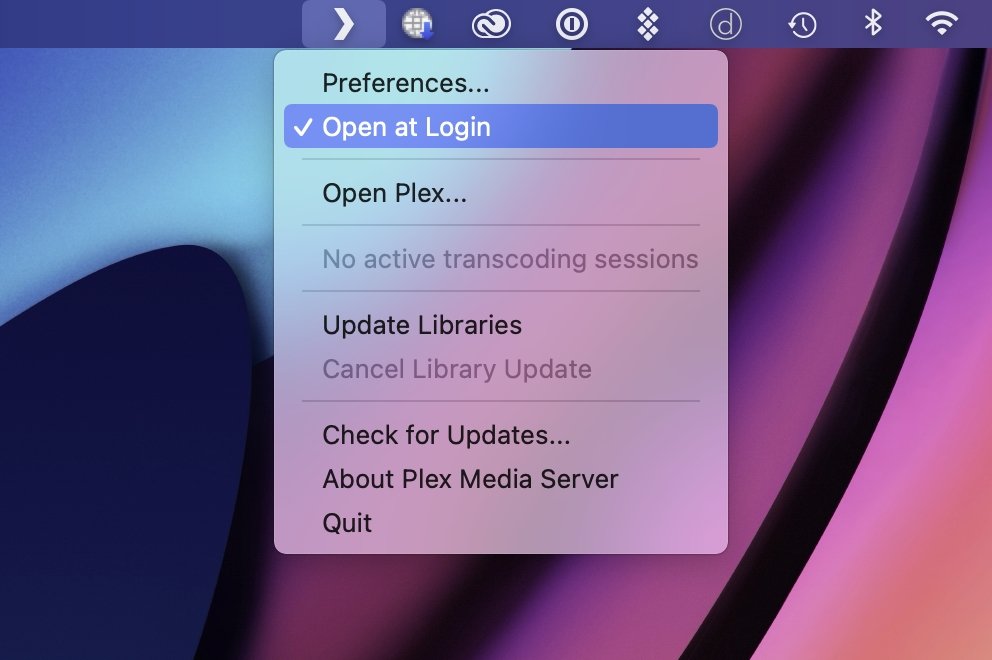 The Plex icon in the menu bar can control whether the app loads at login, gives data on transcoding, the ability to update libraries and the software, and more.
 If you are turning the Mac into a full Plex-only server, placing it on the network to run headless with minimal direct control, there's more work to be done.
First, you have to set some way for the Mac to be remotely controlled. There's many ways to do this, including through Chrome Remote Desktop.
You will also have to set the Mac to automatically log into your designated account when the Mac is turned on. Apple's support pages offer a guide on how to do this.
Lastly, you will need to set up a way to access the Plex folders across a network, so you can deposit new media to the folders without needing to connect the Mac up to a display, keyboard, and mouse. Again, Apple's support pages come to the rescue.
Once these are accomplished you will be able to tuck the Mac and connected drives away, while still being able to add more content from another device.
Everything in this article is to help those interested in Plex to get started. There's a considerable amount of other things you can do, such as streaming to others and setting up account permissions, as well as other paid Plex features.
After getting through the basics, it's certainly worth exploring what else you can do with Plex, and how you can enable other people in your household to enjoy content you own.
 Malcolm Owen






 Wesley Hilliard

 Amber Neely
 Christine McKee
 Andrew Orr
 Mike Wuerthele and Malcolm Owen


