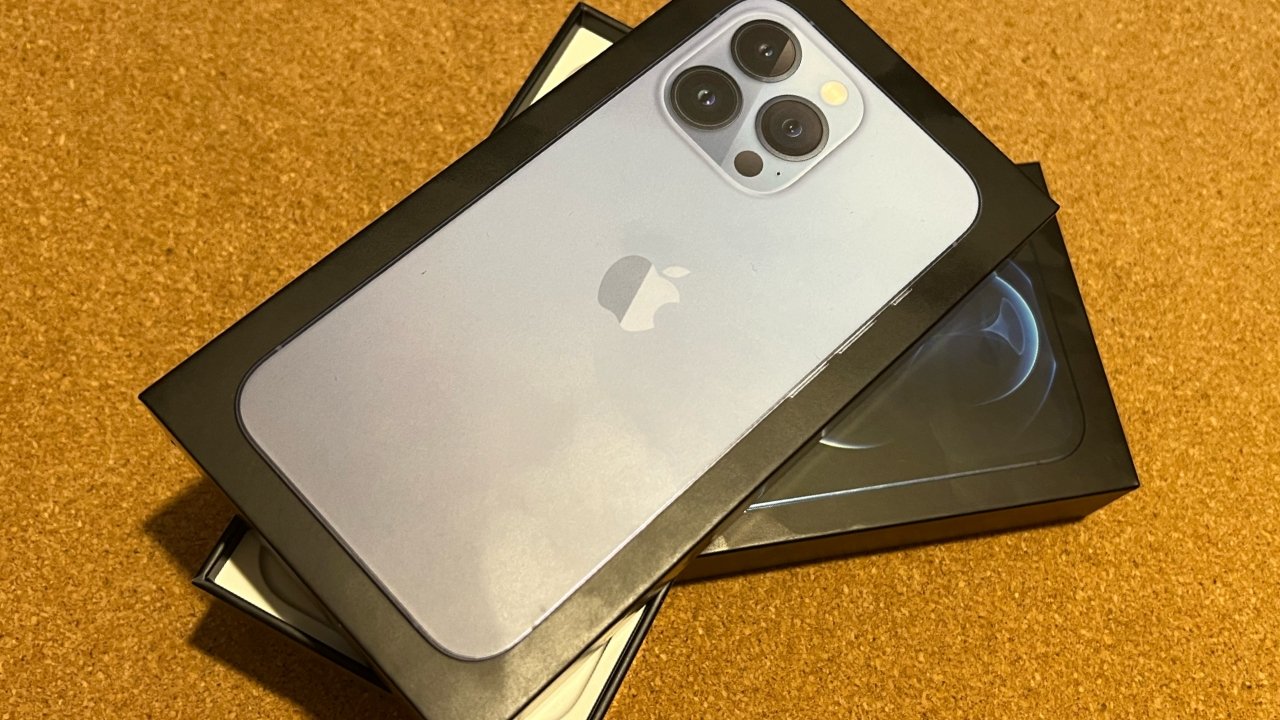
Going from getting your iPhone out of its box to having it fully set up and usable is not hard — but it is surprisingly involved. Here's what to do.
Interestingly, there are enough steps in setting up an iPhone that if you've ever had one before - or certain other Apple devices - Apple tries to help you skip as many of the steps as it can. But these steps are all important, and they do all matter.
And they do all directly improve how well the new iPhone works for you.

First steps and Quick Start
Right away, once the iPhone is turned on, you're asked language and region, so find yours in the list shown. The former seems to be the most important because Apple will use that to show you all the other steps in the right language for you, but getting the region right changes the clock, currency, and so on.
Once you've done that, you immediately get to the first point where Apple hopes you can skip over things. If you are moving from an older iPhone, or if you have an iPad, you can use Quick Start.
Just putting the two devices next to each other and on the same Wi-Fi network is enough to start up the process.
And when it starts up, that process copies over all of your information. So it shares the Wi-Fi password, your contacts list, it can bring over all your apps, and so on. It is a tremendous thing.
But it's no use to you if this is your very first iPhone, or if you do want to start from scratch. So then you need to tap Set Up Manually.
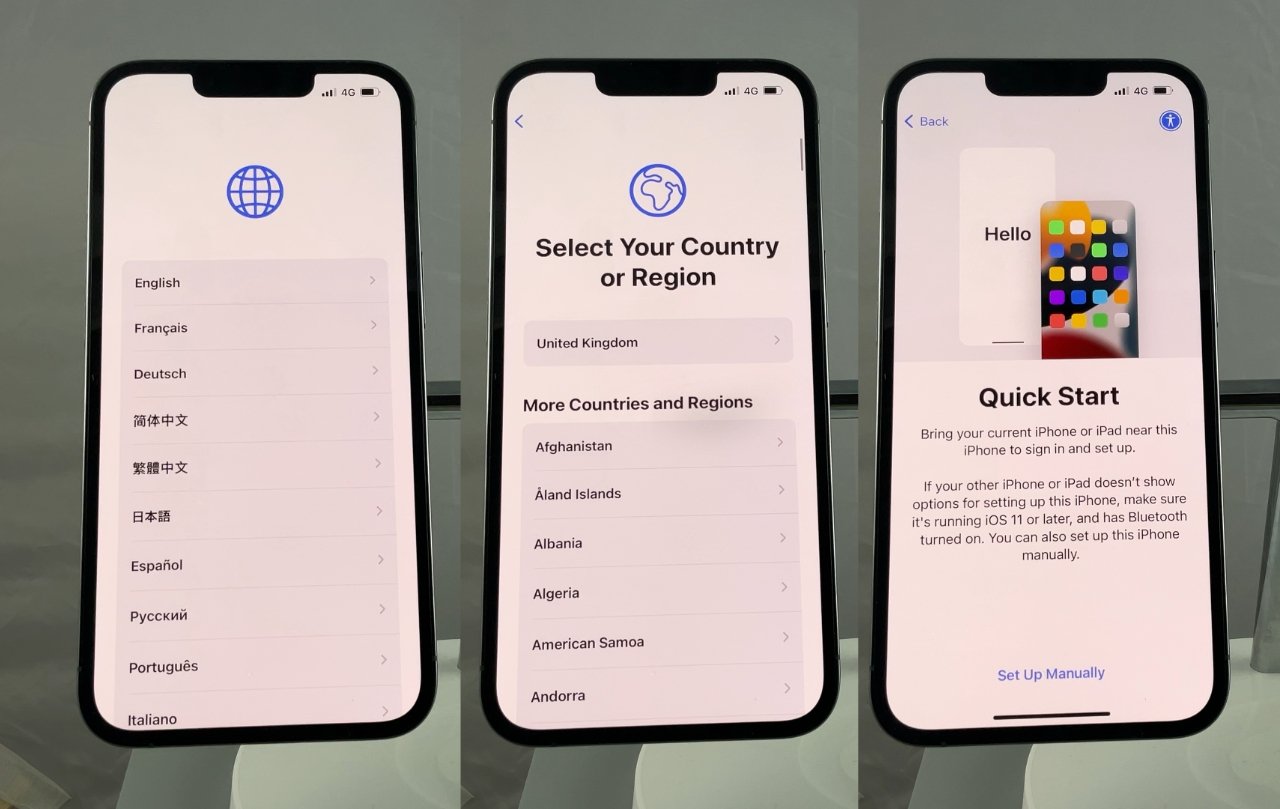
L-R Setting language, region, and launching Quick Start
Networks, Face ID, and using backups
Next, the iPhone is going to need an internet connection. So pick your Wi-Fi network, enter the password, tap Join.
True, this is an iPhone, so it has a cellular connection and you can use the internet over that. But cellular requires a SIM card and a carrier plan, both of which you can set up at any time.
Whatever you do, whatever sequence you do it in, you'll always be prompted at this point to use Wi-Fi.
Now you're into the first of a series of questions Apple needs you to answer, along with security features you need to set up, like being able to unlock the phone with Face ID.
Equally and similarly important is the passcode. Even if you use Face ID to unlock the iPhone, sometimes you will be required to enter the passcode. If you ever switch your phone off and on again, for instance.
Another way that Apple wants to help you skip a few steps and to make this easier is to use backups. If you have an older iPhone and you've backed it up, you can now use that backup to set up your new iPhone.
If you haven't got a backup or if you want to start fresh, you can instead tap Don't Transfer and so set up everything from scratch yourself.
This doesn't actually add a great deal to the basic setup of the iPhone. It just means you need to choose different preferences and download each of your apps individually. You might well want to download just the apps you need, for instance, if you're moving to an iPhone with less storage than you had before.
Privacy details
The next steps concern whether you want your iPhone to use Location Services, so that Apple Maps, Find My, and so on, can work. Yes, you do. There is a privacy issue here, and it's your choice entirely, but your iPhone knowing your whereabouts is an enormous boon to countless apps that you're going to rely on.
Next, Apple Pay, which Apple pushes at you during iPhone set up. It's not really part of setting up your iPhone, yet Apple Pay on your iPhone is immensely useful.
All you have to do is let the iPhone take a photo of the card, confirm details with your bank to make sure you're you, and it's done.
Siri. Screen Time, and privacy
Similarly, Siri. If you have time now, you can set up Siri to the voice and the language you want, but it will default to one of the voices done for wherever you are, so this isn't necessary.
You can also set up Hey, Siri, the ability for the iPhone to listen out for you saying those words. Set that up now or later, as you want.
It's the same with Screen Time; Apple's telling you how long you spent using the device. The feature is helpful for when you're a parent setting up limits on your child's use. Otherwise, you can skip it.
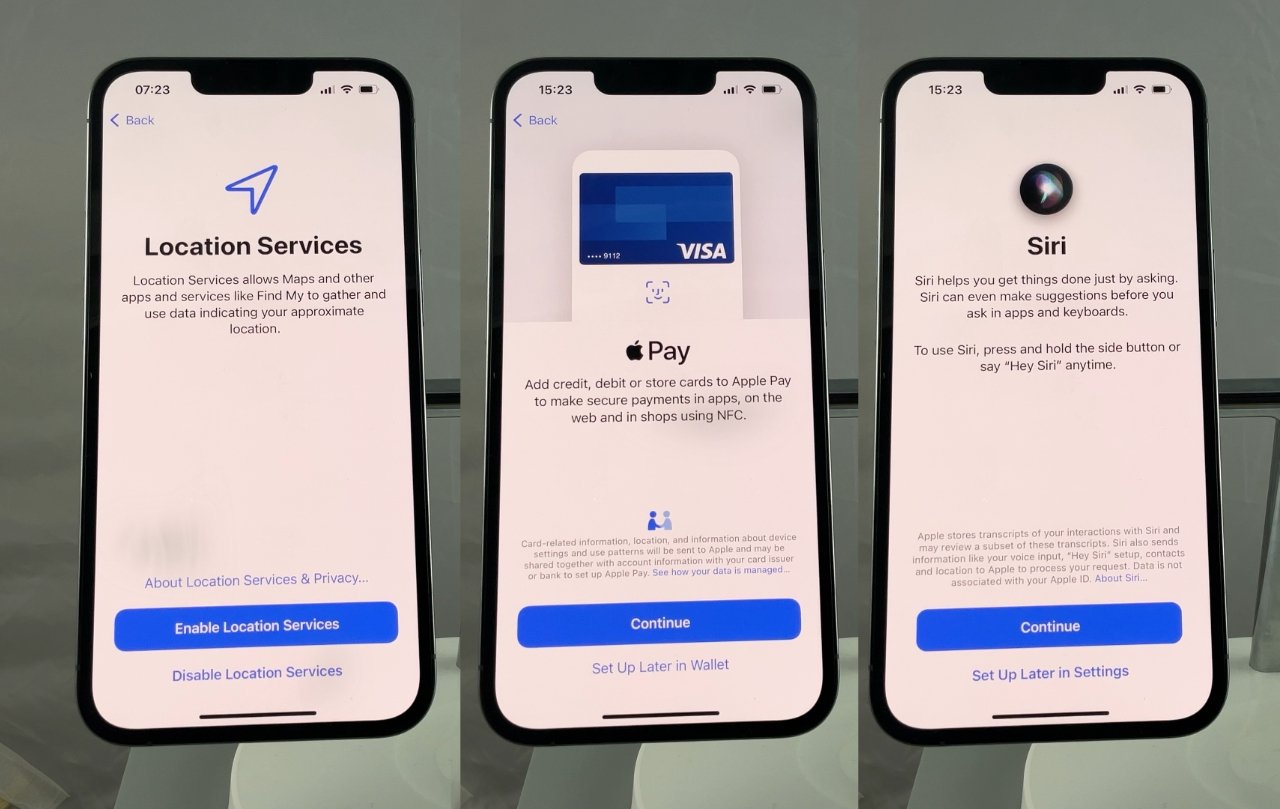
L-R Location Services, Apple Pay, and Siri
Next is the first of two privacy decisions you need to make, and they're entirely up to you. Both are about what information is sent when you use your iPhone, starting with data that helps Apple.
Then you're asked the same question again, but this time over data that helps app developers.
Either way, this is the kind of thing that helps developers and Apple fix bugs, so sharing is generally a good thing.
Appearance and patience
A tougher decision is over dark or light mode. If you don't have strong feelings, pick one at random - and know you can easily try them both out later.
That doesn't feel like the most crucial setup decision you have to make, and there are many steps here, so Apple could lose that one.
But fortunately, it is also the last step. If you've chosen to restore from a backup, you get to see a progress bar for quite a long time.
It eventually told me the estimated time remaining was 17 minutes — but then it only took about 9 minutes. It depends on how much data is being transferred.
During this part, you can walk away and let the iPhone screen go blank. When you come back, the iPhone is, in theory, restored and ready to use.
In practice, it's pretty much ready. If you've restored from an old iPhone, you'll see your apps popping up one by one as it completes downloading them.
And if you haven't, you're probably going to spend a lot of time in the App Store picking out apps.
But you can take your time over that, your new iPhone is now set up, and it is ready to become the single most useful device you can ever carry with you.