What to do first with your new Mac
 Malcolm Owen
Getting started with a new Mac is quite straightforward.
Last updated
If you've just acquired your first Mac, there are a few things that you should do to have a great experience with your new computer. Here's what you should consider doing with your new Mac.
Over the holidays, a number of people become first-time Mac owners. Be it from generous loved ones providing an exceptional gift, or simply taking advantage of some great deals to get their own, there's a collection of people who've taken their first steps in Mac ownership.
If you're reading this, you're probably part of that small group starting their Mac adventure. Congratulations! You've got your iMac, Mac mini, MacBook Air, or other hardware in the box, so you're at the very start.
Aside from unboxing everything, here's what you may want to do with your new computing appliance.
Learn your ports and hook it up
It seems like an obvious thing to do, but not everyone knows their way around the physical Mac or MacBook. Getting it out of the box is a perfect time to become familiar with the device before placing it wherever it's mainly going to be used.
Using the documentation that comes with it, have a look at the ports. They're on the sides on a MacBook Air or MacBook Pro, while the iMac range and the Mac mini put them to the rear.
For the most part, Apple use very common ports that you will probably be familiar with, including HDMI for video, USB-A, and USB-C, and for the desktop Macs, Ethernet. Bear in mind that the USB-C ports are also used for Thunderbolt connections, more than just USB.

The new 14-inch MacBook Pro and 16-inch MacBook Pro models also provide you with MagSafe, a dedicated power port. Alternately, you would use a USB-C port to recharge the MacBook Air or Pro.
Taking the time to look at what ports are available will help you know exactly what you can connect up to your Mac, and how best to arrange cables in your workspace. It may also help you work out if you should invest in an extra dock to expand your port selection a bit.
Initial Mac setup
Once you've got your Mac or MacBook in place and connected up, the next thing is to set up the Mac itself.
While it may seem daunting and many things will be asked of you at first, remember that this is a one-time thing that you won't have to go through again until you get a new Mac. Mercifully, Apple also made it relatively easy to go through the entire process, with it guiding you through every step of the way.
Though you could go through all of the elements in one sitting, there's usually the option to skip some parts. Any skipped sections can always be completed later, or selections changed at a later time.
It all starts by turning the Mac on, selecting your country or region, and enabling any accessibility options, if required. You then need to set up your connection to the network, which may require you to enter a Wi-Fi hotspot password.
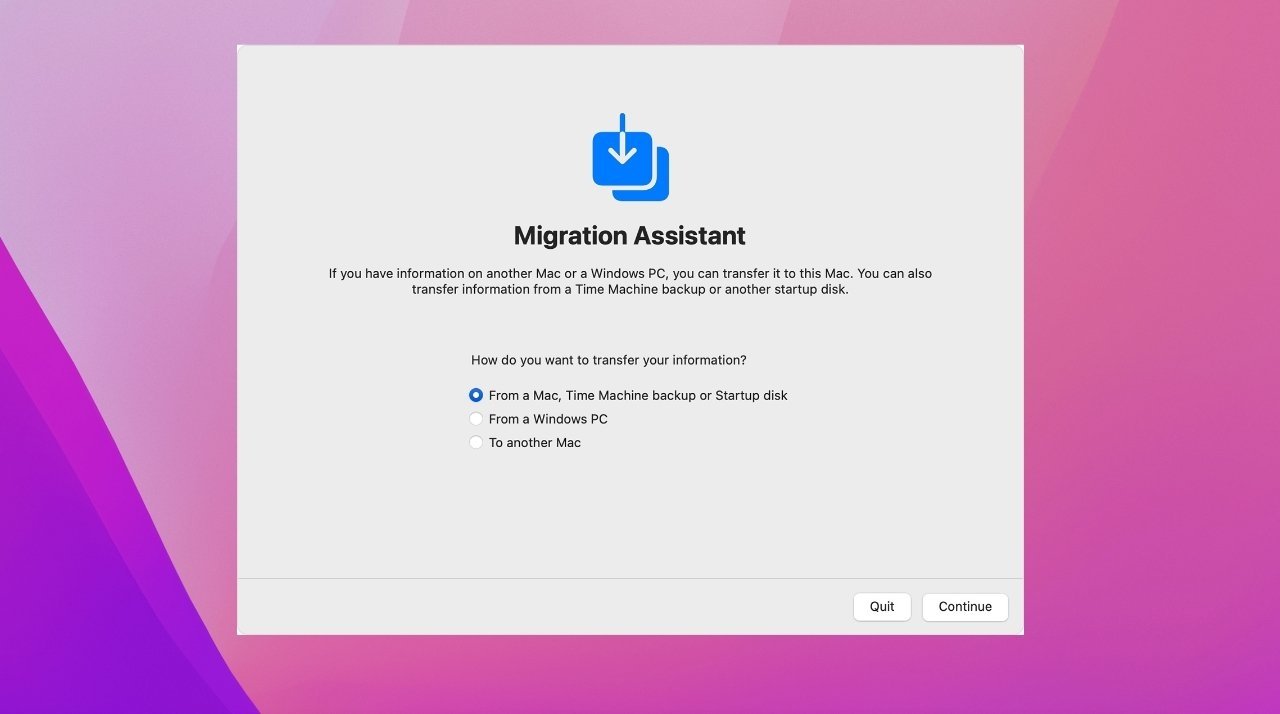
Once you can access the network and the Internet, you're asked if you want to transfer data to your new Mac. While you may not have had a previous Mac to transfer your personal data from, the Migration Assistant can do it with a Windows desktop as well, though it's entirely fine to skip this part altogether and do it later.
You'll also be asked to sign in with your Apple ID, which you may already have if you've got an iPhone or iPad and have used Apple's services like the App Store before. If not, you'll be able to set one up at this point.
There's the option to set the Mac to store some content in the iCloud, Apple's online storage service, for your documents, photographs, and other media. You don't have to enable this, but you do get 5 gigabytes for free, and could pay for more later.
Moving on, you're asked if you want to set up Screen Time, Apple's feature that tells you how you're using your Mac, which isn't an essential addition if it's only going to be used by one person.
You're also asked if you want to enable "Hey Siri" so you can make verbal requests with Apple's digital assistant. If so, there's a brief voice learning process to go through, which can help make it as accurate as possible.
If you're using a MacBook or a Mac with Touch ID, you'll be asked to set it up. Again, it takes a few short minutes to register your fingerprint or thumbprint, but it makes logging into your Mac or confirming Apple Pay transactions very easy once completed.
Speaking of, you're also asked if you want to set up Apple Pay for the user account.
After being asked if you want to have the desktop in Light, Dark, or Auto mode that changes with sunrise and sunset, you will then log into the Mac and be greeted by the macOS desktop.
Back up with Time Machine
The last thing you want to happen to your lovely new Mac setup is to lose any of your personal data. Not everyone chooses to do so, but it is cheap and straightforward to get a basic backup plan in action.
To get started, you need an external drive. You could be fancy by using a network-attached storage device, but all you need is an external hard drive that connects over USB-A or USB-C.
On the software side, you could go down the route of using third-party tools, but you can easily get a lot of protection using the built-in Time Machine feature.
To get going, click the clock-with-counterclockwise-arrow icon in the menu bar, then Open Time Machine Preferences. Alternately, click the Apple icon in the top left of the menu bar, then System Preferences, then Time Machine.

With your external drive attached to the Mac, click Select Backup Disk, then select the drive, then Use Disk. If you want to, you could take the opportunity to click Encrypt Backups for extra privacy.
Once it's set up, it will automatically back up your files or new file changes every hour while your Mac is active and connected to the drive. The initial backup will take a while, but your data will be protected from accidental loss after that.
As an aside, it's probably a good idea to look into paying for AppleCare+, just in case something goes wrong hardware-wise, as it could help save you from an expensive repair bill.
Get familiar with System Preferences
If you're going to be making any major changes to your Mac's settings, you're probably going to be doing it through System Preferences. By clicking the Apple icon in the menu followed by System Preferences, you can bring up the macOS equivalent to the Windows Control Panel.
System Preferences deals with many areas, including managing your Apple ID, your display, how macOS functions in various ways, network settings, and various peripherals and feature controls.
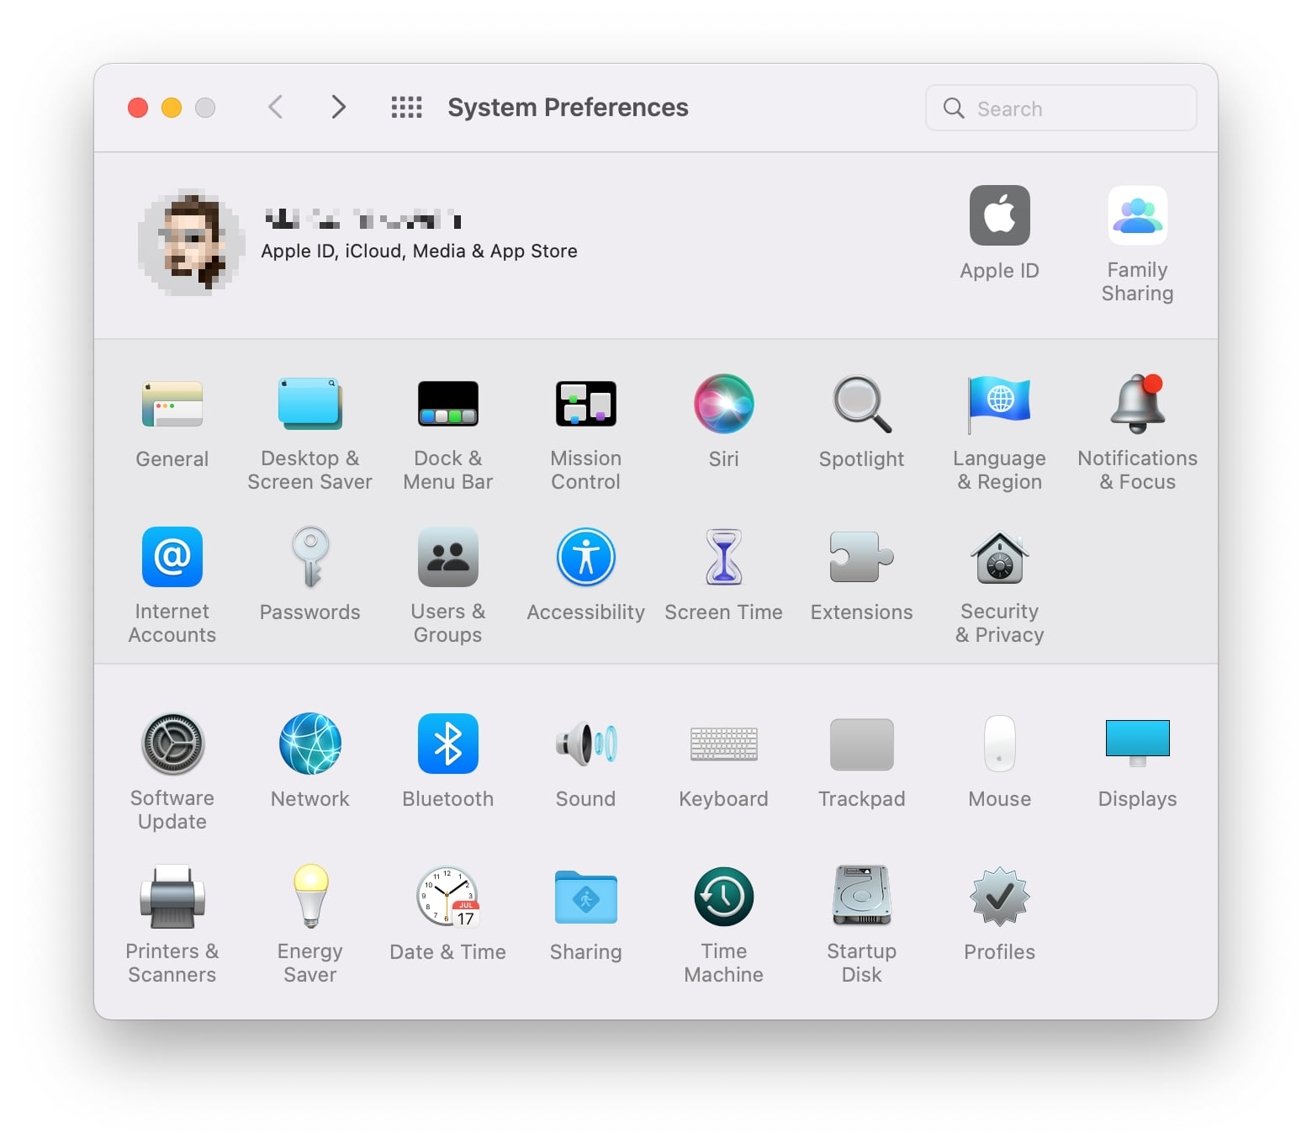
To maintain security, sometimes you cannot immediately change settings within System Preferences. The settings may be locked and cannot be changed in some cases.
To unlock the settings, click the locked padlock in the bottom left of the window, then authenticate using your account password. Once you've finished changing settings, it's good practice to click the open padlock again to lock it, and the settings, down.
Launching apps and going to the Mac App Store
Most software you're going to run on your Mac will be accessible from the Launchpad, an icon in the Dock at the bottom of the screen. Once selected, a full-screen panel will appear, showing installed apps you can run there and then.
If you want more apps, you could download them from the Internet directly, but you could also take a look in the Mac App Store. Just as with the App Store for iPhone and iPad, the Mac App Store offers numerous apps you can download and install to your Mac, with minimal fuss.
The Mac App Store will also handle app updates, and it will alert you if there are any updates available to install.
Explore preinstalled apps
You don't necessarily need to download any apps on your first day of ownership, as Apple includes quite a few built-in apps within macOS for you to use. These apps range from entertainment and educational tools to creative apps, and even productivity tools for work.
For example, Numbers, Pages, and Keynote are the Apple equivalents of Microsoft Excel, Word, and Powerpoint respectively. Then there's the Mail app for checking your email, as well as the Calendar app for managing your time, though you will have to go through a brief process to connect them to any existing online email or calendar services you may already use.
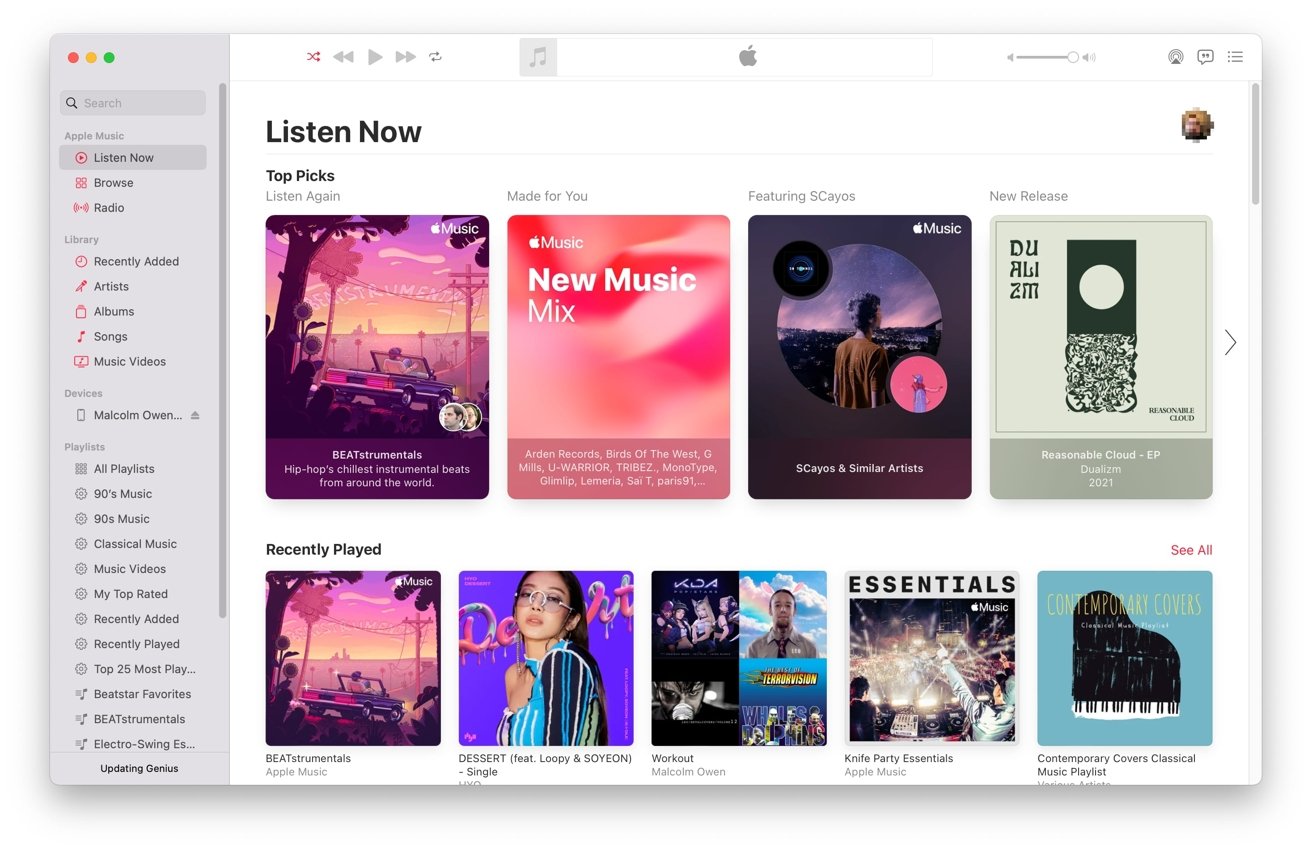
On the more relaxing side, there's the Music app for using Apple Music, along with Podcasts, and the TV app for consuming video. For managing your photographs, there's Photos, and Garageband and iMovie can be used for music and video creation.
There's a lot available to you without needing to go to the Mac App Store. You just have to try them out.
Window Management and Force Quit
With your screen starting to be littered with windows, now would be a good time to learn to tame them. The main controls are usually in the top-left corner, in the form of three dots.
The left-hand dot, usually red and with a smaller dot in the middle, closes that window. The amber dot in the middle, which also has a dash symbol, minimizes the window to the Dock.
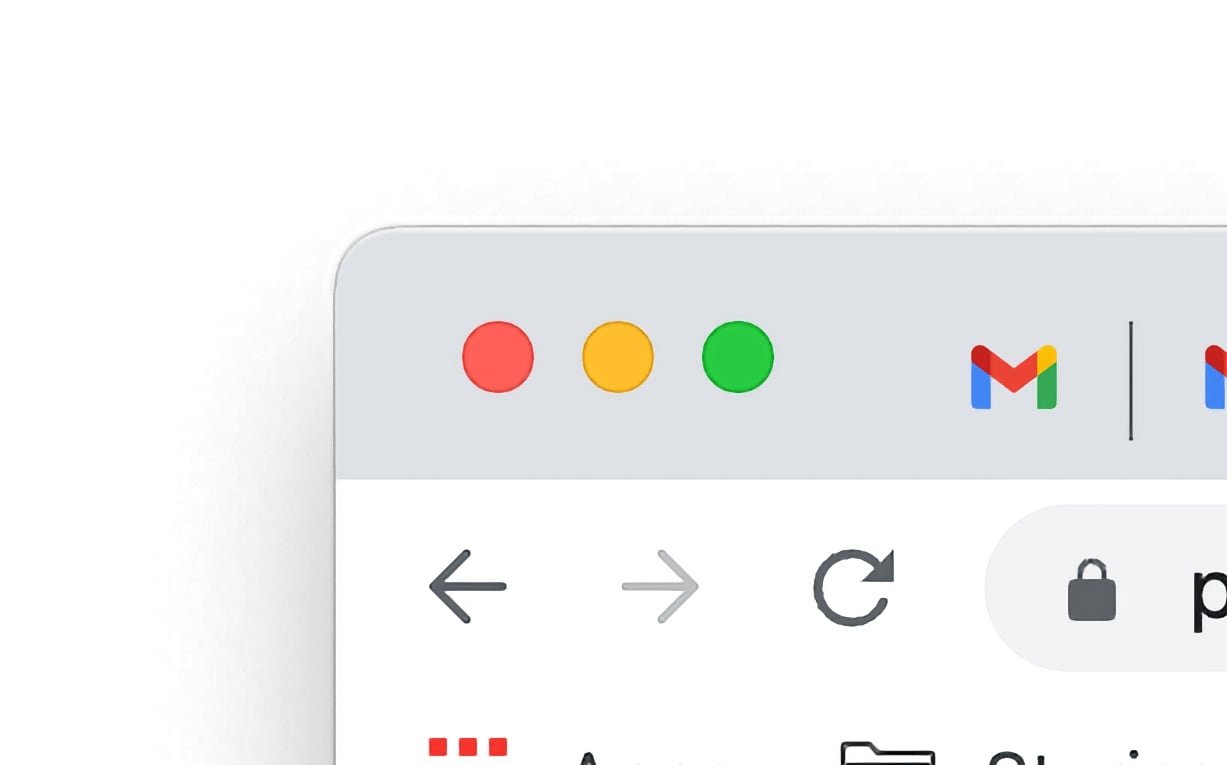
The right-hand dot, green and with a plus symbol when you mouse over it, can make the app expand to a full-screen mode when clicked straight away. If you mouse-over and wait, some apps can also bring up extra options, including zooming into the app, repositioning it to the left or right half of the display, or even moving it to another display entirely if you have two screens connected to the Mac.
You can also double-tap the window's title bar to make it grow to fill the screen or shrink down to its original non-expanded size.
Most windows will also allow you to resize the window itself using the cursor, either by mousing over the sides, bottom, or corners, then clicking and dragging them around.
If an app hangs, namely becomes unresponsive and may show the "spinning beachball" on your screen, your first port of call to kill it is to close the window as usual. You may have to close the app properly by right-clicking the icon in the macOS Dock then selecting Quit.
If all else fails, and before you reboot the Mac, you can try the Force Quit option, accessible from the Apple icon in the menu bar.
Connect your Printer
It's one thing to write out a project on your Mac, it's another to have the printed copy.
For most modern printers, you'll be provided with instructions for connecting the printer to the Mac, but not everyone keeps hold of that documentation. Thanks to Apple's Printers & Scanners feature in System Preferences, it's quite easy to attach one to your Mac, even without the manufacturer's steps.
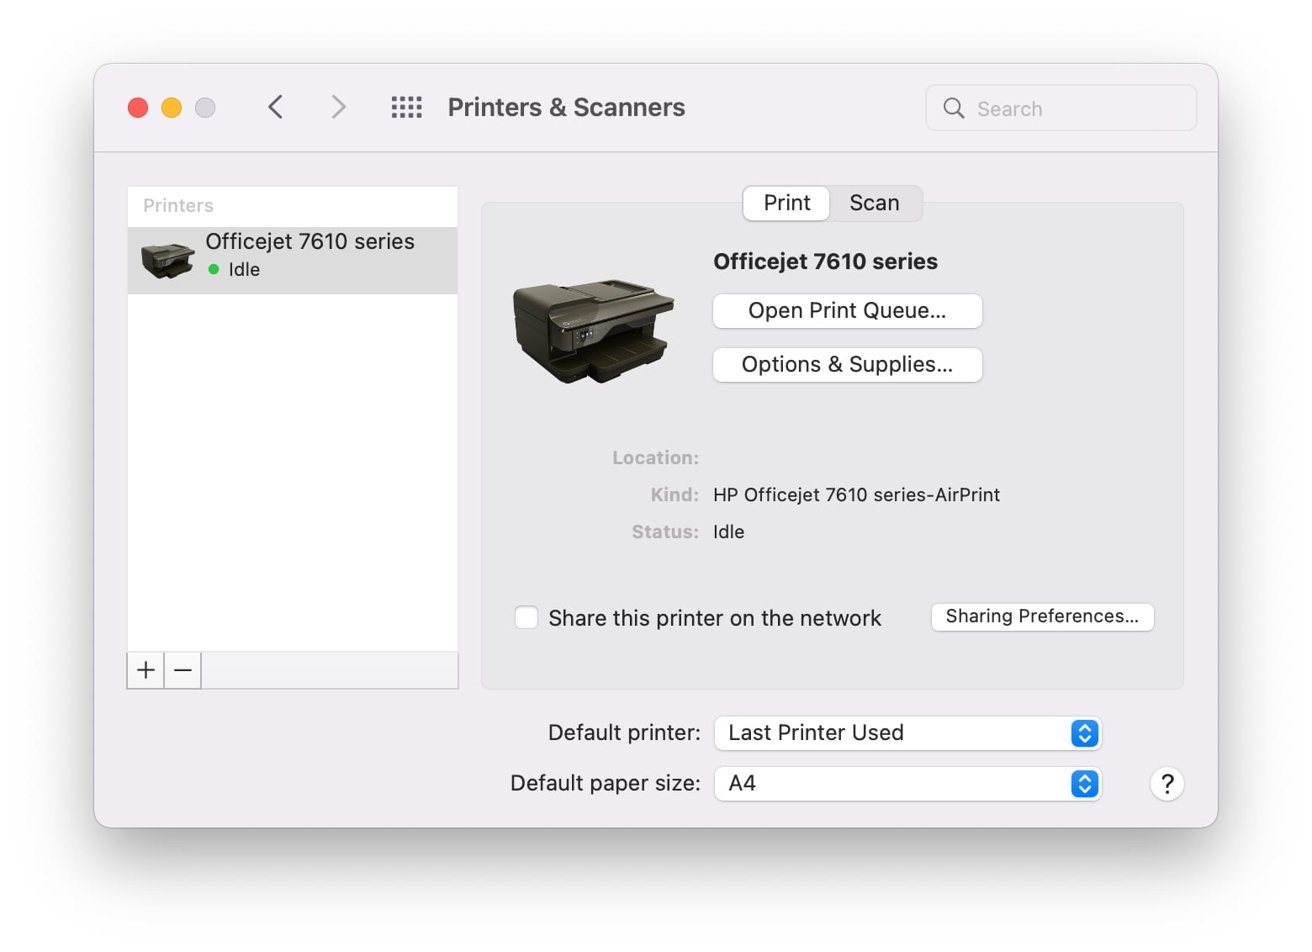
After connecting the printer to the Mac directly, or adding the printer to your network, open up Printers & Scanners, then click the plus symbol to add a new printer. Once a printer is detected, select it then click Add.
At this point, macOS will download the relevant drivers and complete the setup process.
Searching with Spotlight
If you've enabled Siri, you've already got a great way to find what you need within macOS. However, there are already extensive search capabilities included within macOS at your fingertips.
Spotlight, search within macOS, can be summoned by either clicking the magnifying glass in the menu bar or by the keyboard shortcut Command-Space. This will bring up a text bar that you can immediately type into.
You can search for practically anything on your Mac, including text and filenames, but it also handles other search topics as well. This includes locations in Maps, Internet queries, and basic unit conversions.
This is also a power-user move to learn, as it's quicker to use the keyboard shortcut and to type out a name of an application to launch it than it is to use the mouse or trackpad to click its icon.
If in doubt, get help
While it's common to want to ask a knowledgeable friend or family member for help at the start, this could quickly put a strain on the relationship, so you're gonna have to become more self-reliant quickly.
You may be aware that apps include a help menu that supports using that piece of software, but it's worth remembering that macOS has its own help system.
Click the main desktop then click Help in the menu to bring up a search tool for specific inquiries. You could click "macOS User Guide" to bring a more orderly and extremely extensive manual into view, telling you exactly how to perform many of the standard functions within macOS.
If the built-in support system isn't enough, you could check Apple's support forums to see if someone came up with a solution for your specific problem. Apple's online support pages also supplement the manual with updates throughout the year.
After that, you've got the Internet at large, as well as Apple's more formal support options. Remember that you do get a period of complementary support from the initial purchase, as well as from AppleCare+, so you might as well use it.


 Amber Neely
 Thomas Sibilly
 AppleInsider Staff
 William Gallagher

 Christine McKee