If you've recently become a first-time iPad owner, or you have a family member who just got one, here are the essential things you need to know to get started with Apple's much-loved tablet.
The holidays are a prime time for tablet acquisition, with it often being gifted or becoming the main use of monetary gifts from relatives. If you're lucky enough to get one, congratulations!
There is also the chance that it's someone else in your family that's now an iPad or iPad Pro owner, and that you've suddenly become family tech support. In that case, you need to brace yourself for what you're going to be asked.
From the outset, Apple has made the experience of becoming an iPad user relatively easy, from initial setup to day-to-day usage.
Here's what you should do with your new tablet.

Unbox and get used to the iPad
While they share many of the same features, there are still some differences between the various models of iPad Apple sells. This makes it quite worthwhile to have a close look at the device before getting really started using it.
For example, some will have Touch ID as its biometric security feature, meaning you will have to touch the Home button or a side button. Some, namely the iPad Pro, rely on Face ID for it.
Some may also use a Home button at the bottom of the display, while others don't, which can affect navigating the interface a small amount.
Then there's the port at the base, as it could use Lightning or USB-C. While both will be used to recharge the iPad, the latter is better suited for connecting to other accessories, such as external drives.

Some iPad models have the well-known Home button, but many no longer do.
That's not to mention needing to be sure you're buying the right accessories, like a case, down the line. You'll want to know that the accessory will fit perfectly with your new tablet.
Take the time and give it a good long look. You're going to be using it for years to come, so you might as well be familiar from the outset.
Initial setup
Getting started with the iPad is pretty simple. It all starts by pressing the power button at the top or side, depending on how you're holding it.
After an initial booting, you can follow the onscreen setup instructions to go through the process.
If you already own an iPhone or older iPad, you can save time by using the Quick Start feature, by bringing your existing device over to the iPad. This can help save you time by setting up your existing Apple ID and to transfer data between devices, including apps, app data, and settings.
If you don't have an iOS or iPadOS device, then you will have to go through the manual setup process and follow the instructions. This starts with connecting the iPad to your local Wi-Fi network.
You'll then be asked to set up Face ID or Touch ID on your hardware, as well as a passcode. While you could bypass this, you might as well set biometric security up, if only to speed up authentication and to save you from repeatedly typing in the code.
If you previously owned an iPhone or iPad, you could potentially use an existing iCloud backup or one made on a computer, or even migrate data from an Android device. The Apps & Data screen gives all of these options, though if you don't have anything worth restoring, or don't have a backup at all, select Don't Transfer Apps & Data.
You'll then be asked to sign in with your Apple ID and password, which you may already have if you own an iPhone or a Mac, or use Apple's services like iTunes or Apple Music. If you don't have one, you'll be asked to set one up at this point.
Following on from that, you'll be offered to enable automatic updates, which you should agree to both for security and to ensure you get any new features Apple introduces. That's followed by setting up Siri, Apple Pay, Screen Time, and other services.
Included apps and the App Store
Apple includes quite a few built-in apps in iPadOS, covering a wide variety of different tasks and use cases. This ranges from the simple, such as the Camera app, Reminders, Notes, and Contacts, to full-blown services, such as FaceTime and iMessage for communications, Maps for navigation, and Music and Podcasts for entertainment.
The apps that Apple provides are a good selection for immediate use, but it's highly likely that you'll want to get more that aren't included. For example, Netflix or Amazon Prime Instant Video apps, or Spotify.
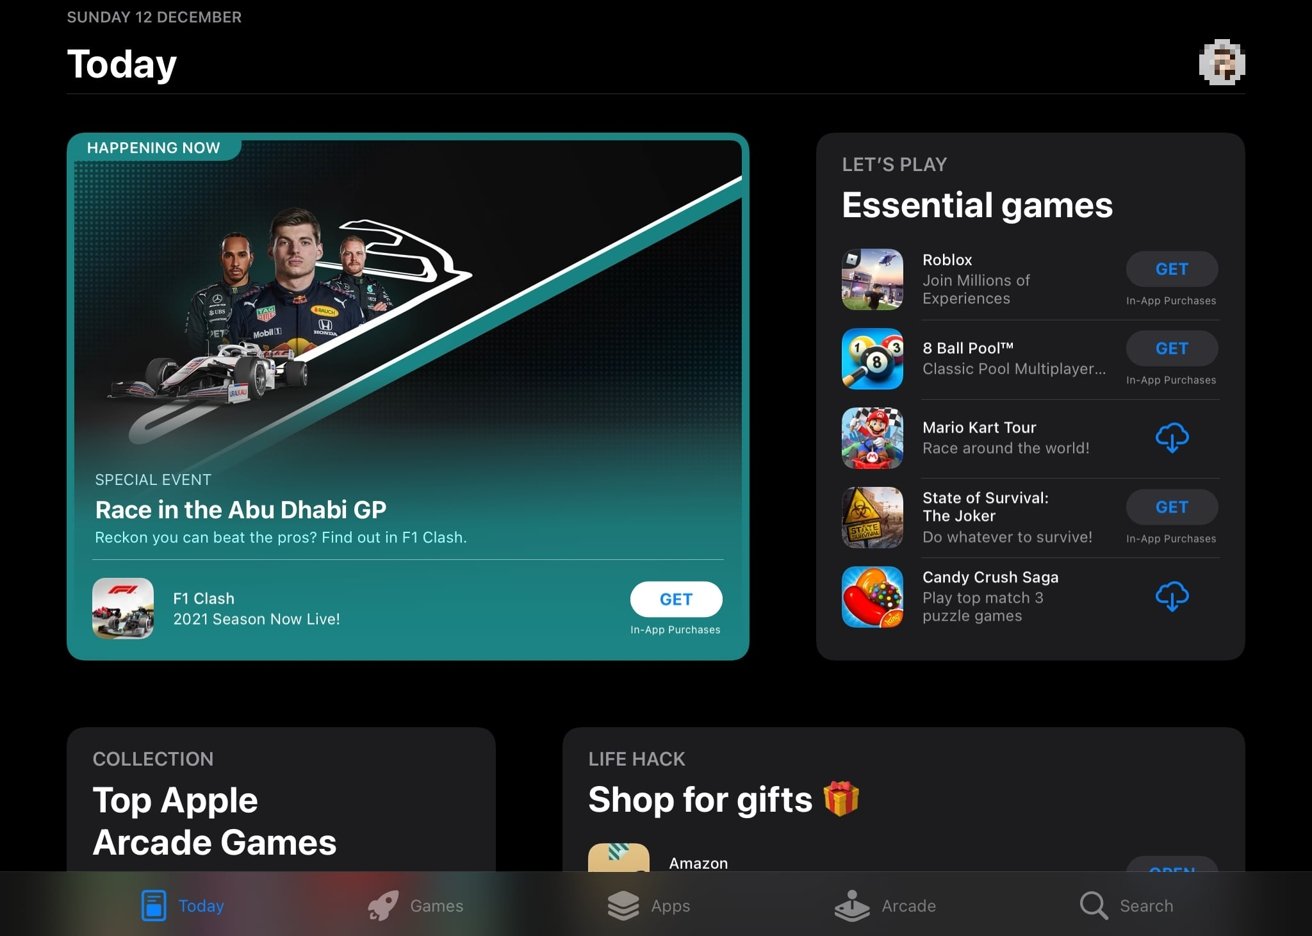
You can download a wealth of apps from the App Store, including many free apps.
To get these, and a massive amount of other apps, you'll need to visit the App Store. Owners of the iPhone will be very familiar with it, but to the uninitiated, it's where you can download free and buy paid apps for your device.
You will need an Apple ID set up to get started with it, and a form of payment on file if you want to pay for apps or any in-app purchases, which are also handled through the App Store. Sections for Games and Apps provide charts of popular apps if you want to quickly download some, though if you have more obscure apps in mind, you can use the Search function to acquire them.
Parental Controls and Family Sharing
With the plethora of games and apps available, you may want to lock down your iPad if its intended user will be a child. Not only is it a problem in terms of preventing access to adult content, but also a financial problem.
Remember what was said about free and paid-for apps in the App Store? The free element is especially true for Apple's vast catalog of games, with many choosing to fund development by charging users an in-app fee for a scarce in-game currency.
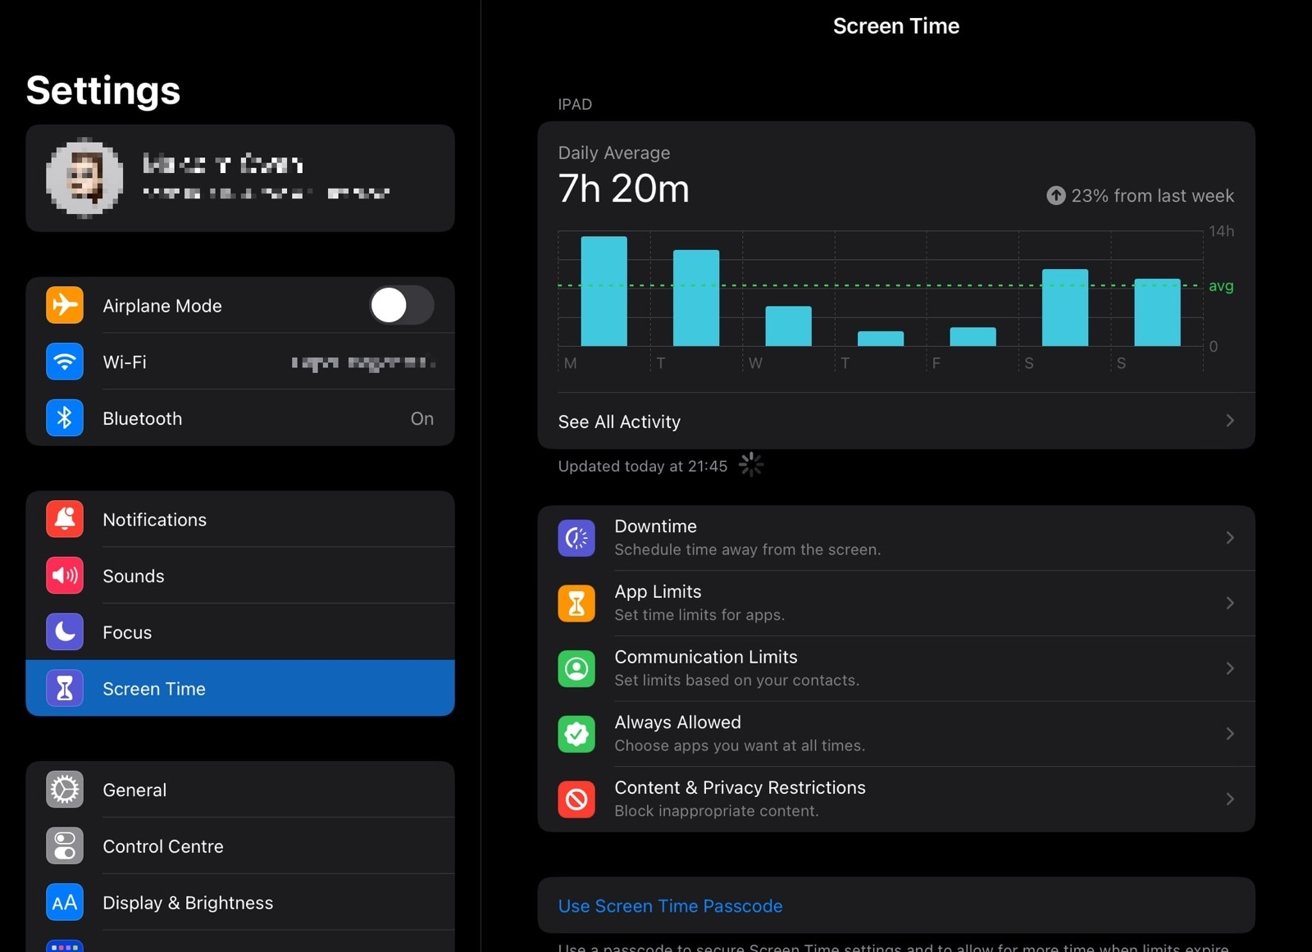
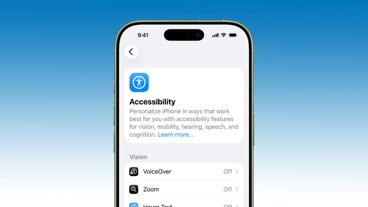
Screen Time offers parental controls, and helps you monitor app usage.
There have been many stories in the press where a child has been given access to an iPhone or iPad and bought a lot of in-game currency in a short space of time, costing parents thousands.
If you don't want this to happen, you should enable parental controls. You can set various controls, ranging from whether a child needs permission from an adult to make purchases, to restricting the number of hours a child can use the iPad or specific apps.
Most of the controls are available within the Settings app, under Screen Time.
Given the potential damage to your bank account from in-game credits, it's worth spending a minute or two on the problem.
You may also want to set up the iPad on a child account as part of Apple's Family Sharing feature, which adds more controls as well as allowing the sharing of content, apps, and services between family members, which could save you money.
Get Apple's productivity suite
Long-time Android and Windows users may not necessarily be aware of Apple's productivity tools. They may be aware of Garageband for music creation, iMovie for video editing, and Photos for storing and viewing images caught on the camera, but not necessarily work-related tools.
Formerly known as iWork, Apple's suite of tools is analogous to Microsoft Office's main apps. Numbers is Apple's spreadsheet program, Pages is a word processor, and Keynote is used for presentations.
There is a little learning curve to the tools, but anyone familiar with their Microsoft or Google Docs equivalents will be able to get up and running with them quite quickly. Also, if you own an iPhone or Mac, you can save the documents to iCloud and open them on other devices.
As an extra benefit, they're free with the iPad, so there's no subscription to pay, as with Microsoft's Office 365.
Giant swipes
Some of the things that could take a while to get right are swipes, which can be used to navigate iPadOS as a whole. While practically everyone knows or quickly learns about left-swipes and right-swipes switching pages on the home screen, there are a few others that are trickier.
Swipe up from the bottom of the screen to switch between apps, and to close them down.
For example, swiping from the middle of the top edge of the display downward will show notifications. However, if you swipe from the top-right corner, you'll bring up Control Center, a page to quickly access widgets relating to various often-used functions and settings.
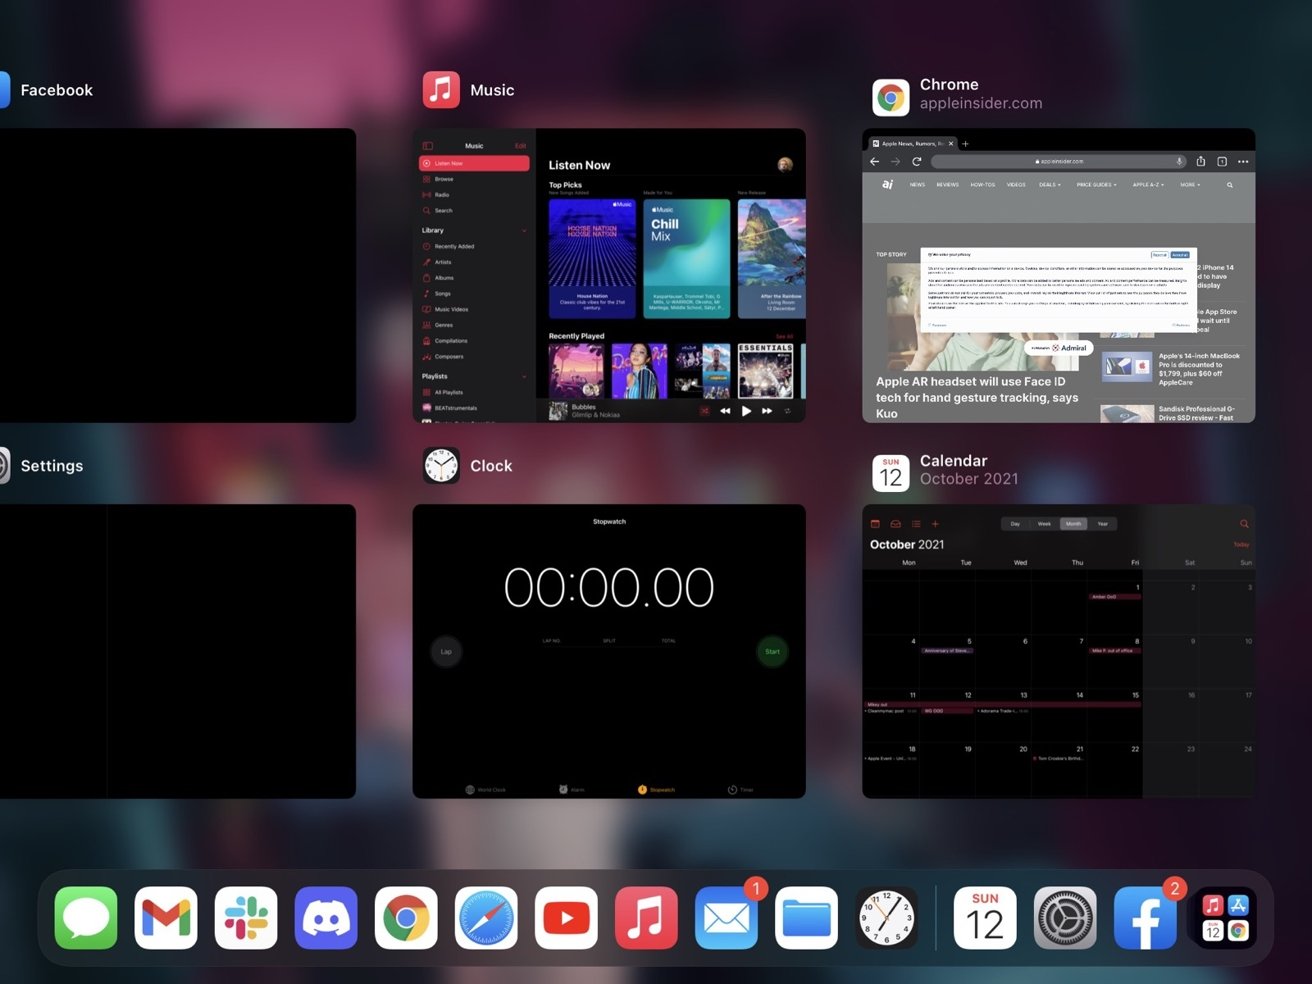
If you swipe up from the bottom of the screen, you can switch between the different apps that are currently running on the iPad. You can even use this screen to close an app, by touching it and swiping it upwards.
Organize your home screen
After a while, you'll find your home screen to be littered with app icons, usually in disarray. You can solve this, by moving the apps and organizing them.
Hold your finger on the home screen, but not on an app, for about 2 seconds. Icons will start to jiggle, with most also showing a minus icon in the top-left corner. At this point, you can touch and drag the icons around the screen, and onto different home screen pages by moving them to the left or right edges.
You can even create folders for groups of icons, by moving one app on top of another. Tapping the minus symbol will bring up a dialog box for removing the icon from the home screen, or deleting it entirely.
If you can't find a particular app, you can quickly search for it by swiping to beyond the right-most home screen to the App Library. It categorizes apps by subject, with most-used apps being bigger than others, and offers a search box at the top too, if you know the app's name.
Apple Pencil
You don't have to use just your fingers with the iPad, as Apple has added support for the Apple Pencil for the last few generations. The pressure-sensitive stylus pairs to your iPad, and is recharged by it, and can be used to draw, write text, and perform other functions.
As a brief overview, there are two generations of Apple Pencil. The first generation has a Lightning connector hidden under a cap, and is recharged and paired using Lightning. Therefore, it is compatible only with Lightning-equipped iPad models.

There are two generations of Apple Pencil, so make sure to buy the right one for your iPad.
The second-generation, which works with USB-C iPads and iPad Pro units, attaches to the side of the iPad for recharging and pairing.
If you're keen to get an Apple Pencil, check which iPad you have to make sure the model is compatible with it before you spend your money.
Siri
Arguably the star of iOS and iPadOS, Siri is Apple's digital assistant and can be summoned in a few ways. If you didn't set up Siri at startup, you can enable it via the Settings app, under the section called Siri & Search.

Siri is well known, and easily accessed on an iPad.
If voice activation is enabled, you can start a query by saying "Hey Siri," then your query. For example "Hey Siri, when is sunset?"
You can also summon Siri by pressing and holding the Home button or the top button, depending on the iPad model.
Get help
This list only covers the basic things you should know about using an iPad, but there's a lot more you can learn. On the iPad itself, there's the Tips app that provides extra guidance.
Meanwhile, there's Apple's online manual to using the iPad and iOS, including many of its built-in features.
If you need more advanced help, you could try Apple's own support forums, to see if someone offers an answer to your query. There are also Apple's formal support routes, including a period of complementary support, and assistance under AppleCare+.