
You've probably used the QuickTime Player app to play back a video, but under the hood, it's a surprisingly sophisticated tool. Here's how it started, and how to get the most out of it.
If you've ever opened a video file on your Mac, chances are you've used QuickTime Player — but you might not realize just how much more it can do beyond just playing movies. Whether you're looking to trim a clip, record your screen, or convert a video file, QuickTime is one of Apple's most underrated built-in tools.
In this guide, we'll walk you through everything QuickTime Player can do — and how to get the most out of it.
Three and a half decades and still standing
QuickTime Player is Apple's native media player, pre-installed on every Mac. It supports a wide variety of video, audio, and image formats, and despite its simple interface, it includes several handy tools.
As Eclectic Light Company notes, QuickTime first made its debut at Apple's Worldwide Developers Conference in May 1991. When it launched that December, QuickTime was, arguably, the first mass-market video and audio software available for personal computers.
At the time, just playing video on a computer was considered groundbreaking. QuickTime took it a step further — it allowed users to record and edit video and audio.
For years, it remained the standard way most Mac users watched videos. And it wasn't just the home user who utilized QuickTime, either.

QuickTime was essential to creating Myst | Image credit: Cyan Worlds
QuickTime was a critical tool for creating both Myst and Xplora1, giving game developers a way to play videos and animate objects within games. It also was utilized exclusively to distribute trailers for a handful of "Star Wars" films, as noted by CNET
Since then, QuickTime has fallen out of favor a bit, thanks to tools like iMovie and online video streaming. However, it's still a useful tool in its own right.
While Apple discontinued support for QuickTime on Windows in 2016, it remains a core part of macOS. It makes sense that if you're a Mac user, especially if you're transitioning from Windows, you'll want to get a feel for QuickTime.
How to use QuickTime Player on macOS
At its most basic, QuickTime plays video and audio files — but that's not everything it can do. Here's a helpful breakdown of what you can expect to do with it.
Watch videos and listen to audio with QuickTime Player
If you've downloaded audio or video files from the web, QuickTime is often the default player. This is true for many files, including .MOV, .MP4, and older MPEG formats.
While it does support older file types, such as .AVI, it's worth noting that many of these use outdated codecs and may not play well.
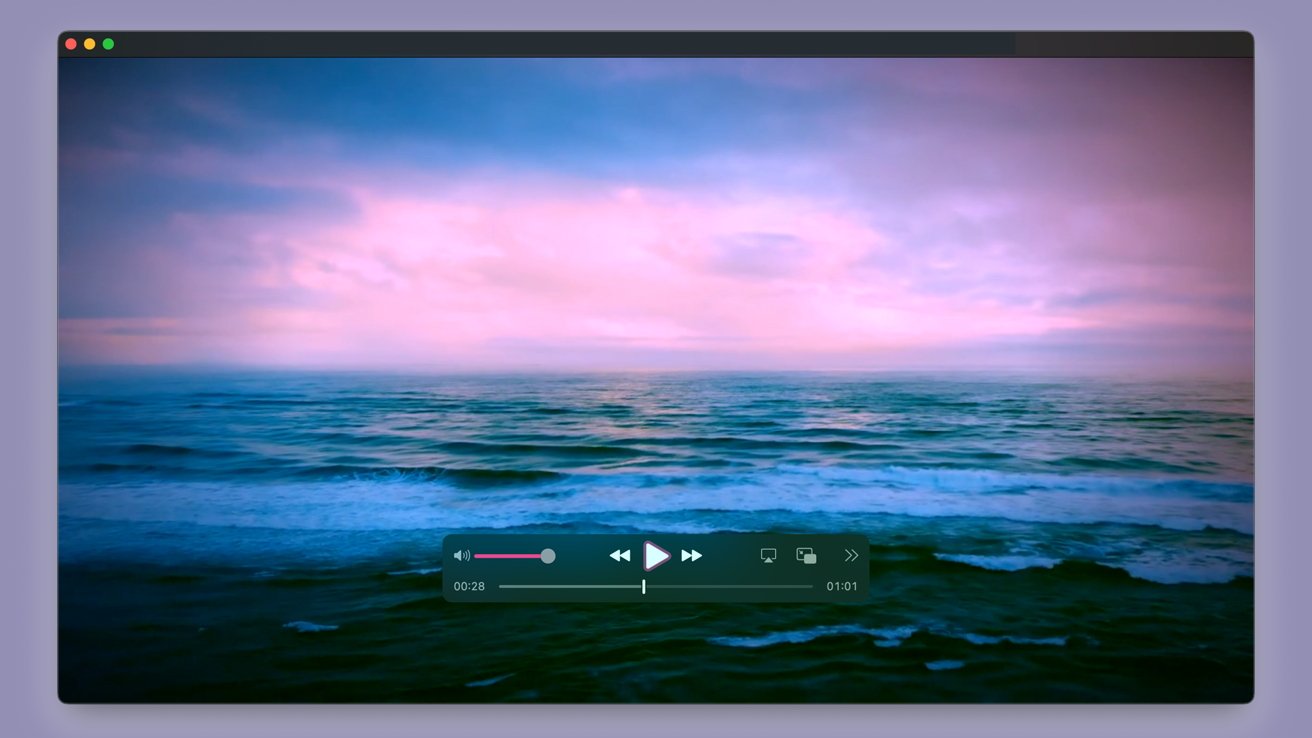
Playing video in QuickTime
Playback controls are straightforward; pressing spacebar will play or pause video, while the right and left arrow keys will skip forward or backward, respectively.
If the video comes with subtitles, you can enable them by heading to View in the menu bar and clicking Subtitles.
One especially useful feature is Float mode. Clicking View and then Float on Top will allow you to keep a video in the foreground while you work in other windows.
You can also listen to audio with QuickTime Player, though it's critical to note that Apple's own Music will take over audio playback by default. To use QuickTime, you'll need to follow the steps below:
- Locate the audio file you want to play within QuickTime
- Right click or ctrl+click on the file
- In the pop-up menu, click Open With
- Click QuickTime Player
Screen recording with QuickTime
Every so often, you'll find a reason to record your screen; sometimes, showing something is much easier than trying to explain it. And sure, you could download something like OBS to do it, but QuickTime has a built-in screen recording feature with no third-party software required.
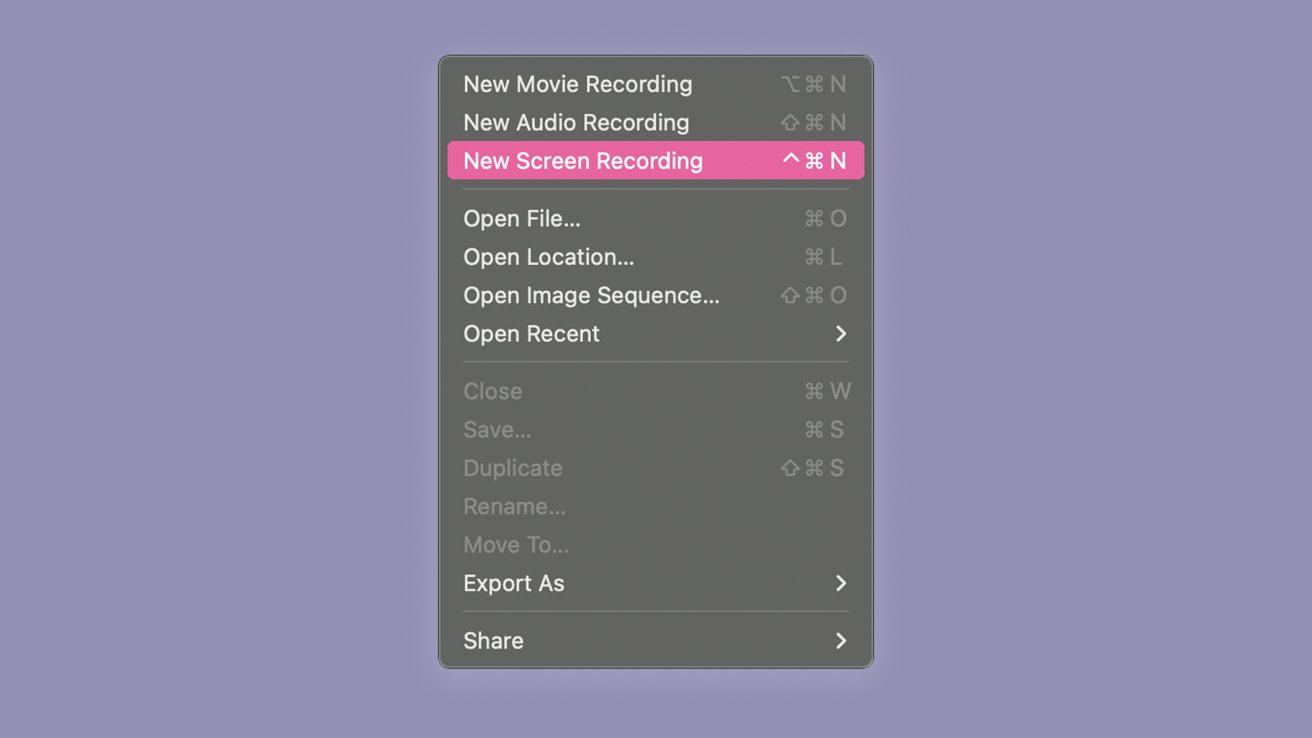
Start a new screen recording from this menu
To record your screen with QuickTime, you'll just need to follow these steps:
- Open QuickTime
- In the menu bar, click File
- Then click New Screen Recording
- Click the Record button
- Select the portion of your screen you want to capture
- When finished, click Stop
By default, recordings are saved as .mov files and can be edited or shared right from QuickTime. Fortunately, .mov files are widely accepted.
Of course, this is where we remind you not to share anything sensitive with parties you don't trust. We suggest reviewing your recording to make sure there's no personal information in the recording before you send it.
Capture video from your Mac's camera
While you'll probably want to record from your iPhone or dedicate camera for more polished videos, QuickTime can also double as a lightweight recording booth. This is great for those times when you don't have a tripod or you just need a quick-and-dirty recording for a project.
- Open QuickTime
- In the menu bar, click File
- Then, click New Movie Recording
- When ready, click the Record Button
- When finished, click File
- Then, click Save
While you can record audio clips with QuickTime, we'd suggest instead using Voice Memos — we've got a helpful guide right here.
Trim and split videos and audio clips
While not as robust as Final Cut Pro, iMovie, or even your iPhone's Camera app, you can still use QuickTime to trim audio or video clips. The process is actually quite a bit similar to the Camera app on your iPhone.
- Open your video or audio file in QuickTime
- In the top menu bar, click Edit
- Click Trim
- Drag the yellow handles to adjust the start and end points
- Click Trim
- Either save as a new file over overwrite the original
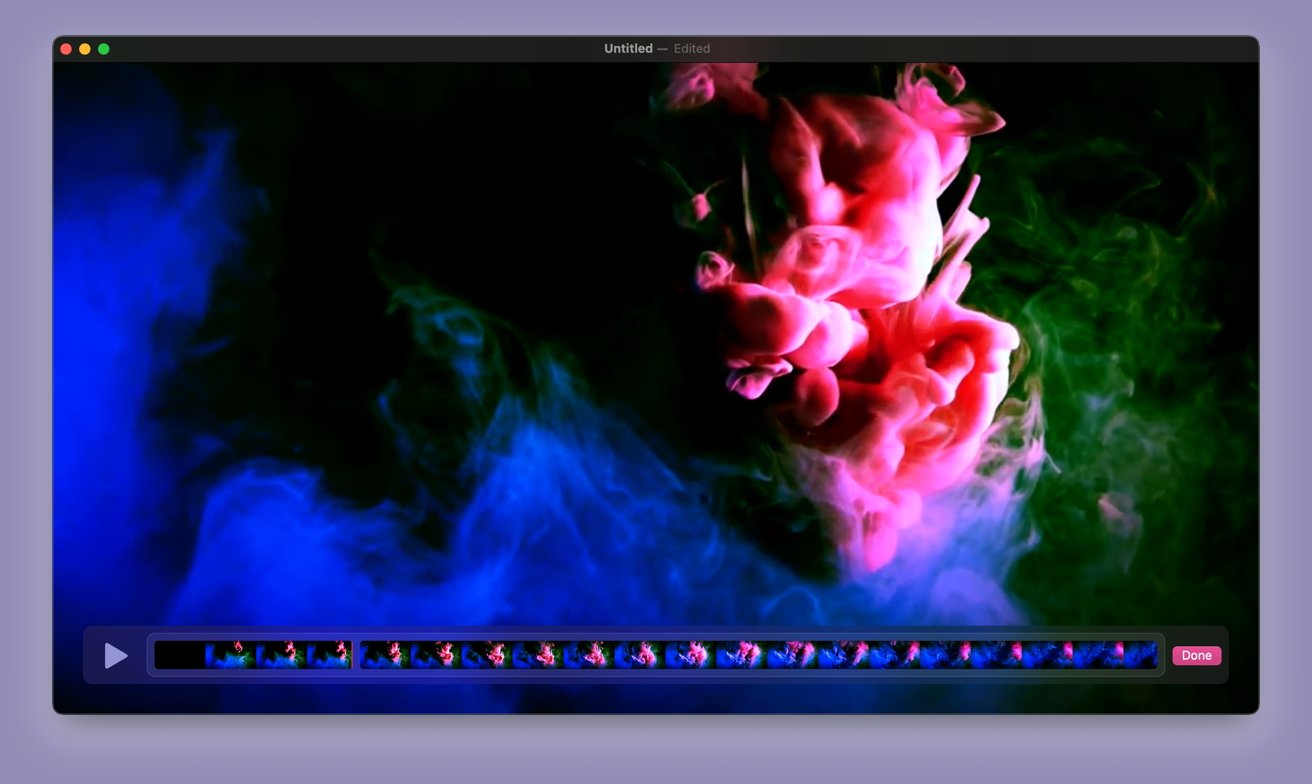
Splitting a video at a specific time
You can also split a video into sections and rearrange or delete parts:
- Open your video or audio file in QuickTime
- Navigate to the time in the video you wish to split your video at
- In the top menu bar, click Edit
- Click Split Clip
- Repeat to create more sections
- Drag clips to reorder or delete
- When finished, click Edit
- Then click Save or Export As
Exporting options
Exporting video from QuickTime is pretty easy. Once you're finished with a video, you'll just click on File and then navigate to Export As.
You'll have four different video qualities to select from, though all may not be available depending on what camera you've used to record.
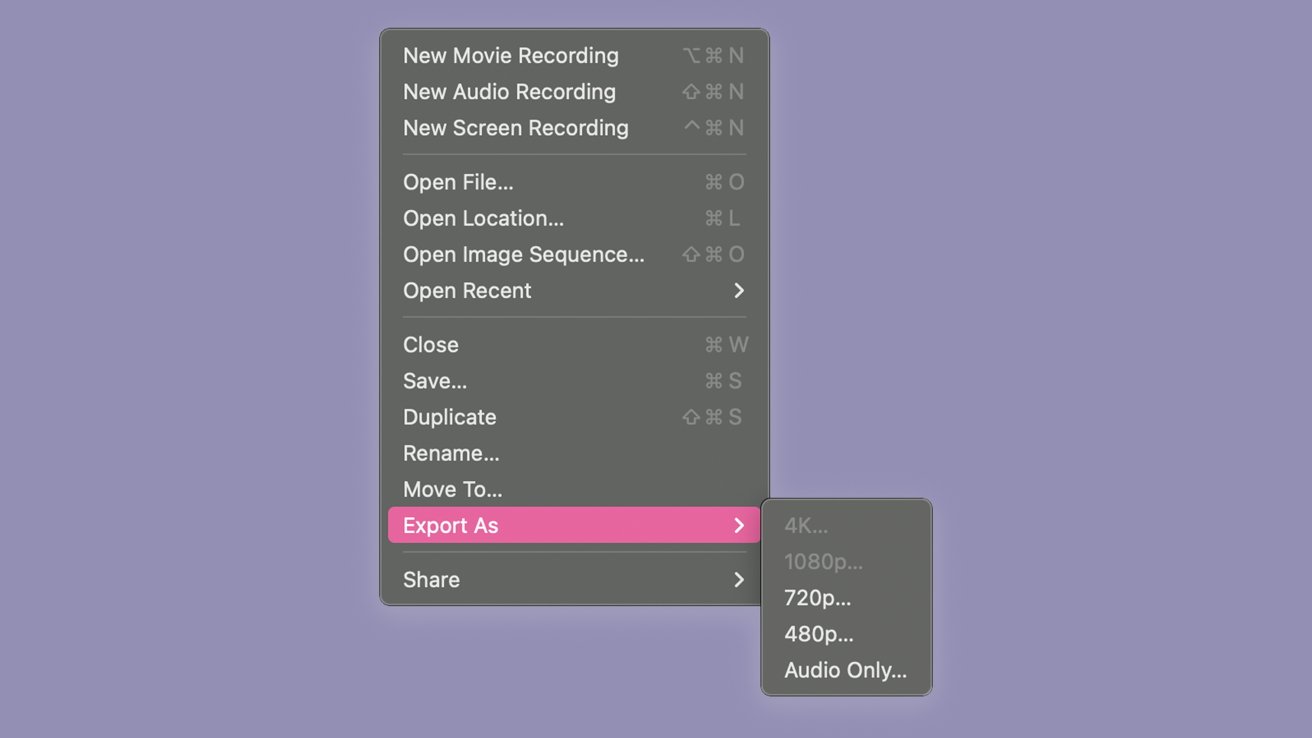
Export options for QuickTime Export options for QuickTime Export options for QuickTime
You'll also have the option to export as audio only if you want to.
QuickTime exports as .mov files by default — as highlighted above, these are widely compatible with most platforms.
While QuickTime is great, we do want to highlight that it may not be the best tool for the job. As stated above, if you're working with audio, we'd suggest using Voice Memos.
If you're looking to do extensive video work for a project, you'd probably be better off using iMovie or Final Cut Pro.