The QIDI Max 4 is a 3D printer capable of multi-color printing, equipped with heating and cooling elements and a massive build volume. It's a serious 3D printer for those who need it.
I consider myself a professional amateur 3D printing hobbyist. The Anet A8 was my starter printer about five years ago. Between then and now, I've picked up and messed with a Creality Ender 3 and an Anycubic Photon series resin printer.
More recently, I've even tried my hand at building my own HyperCube Evolution. Before I could finish it, my steam for the hobby ran out.
While not actively participating, I've still kept an eye on subreddits about the topic. I've seen the rise in popularity and accessibility of the large build volume Core XY printers, like Bambu Labs and Creality are now offering.
When I was asked to take a look at the QIDI Max 4 (pronounced "Chee-dee"), I figured it was a good opportunity to see how far we've come.
What once was out of reach for the average consumer has become less so, and the cost of entry into the ecosystem is much more reasonable.
QIDI Max 4 3D Printer Review: Design
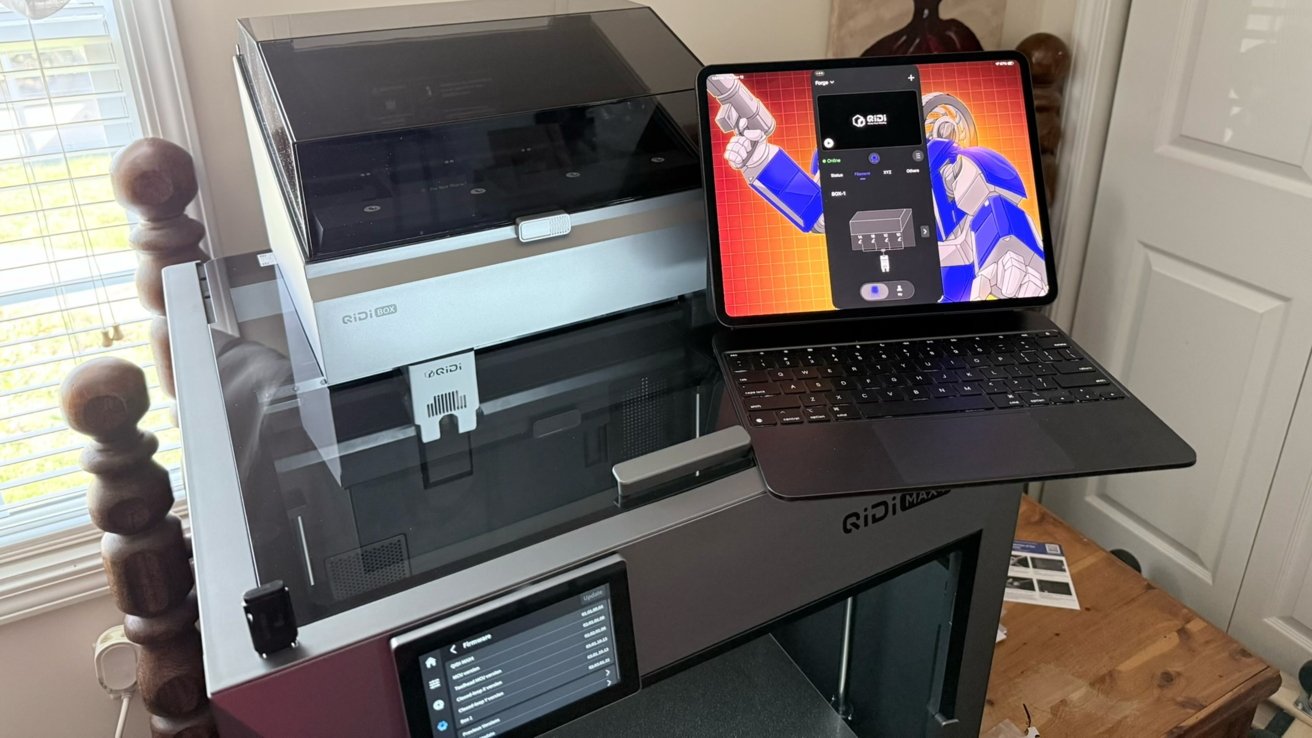
I was shipped the combo of the QIDI Max 4 printer, the QIDI Box (multi-filament management system), and the QIDI Polar Cooler.
Unboxing and setup were simple enough with thorough instructions via multiple sources. Booklets contained QR codes to videos, and the Max 4's on-screen prompts made initial setup and calibration of the printer a breeze.
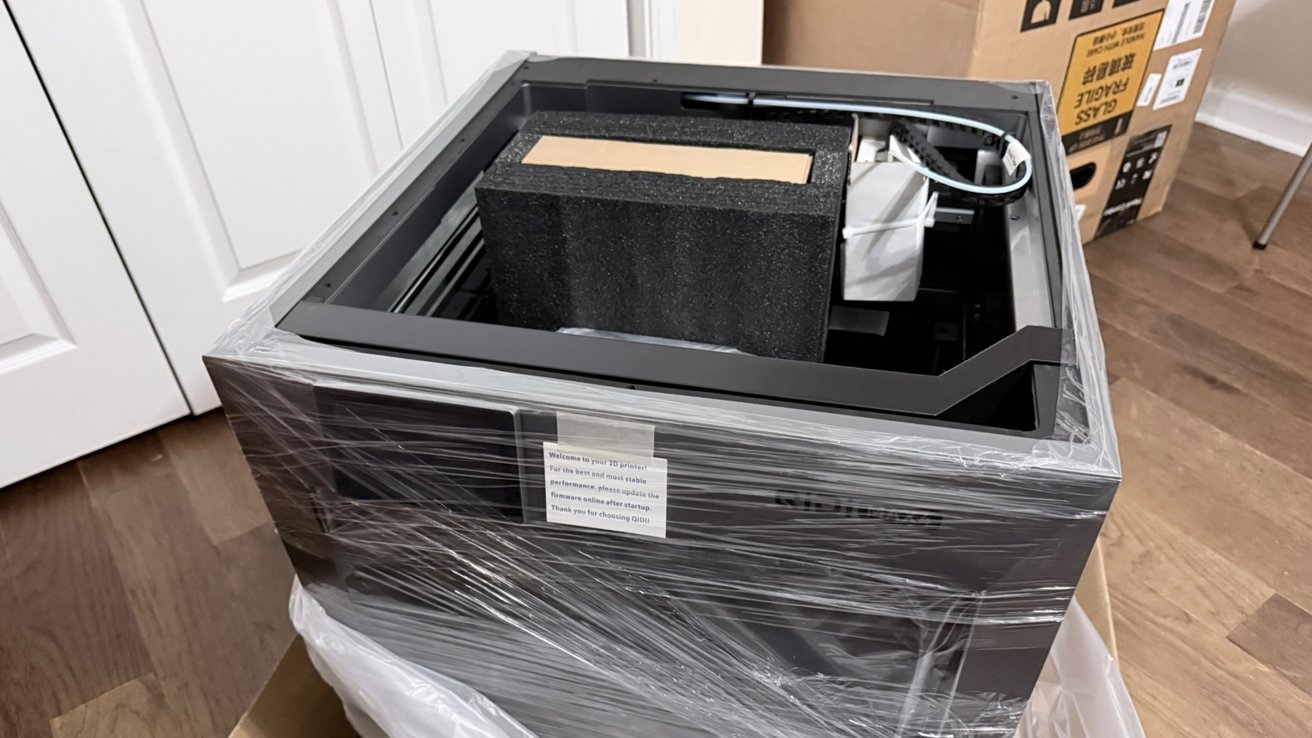
QIDI Max 4 3D Printer Review: Unboxing the large printer
Getting it out of the box and locating it in the room was more of a hassle. At 21.96 inches by 22.75 inches and 24 inches tall, it's a fairly imposing box for anyone's living space or workshop.
The build area is relatively free of obstruction and quite large. This makes it easy to clean out the enclosure and to give access to component areas for whatever maintenance may be needed.
But despite its size, I still needed some more height, specifically for the glass top. With the Polar Cooler installed, an additional hose is snaked along the wiring chain to the extruder for active cooling.
The accessories include a Velcro cable tie to wrap around the highest end of the tube, so that it rubs against the top glass in order to reduce wear.
The amount of slack I had to give the tube was a problem, as it still has to stay attached when the printer head is at its furthest position away. Any time the head is in the center or rear of the build area, the tube would crimp on itself.
So much so that after only 4 to 6 hours of operation, I was seeing stress markings in the rubber.
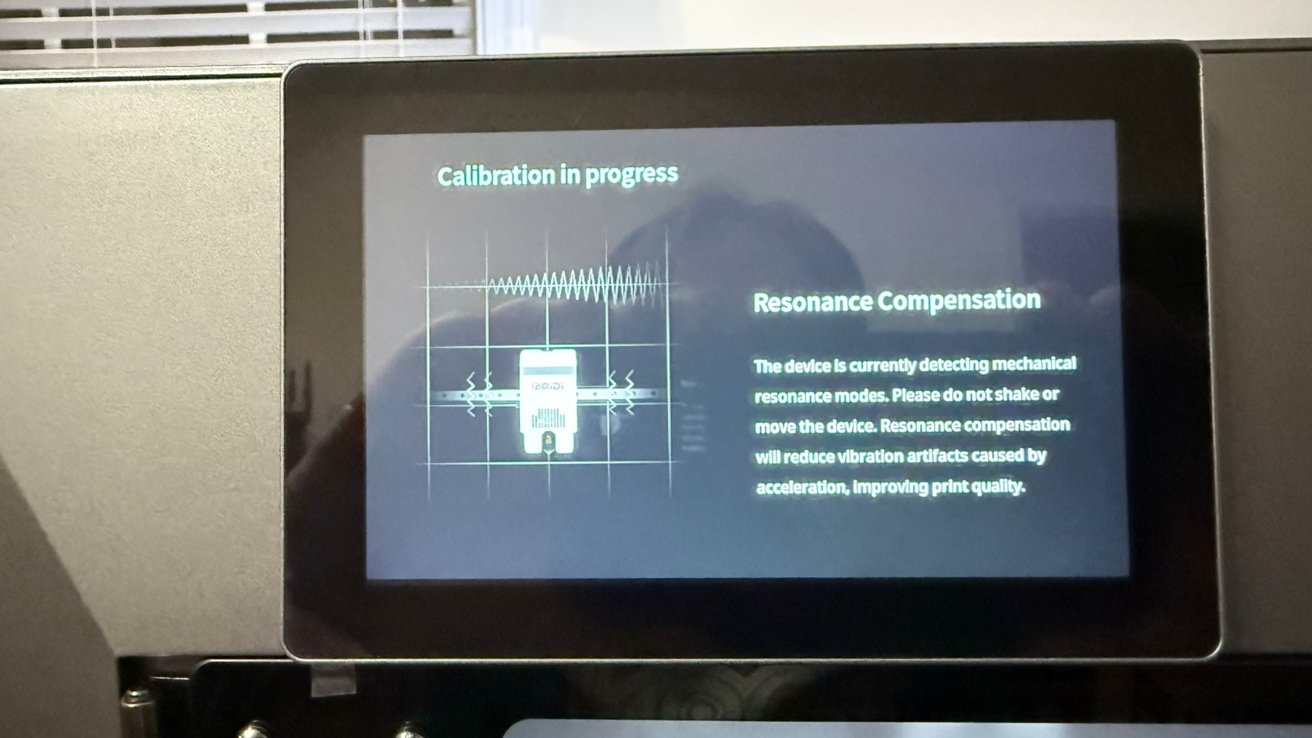
QIDI Max 4 3D Printer Review: Initial setup calibration.
Someone in one online community had already solved this problem with the modeling of a vented riser. So that was my first large project for the Max 4.
To be clear, without the hose for the Polar Cooler, there would be no need for the riser. Given enough fiddling, it might even be possible to solve this problem without the riser.
But since QIDI includes a link to a riser model on its Wiki, this was the path of least resistance.
QIDI Max 4 3D Printer Review: Features and specs
Cosplayers can rejoice at the 390 by 390 by 340 mm (15 by 15 by 13 inches) build volume. That is a capacity that can fit a sizable project with ease.
The hot-end of the extruder can reach a flow rate of 40mm3 per second, and reach a maximum temp of 370C.
QIDI ships the printer with a 0.4mm nozzle, with optional 0.2, 0.6, and 0.8 mm nozzles also available.
That tool head can reach a max speed of 800mm/s when printing, with an acceleration of 30,000 mm/s. While that is quick, there is a planned high-flow nozzle that will support even faster printing speeds.
As an aside, be aware that quality will often drop as the print speed increases. Slower speeds tend to be better for 3D prints, especially when you seek high levels of accuracy and minimal mistakes.
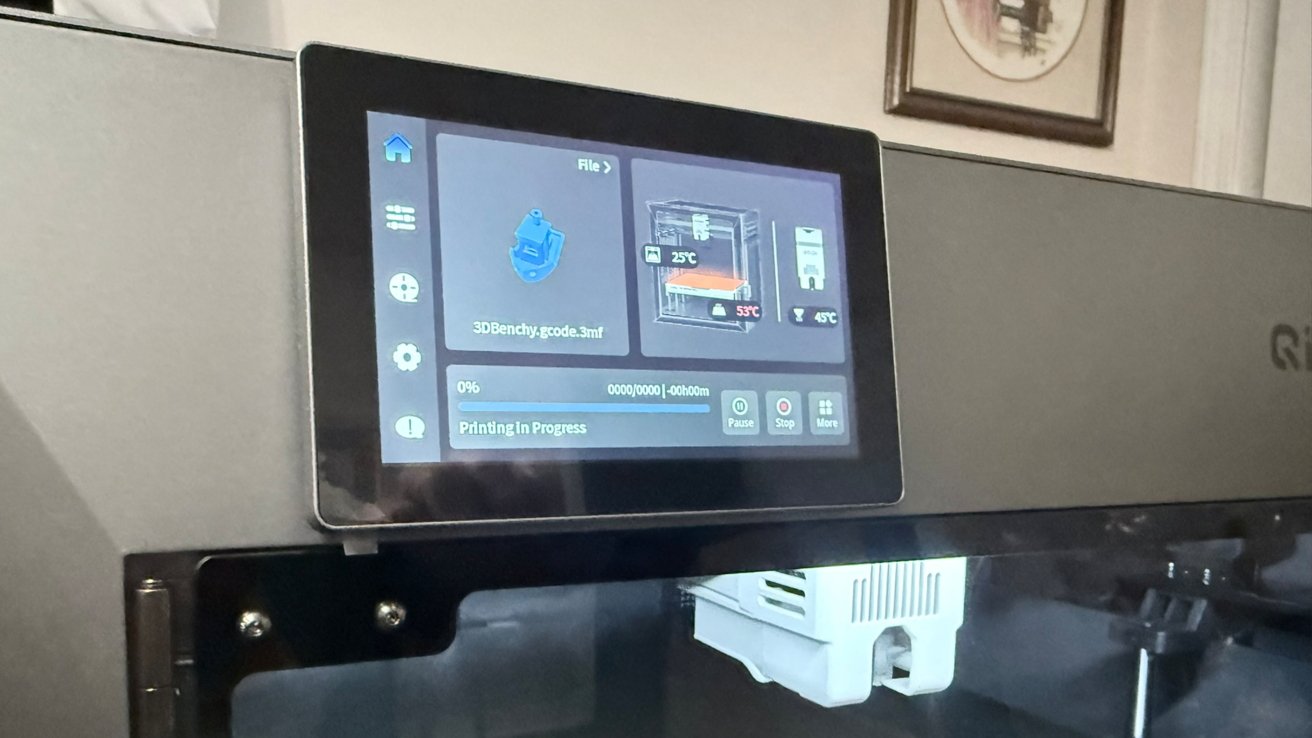
QIDI Max 4 3D Printer Review: Printing Benchy
Getting ready for the print usually involves a leveling process where you make sure the bed is flat and level. QIDI includes automatic bed leveling with the sensor built into the nozzle, which helpfully speeds everything up.
The heat bed has a flexible dual-sided textured PEI plate, which can reach a maximum temperature of 120C. It also magnetically attaches to the platform for easy removal of prints and bed replacement.
Since the hot-end, heat bed, and active heating chamber all can manage a temperature of 65C, users can take advantage of printing with engineering-grade materials.
The Polar Cooler creates an active cooling system for the nozzle and filament. It is promoted as reducing clogging by 90%, as well as reducing warping and providing smoother print surfaces when used with chamber heating.
As for what materials you can use, there are printable filaments available, including PLA, PETG, ABS, ASA, TPU, PA, PC, PPS-CF, and other carbon/glass fiber materials. The range of supported materials is great if you have a variety of different printing needs for your projects.
The chamber camera can record at up to 1080p for time-lapses. Handily, it also has AI detection to check when a print has failed mid-run. I had my spaghetti detection set to high, and had only one instance of the camera not detecting a failed print.
To connect to the printer, there are 2.4GHz and 5GHz Wi-Fi bands supported as well as Ethernet and USB for physical connectivity.
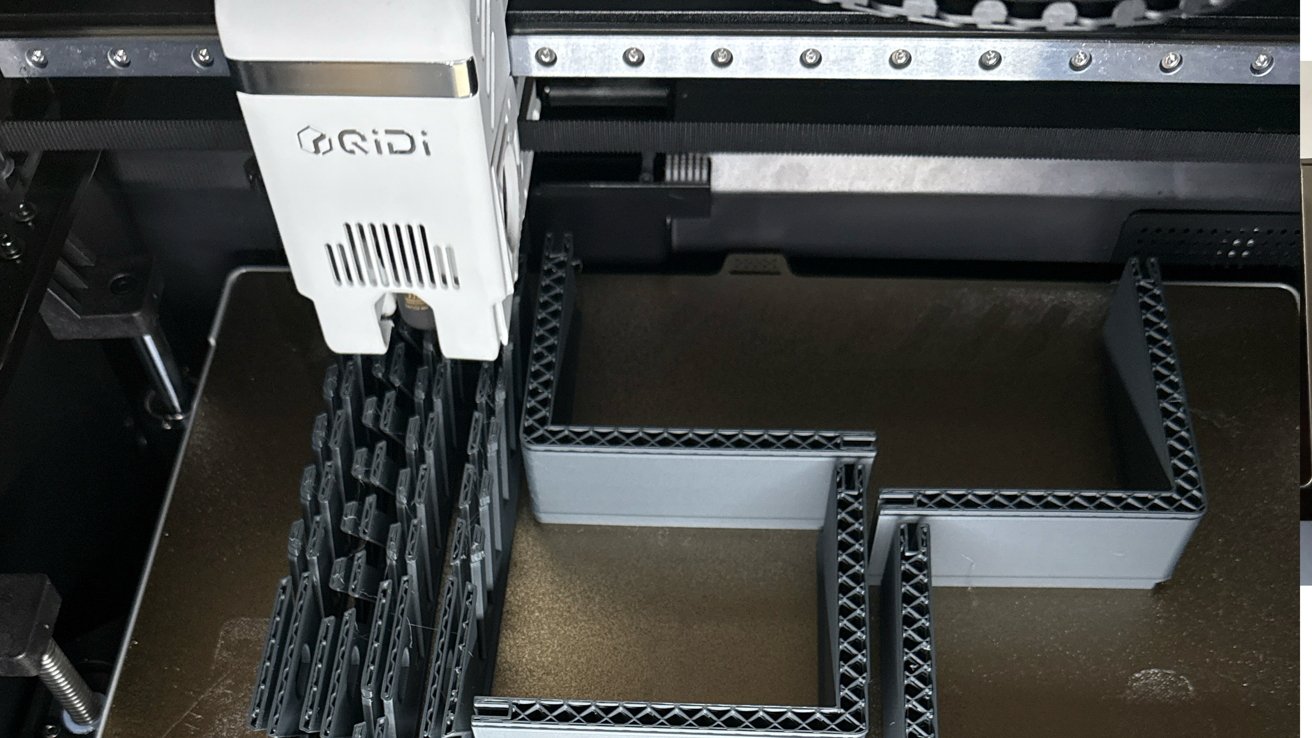
QIDI Max 4 3D Printer Review: Mid-print.
The QIDI Box sits on top or near to the printer, and is used to store spools. It connects to the printer, providing a feed of filament without you needing to manually handle the spool.
Using the box for storage is also useful, since it reduces the amount of filament-killing moisture in the surrounding air. It also allows for drying and heating the filament while printing, which can help when using spools that are temperamental with temperature.
The QIDI Box supports 4 spools, allowing multi-color printing and filament runout options. This can allow a print to continue if a spool empties and there is another spool of the same brand, type, and color loaded, since it can switch supplies mid-run.
You can also chain 4 QIDI Boxes together for a total of 16 spools. That can be one very large supply of one filament, or more practically, allowing up to 16 materials and colors to be used in a single print.
QIDI Max 4 3D Printer Review: User Interface
The five-inch display gives you access to many printer functions, including QIDI Box loading and unloading and drying settings. There's also the usual printing options like speed, temps, and Z-Offset that you can manage.
There were a few times when I needed to tweak a setting mid-print, but they were outliers as I was printing stress tests that normally require a good bit of tweaking.
In this case, having the on-screen options was very helpful.
Many of those options can be accessed by the QIDI Studio application, or you can access nearly everything by using the Fluidd web interface.
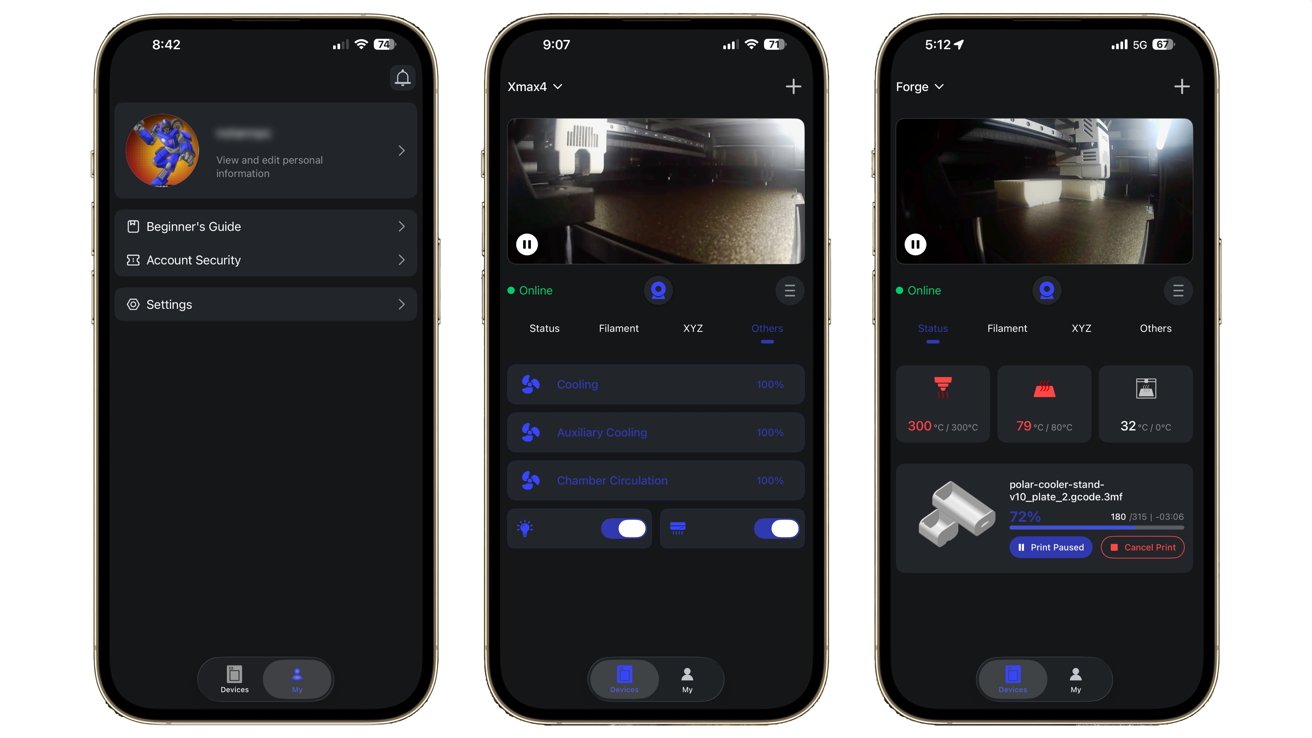
QIDI Max 4 3D Printer Review: QIDI Maker on iPhone
The QIDI Maker iOS app can also initiate prints for models that are stored in onboard memory, or if you have a thumb drive attached. But other than that, I didn't use the app all that much outside of checking in on a print away from home.
The frames per second of the camera feed on the app is pretty low, but it's serviceable enough to check for spaghetti.
My workflow from preparation to print was pretty simple. I used QIQI Studio to slice the model and to configure printer settings for it, then sent to the printer over WAN, and monitored it via Fluidd.
The Max 4 runs on Klipper firmware. If you're not a fan of QIDI's own slicer, third-party options like OrcaSlicer are available.
QIDI Studio includes a variety of quality and filament default profiles, as well as the ability to tune any setting you could want. You can save and name those profiles for future use, saving you from re-entering details each time.
In my case, I needed to increase the temperatures on the default PETG profile, which I saved for later use.
This is a good reminder that all filaments are not equal. Not just between brands, as this includes spools from the same company.
QIDI Max 4 3D Printer Review: What it all comes down to
The QIDI Max 4 took everything I threw at it. At the time of this writing, my Max 4 has 200 hours of printing and over a kilometer of filament used.
For the most part, this was the standard PLA, but also some PETG.
The default profiles were also pretty good. The only prints when I didn't use the default profiles for printer and filament settings was the stress test.
To get a "successful" print in those instances, I had to slow the print speeds considerably.
I was amazed by how smooth the walls of some of my prints were. Especially the ones that used QIDI's PLA Rapido Matte filament.
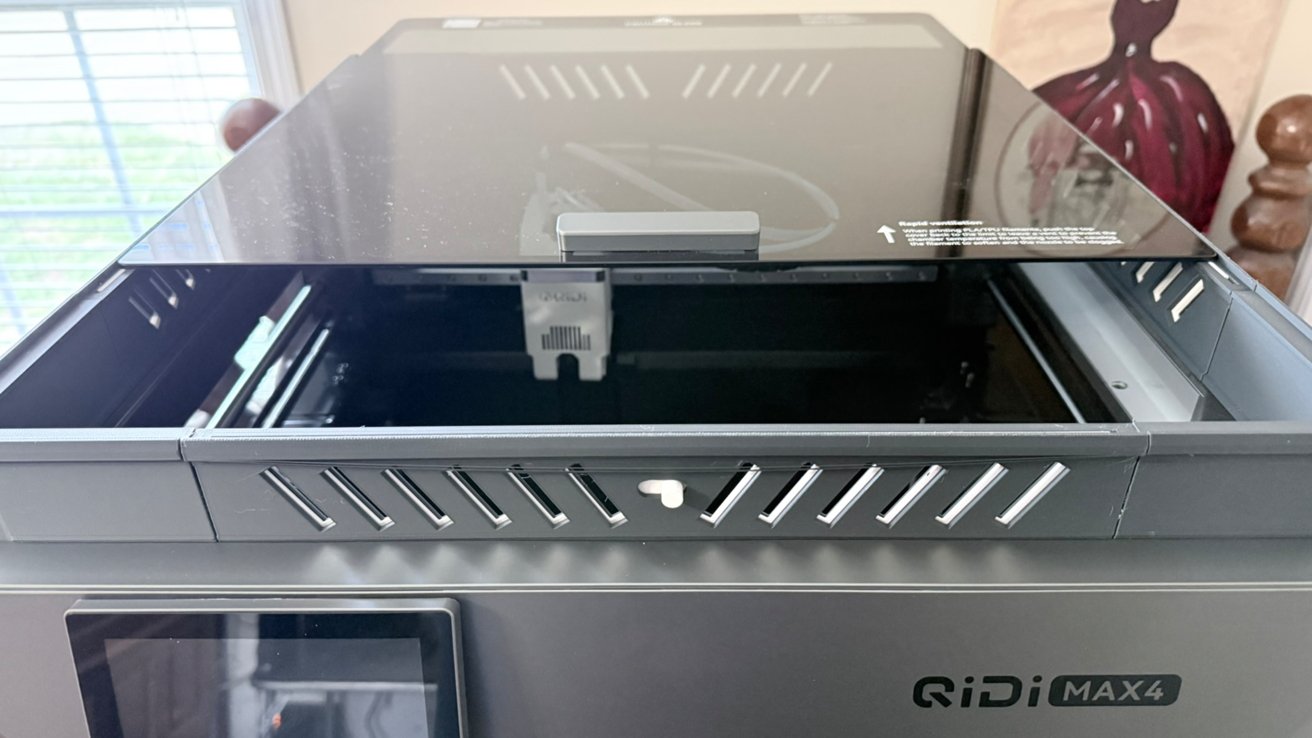
QIDI Max 4 3D Printer Review: The roof of the box can slide open.
The walls for the glass top riser and the vents I printed were so smooth, you had to go looking for the layer lines.
I was also pleased with the initial setup. It was very easy to get to your first Benchy after opening the box.
Make no mistake, this printer is big and heavy, and it will require a couple of people to unbox and get set up on a platform.
But once it's there, the various guides and calibrations get you ready to print without complication.
I found the QIDI community on Reddit and Discord to be pretty active and helpful with questions, suggestions, and troubleshooting. While the user base for the Max 4 doesn't seem to be all that high since it's new to the market, there is a lot of overlap in the ecosystem.
Being based on the Kipper firmware offers another level of helpful overlap. Especially if you're one to really get into the bones of a thing and customize it to your own flavor.
Without the Polar Cooler, operation is relatively quiet and unobtrusive due to the relatively sound-insulating enclosure.
With the cooler on, however, I wouldn't want the printer operating in the same room I work or spend a lot of time in. Active noise canceling helps, but even my AirPods Pro 2 had trouble getting it all out.
It's like having an angry Roomba in the room with you.

QIDI Max 4 3D Printer Review: Print head and printed
This is, by far, the nicest printer I have ever used, with a variety of features that I may likely never utilize as a professional amateur 3D printing hobbyist. Those features add up to an objectively hefty price tag.
For people new to 3D printing, the MSRP of the Max 4 would probably push them to buy something smaller or less feature-rich. Anything over $1,000 is probably too much for anyone to get started with 3D printing.
If you're the kind of person who says, "If I'm going to do this, I'm REALLY going to do it," then you'll get your money's worth. When you eventually learn how to do most things in 3D printing, you'll have a printer that can do it all, too.
Existing print farms looking for a large-volume printer will also find this to be a good addition. Especially with the speed and the quality of the final prints.
QIDI Max 4 review: pros
- Guided setup/configuration
- Active Heating/Cooling for a variety of filament options
- Smooth surface prints
- QIDI Box auto-reload for filament runout
QIDI Max 4 review: cons
- High cost of entry for new to the hobby makers
- Optional Polar Cooler makes for a noisy operation
- Mobile App not especially useful
Rating: 4.5 out of 5
Where to buy the QIDI Max 4 3D Printer
You can currently pre-order the QIDI Max 4 from the QIDI website for $1,049 marked down from $1,149. This pre-order includes an early bird gift of the Polar Cooler at no additional cost.
The QIDI Max 4 Printer/QIDI Box combo is currently $1,199, down from $1,299, and also includes the Polar Cooler.
It is also available from Amazon for $1,499.